I've been posting photos of new stuff for a while now on
Insta and the like...all of this because as you know, I've been crazily trying to get ready for some photos shoots and TV segments.
All of this happening during what I can only say is not my family's best economic times.
So today, I thought why not tell you/show you how I'm doing this...and no, it doesn't involve winning the lottery or spilling head first into debt.
As with everything you see in magazines or on the tube, things are often a little different than what's there on the glossy pages etc...so I thought why not give you a little behind the scenes reality check as it were...and why not make it part of my...
...series...because really, this is very much a reveal:)))
Let's start with the basement.
To be honest, it was pretty much done in better moula times so there's not real trickology there...what you see is what's there and what's staying there.
I did get some fabulous deals on some pieces like the custom cabinet that
Allen made for me, but it still definitely wasn't free...
Same goes for everything in this picture...the
anewall art, daybed, striped side table and chairs...all bought at a reduced price (from the amazing
Black Rooster) but still purchased as it were.
I could go on with the basement but let's just sum it up by saying that everything down there is mine, bought (aside from the
RugsUSA beni and
eCarpet Gallery rug in the bedroom which were both gifted in exchange for blogging/PR, same goes for the flooring and tile from
Home Depot) at either a reduced price or for trade discount etc.
The space hasn't been manipulated for photos or staged or anything...it is what it is.
Moving on.
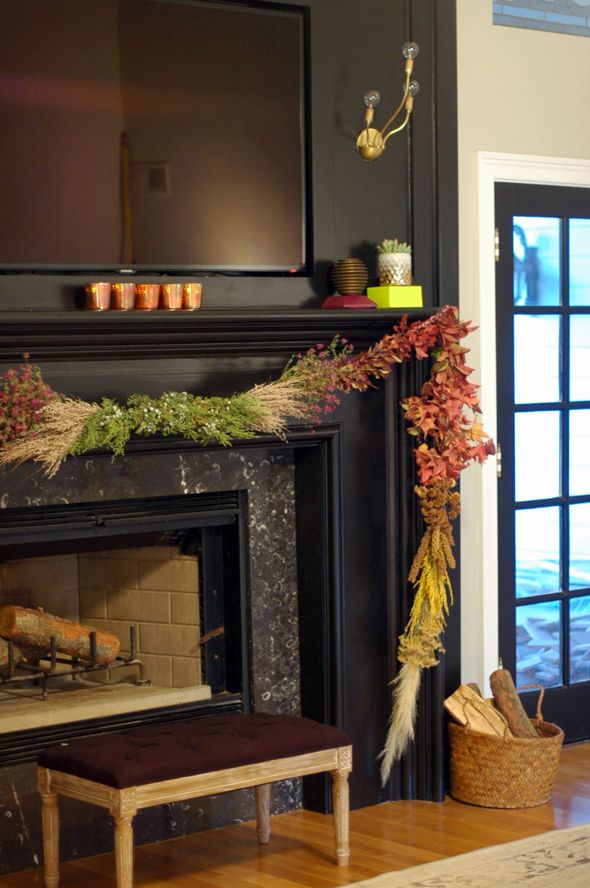
The living room.
As you know, I've been working on a rather big change in this room's shtick.
I wanted to move it a little away from it's previous super frilly feminine installation.
To do this, I had to get rid of a lot and add some more.
I've got stuff stored away for either the new house or sale and have added the alky chairs...
...a pedestal (made by Allen) with this glorious JA vase...
..the later of which is very much thanks to
Christine (whose shop 219 now carries Jonathan Adler!!!) ...aka, the best online friend a girl could ever have.
And then there's the art...this
Jen Mann gorgeousity...
The former is being rented from the fabulous folks at
Neubacher Shor Contemporary...I arranged this last month, with the intent to purchase.
Because I'm trying to reign in spending as of late, this is very up in the air...it makes me very, very sad to think that I might have to give this back because it's literally one of my most beloved things in the house...by a landslide actually.
Please cross your fingers that prior to Christmas, husband lands another job so that this can be my gift...praying to the gods every single day on that front.
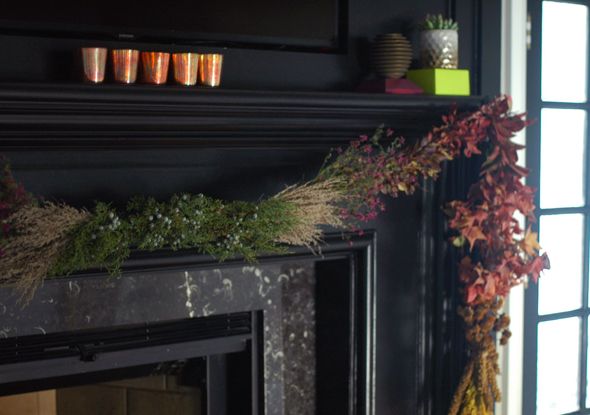
On a happier note, I do own the photograph on the fireplace...and this makes me incredibly grateful...I'm a little sad that I had framing issues, which meant the image had to be cropped smaller than intended with a thinner frame and plexi rather than glass, but such is what sometimes happens with shoot deadlines and the like.
Now the chairs.
These are a catastrophic pain in my ass to get.
I had arranged to borrow them on approval, again with the intent to purchase.
Though I was supposed to pick them up on Tuesday, and had sent my husband to retrieve, they weren't ready until yesterday morning on the actual day of the shoot so as the photographer was working, in comes husband with a u-haul in between shots trying to place the chairs.
The thing is with these guys that I LOVE them greatly to look at, I can't afford them so they'll be going back today on the same u-haul they came on, with a huge thanks to
Julien Armand for letting me try them on for size...very much hoping I'll be able to add these bad boys back in soonly.
I mean just look at the backs of them alone for goodness sakes...
Bliss:(((
Moving on...
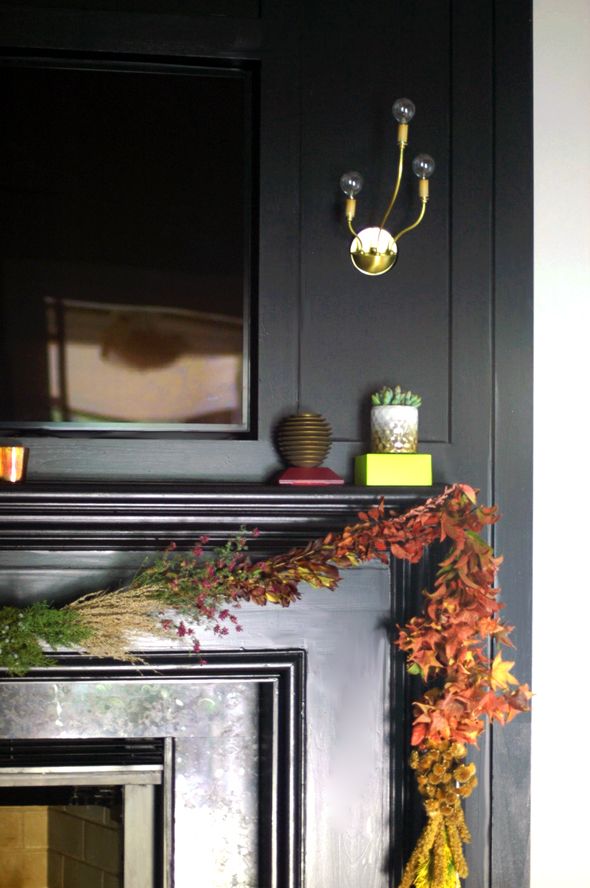
My new lamp...
...came to me thanks to the amazing peeps at
Patina.
Again, this has not been purchased but after long discussions with the other half, we've decided that this has to stay...it just has to.
So...peanut butter sammies and lots of painting/designing for me to be able to afford.
Sometimes, true love/one of a kind stuff just can't be passed up on and no I'm not advocating spending on things you can't afford...I'm just saying that there are times when 'making it happen' as it were is worth it. We'll forgo some other stuff so that we can keep this piece because though it happens pretty rarely, this guy is something we both absolutely adore.
So that's the living room...the truth and the fiction as it were.
Now the kitchen.
You've seen this space a thousand times so there's nothing 'propped' in here that isn't mine so to speak.
I thought it might be funny to show you the reality of 'staging' for a shoot though and how that often plays out.
On Tuesday night, I sent husband out to find me a loaf of French bread, some macaroons and a small white iced cake for styling.
He aced the bread but came home with this stuff as his version of the other two...
Men...god love them.
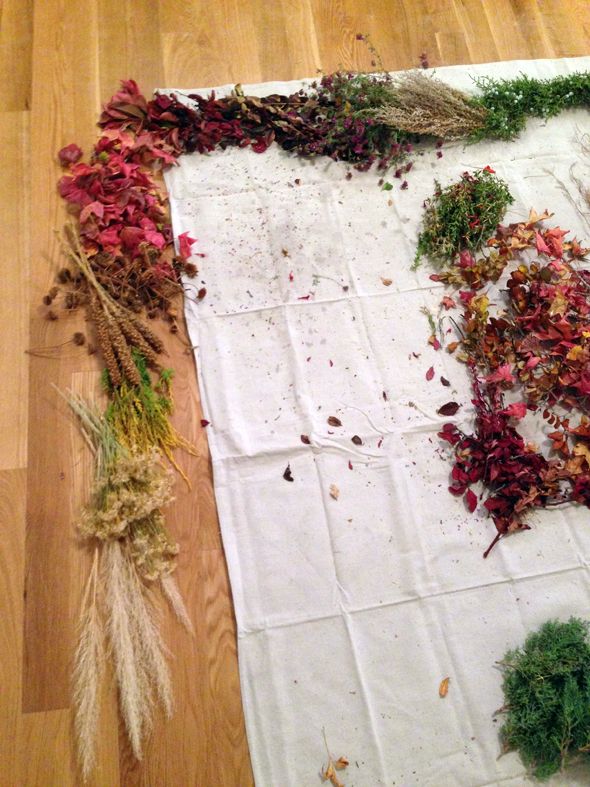
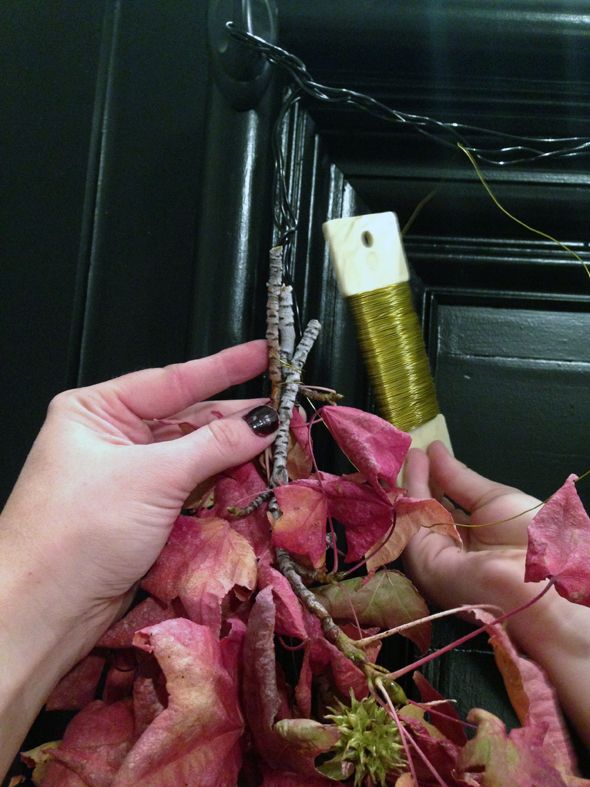
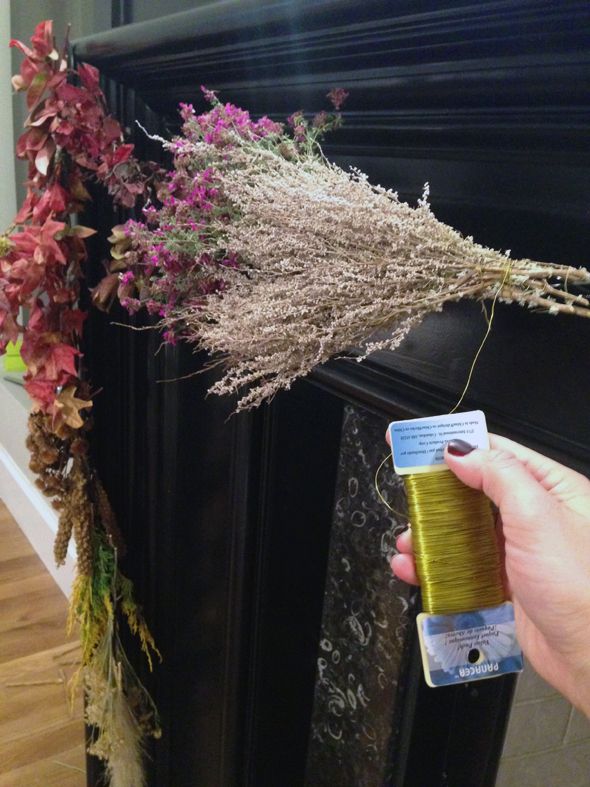
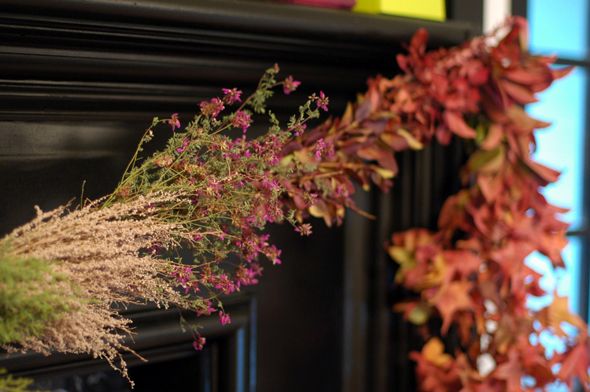
And then there's the flowers...
...it's really too bad that they cost a lot and last for all of a couple of days.
I'm really hoping the roses stay put for a bit longer- they're so pretty in real life.
Hydrangeas, though I love them, are so finicky...half of the ones I bought wilted on day one- they definitely have a mind of their own.
*edit...thanks for the soak in water tip from a few readers...going down to try this asap*
I also wanted to show you the reality of my bar area...
The photo shoot ended at 5 pm yesterday and this is how it looks at 8 am today...
Note the Red Label (for husband) and wine (for me) and Tylenol (for both of us)....and trust me, this space usually looks a whole heck of a lot more cluttered than this...so when you see the published photo of this nook, know that it's really looking more like this;)))
And finally, I thought I'd save the best for last as it were.
And by best, I mean literally the all encompassing reality of our lives that is the master bedroom.
As the only room in the house not to be photographed, it has become the dumping ground/catch all for all the shite that has nowhere else to go.
And because I can shut the door on it whenever anything is going on, the walls are still not painted apres moulding application...there's mounds of laundry on the floor pretty much all the time...the kids dump every toy that ever migrates from downstairs in here...and well, I'm not so good at putting clothes away.
So, may I present how this little cranny of my house looked last night, after the mad dash to get every piece of crap that was anywhere else in the house, hidden away...
Yikes.
So there you have it...the what's what for realz behind the fantasy.
Life as it were.
xo