Tampilkan postingan dengan label Flooring. Tampilkan semua postingan

Two Flooring Updates

I was so 50/50 on the chevron floor angles (and the vote in the comments was a close split too!), but it was time to make a choice this week, so I just went with my initial thought and chose the 30-degree cut. I've been getting reeeeal friendly with the miter saw ever since.

 photo aDSC_0462.jpg

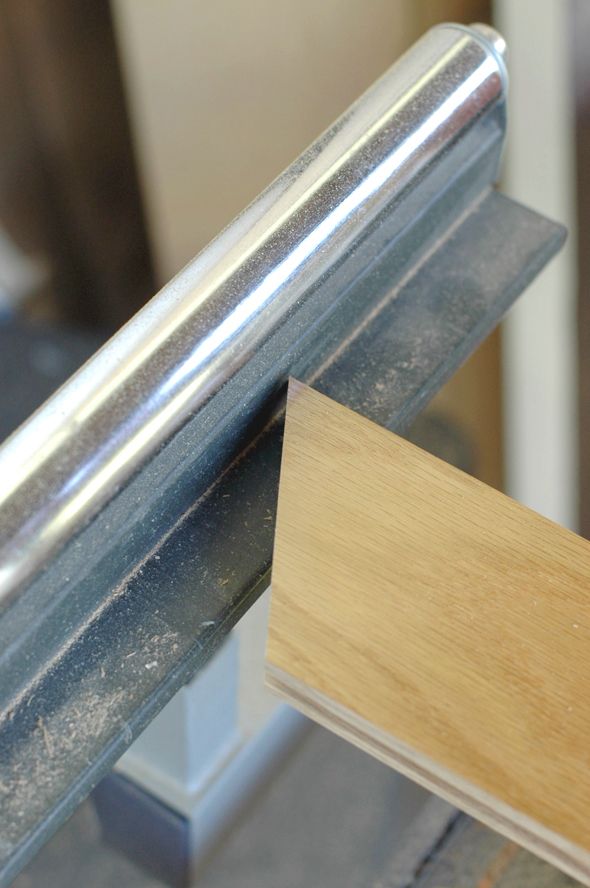
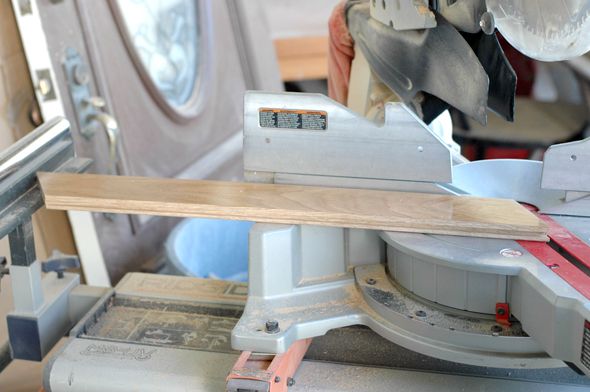
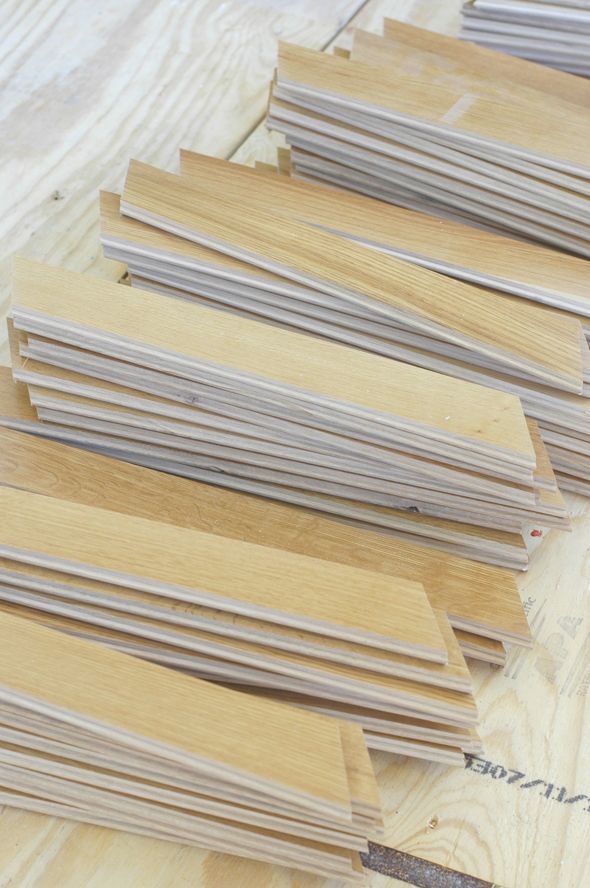
We set up the saw so there is a blocker right at 24" away from the blade. This way, I never have to measure or mark a single plank of wood. I just cut one end and then slide the plank down and butt up the cut end to the blocker and cut again. It's still slow-going, but I think we're about halfway through the cuts at this point.


 photo cDSC_0474.jpg

 photo cDSC_0467.jpg

The floors in the kitchen got a little update this week as well. I had painstakingly painted every single one of the tile squares about a month or so ago and left the grout lines exposed.

 photo ssDSC_0448.jpg

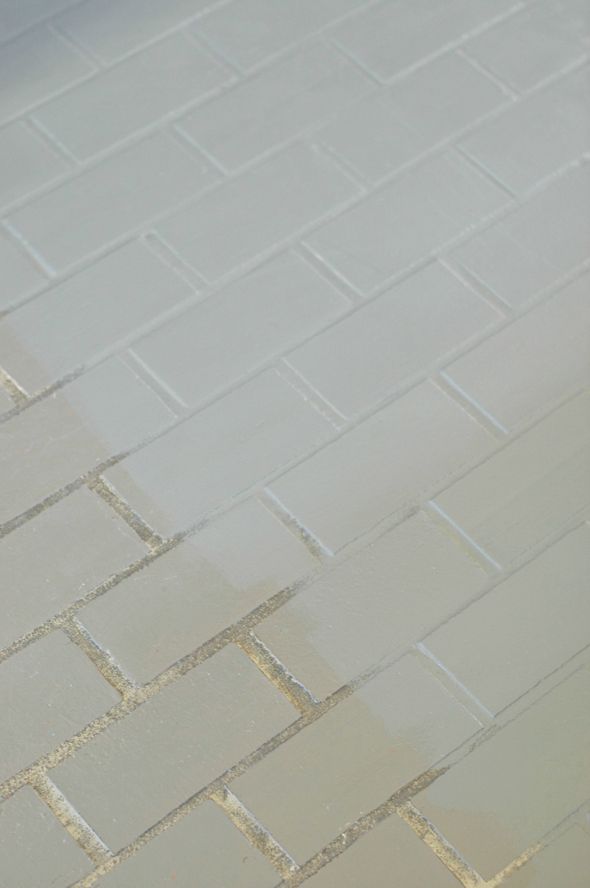
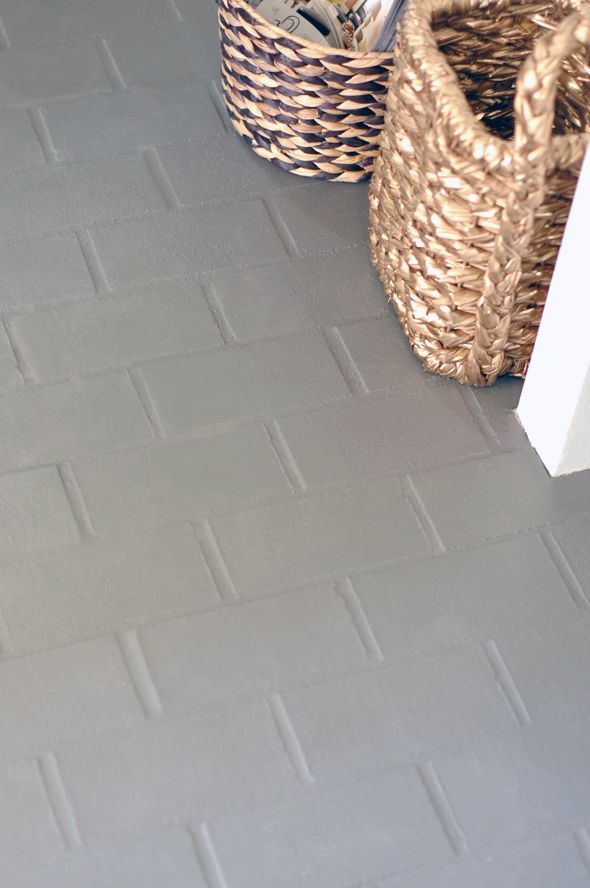
The plan was to regrout sometime soon, so that the grout looked clean and new (see how dingy it looks in the above photo? I think the old sealer had started to wear off). But as I've been brainstorming backsplash options, I just kept feeling like there were block patterns and grout lines everywhere in the kitchen, with all the brick on the floors and the arched brick range surround. I wanted to do something to minimize all that. So on a whim I poured some new paint on the floor and rolled on a top coat, completely painting over the grout lines.

 photo aDSC_0566.jpg

I'm not quite finished yet (I'll share after photos when I am), but I am thrilled with the look so far. It's about a million times more clean and new-looking. 

 photo DSC_0559.jpg

Sour grapes are not my thing, but I'm sort of kicking myself for not doing this sooner and for spending like 15 hours before, painting all the individual tiles in the dining, kitchen, pantry and mudroom. (grumble)

Signing Off Early (and a little poll)

Last night was scary and weird. I have this problem where food gets stuck in my throat. Once a couple years ago an Ibuprofen liquid gel pill got stuck and it was very scary and painful. It happened again late last night and it looks like the pill did some serious damage to the lining of my throat. I'm headed into a procedure that will help us know more. The whole thing feels silly and it's just about the worst timing. Deadlines galore and new, exciting projects that need research (I'm excited to share a big one with you in two weeks), but all of that will have to wait while I focus on getting healthy for the next few days. Thanks for your understanding while I take a little break here, too.

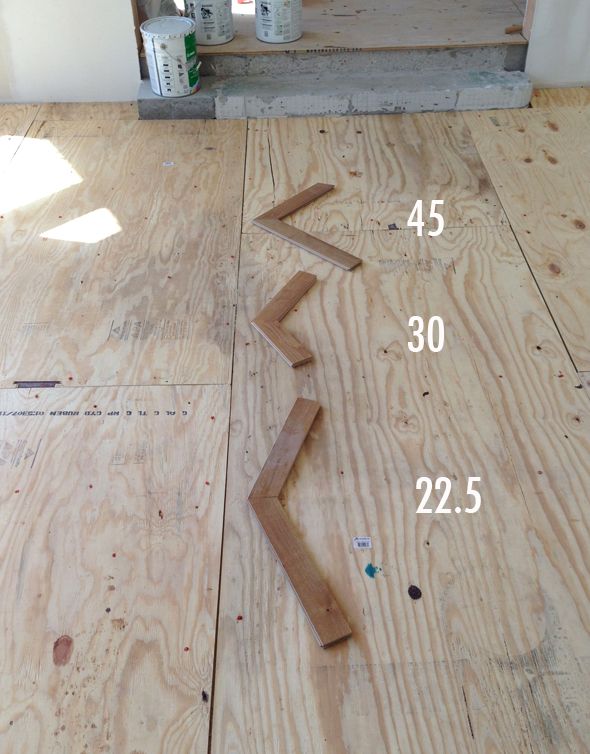
When I come back I'll be sharing some cool things we've done in our bedroom and (hopefully) some good progress on the chevron floors. Speaking of, I've waffled a lot this week with the angle choice - 22.5, 30 or 45 degree cuts.

 photo IMG_7576.jpg

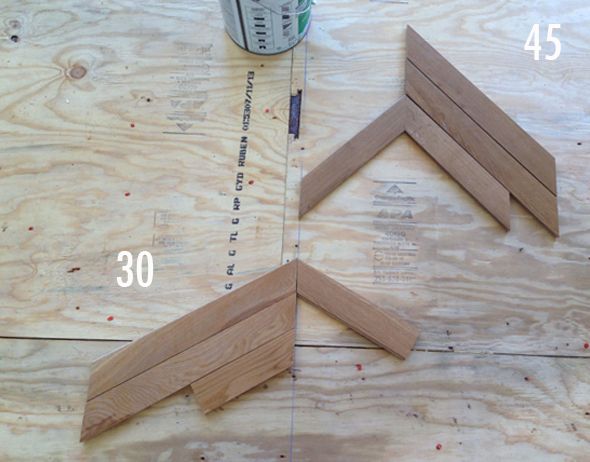
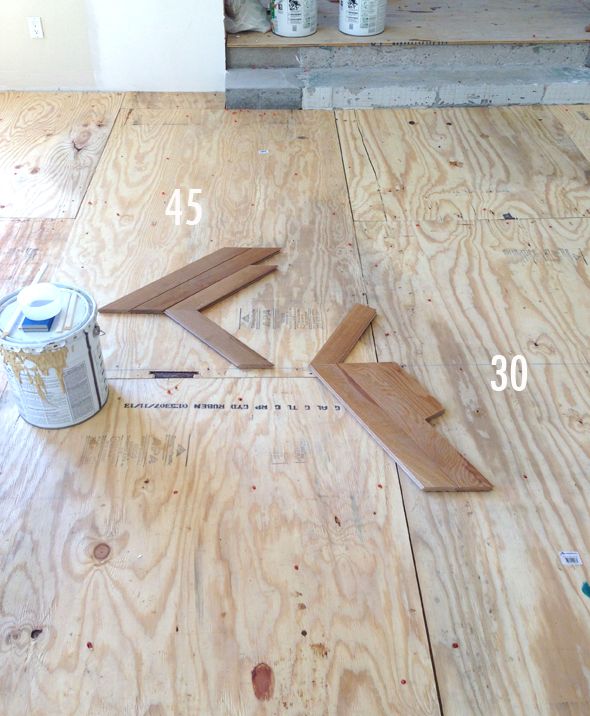
I like both the 45 and the 30 best for the space (the room is no quite wide enough for the 22.5 long slope). The two longest cuts in both the 45 and the 30 here in the photo below are what the finished cuts would actually look like (24" long planks from miter cut to miter cut). You can see that the 45 degree angle makes for a much more narrow row than the 30 degree cut plank even though they are both 24" long. Trigonometry at work!!

 photo IMG_7591.jpg

 photo IMG_7593.jpg

What's your preference?

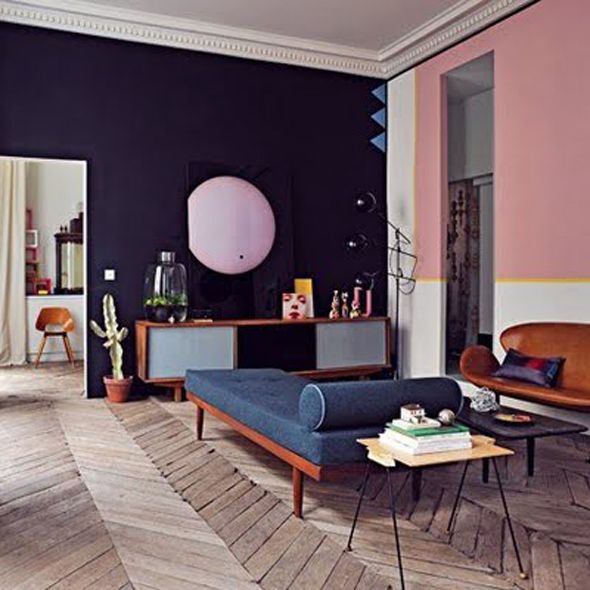
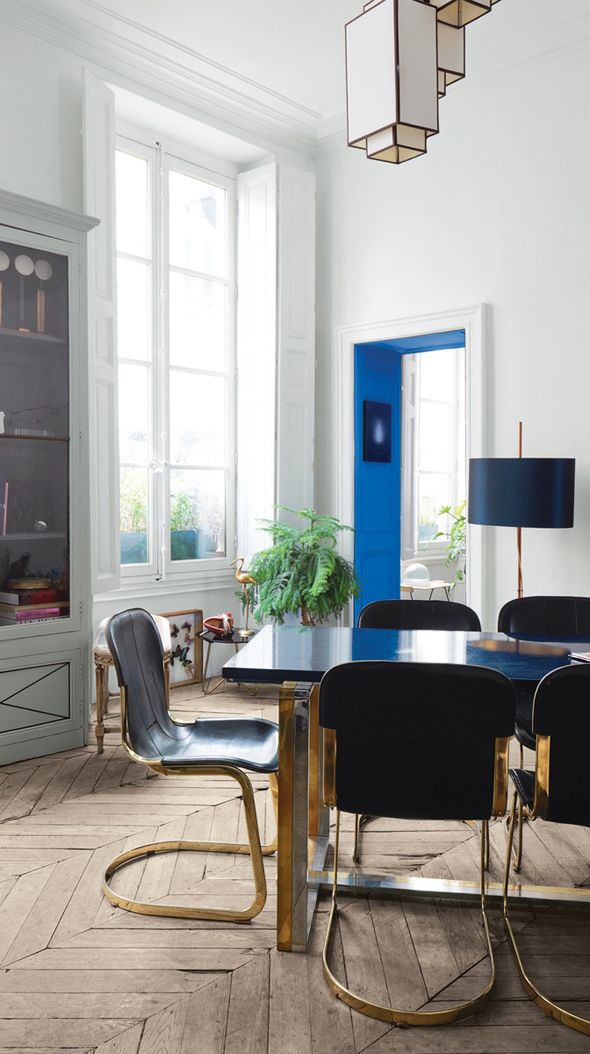
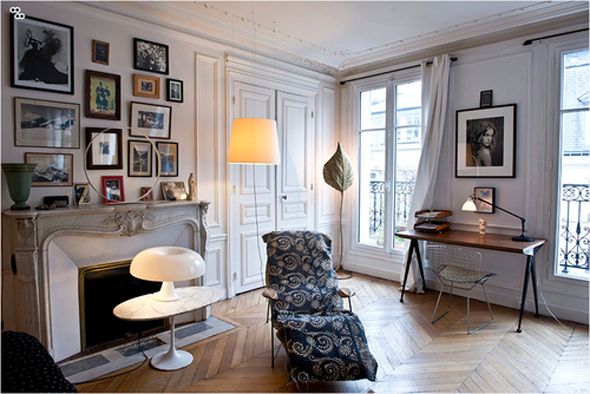
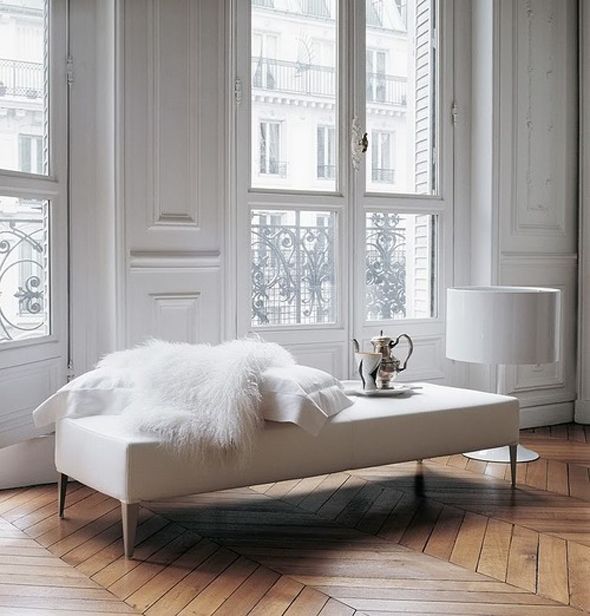
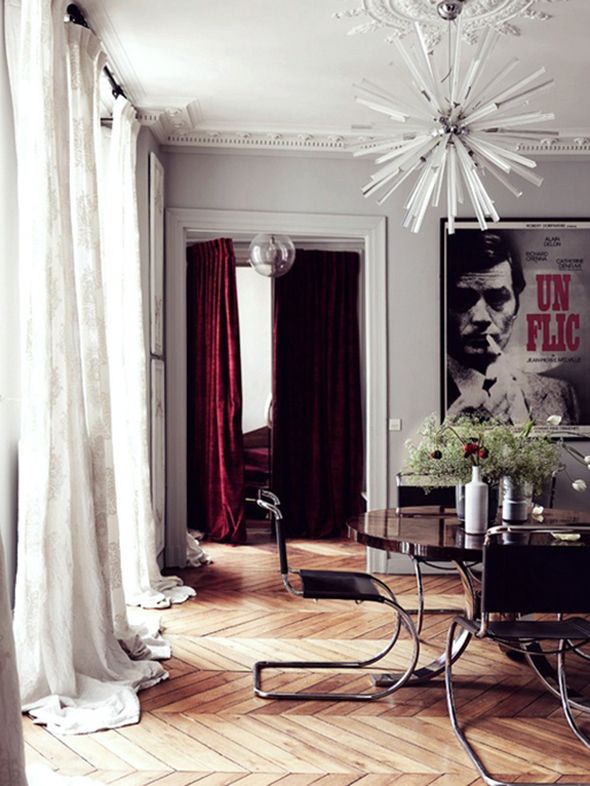
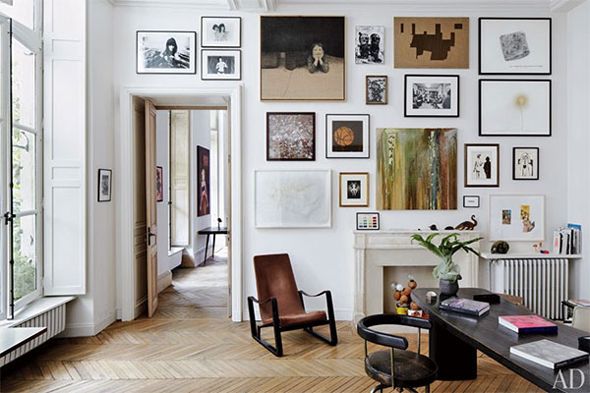
And, of course, some of my inspiration images to take you on through the rest of the week. Have a good one friends. Wish me luck with this dumb throat thing. xo

 photo frenchaccents5_thumb2.png

 photo ScreenShot2013-06-18at111637PM.png

 photo bcc7d9953b5958454d2faff9922442c0.jpg

 photo chevronfloorslivingroom.jpg

 photo ce41690a33c1cc6d4983cf6da46177f3.jpg

 photo tumblr_mj9derlQP41r081g3o1_500.jpg

 photo tumblr_inline_mmqziuZeZe1qz4rgp.jpg

 photo inter_1445-da39a.jpeg

 photo AD8714792720_2d1bdf9d31_o.jpg

 photo YESYESYESYESYES8543620756_89157b9830_o.jpg

images found here, here and here - I'll try to update the specific photos with links later. :)

Update on the Floors: Prepping

Good news! We started laying floors! Sweet, sweet progress. I could not be happier about this development.

 photo xDSC_0441.jpg

Here are the details...

But first I wanted to clarify a couple of things. A few people have mentioned in the comments sections that they wonder who I'm talking about when I say "we" a lot in my posts. I'm mostly talking about Michael, who pitches in with projects a lot after work and on weekends, and my sister, Ali, who has been a great help whenever I've needed a second pair of hands. I don't have any employees right now and there's no team of little elves over here working behind the scenes that I'm not crediting. I'm being genuine when I say that the projects I'm sharing are doable, often easy and even fun to try. So sorry about any confusion there! I work alone a lot, but when I do get a helper it feels disingenuous to say look at what I did, but I get that that's confusing, so I'll do a better job of saying who did what in the future.

 photo IMG_6309.jpg

Also, my friend Christina introduced me to Jason Millar, who I've mentioned here before. (He's all booked up now, so if I haven't gotten back to you with contact info it's because he's asked me to hold off for a bit :). Jason is a handyman who we have paid hourly to come in now and again and help us on the tricky stuff. This has worked out so, so well. I know nothing about electrical work. I am (well, was) terrified of cutting into a wall. I wouldn't have known how or where to start with laying the floors. In general, Jason comes in, lends us his expertise and occasionally some of his specialized equipment and gets us started on projects and then usually he leaves and we do most of the labor ourselves to save money. This is why things are seemingly slow-going on the reno part of the house. But we're saving money by doing it this way and learning a ton along the way. Like, at this point I've laid the floors for three of the bedrooms and it is so different than I thought it would be. Harder in some ways and easier in others. Prepping for the wood was a pretty epic experience in and of itself.
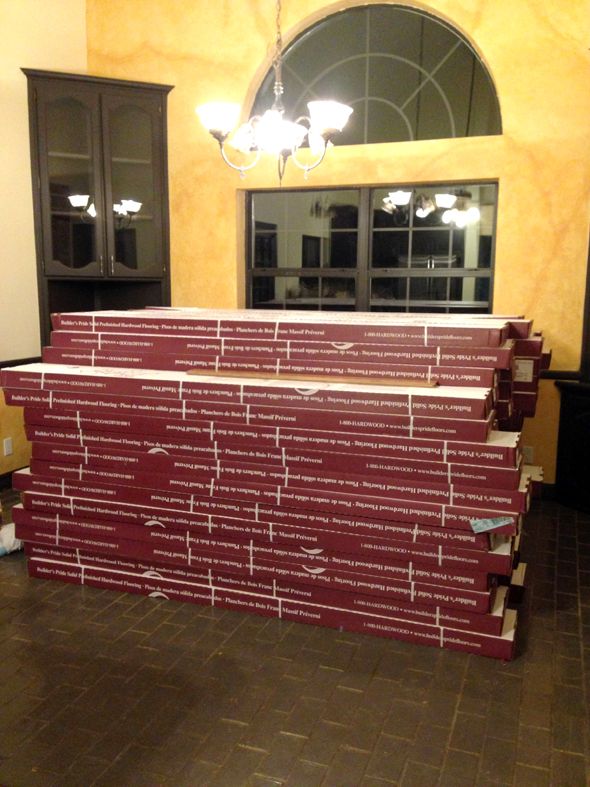
 photo IMG_6306.jpg

Most of the houses in Arizona don't have basements and are built on concrete slabs - which you can't nail wood planks into. There are a couple of options if you're in this boat.

1) The first option for us was to use glue-down grade flooring. There are a couple of solid wood lines that are suitable for glueing down, and most laminates and engineered woods can be glued down. We thought a lot about going with a nice engineered option - the kind that is 3/4" thick with solid wood on most of the thick top layer. These can be refinished about as many times as solid wood. The difference is the wood is birch-backed and a little more stable and less sensitive to moisture and weather changes. It's more expensive than solid wood though.

The flooring expert I talked to thought it would be tricky for me to install the floors by myself using the glue-down method - especially if I wanted to use completely solid wood (which will have some irregular planks and some curving to some pieces just due to the nature of wood) and not engineered wood (which is going to be pretty consistent and straight). It's hard/impossible to manipulate slightly bowed wood planks using the glue down method. Plus it's expensive glue at around $250-$350 per bucket. We would have needed more than 10 buckets.

2) The second option was to use a new sticker-like adhesive underlayment called Elastilon right on top of the concrete. It's a moisture barrier as well, which is really nice. I got a little nervous about installation of the solid wood with this stuff for the same reasons as the glue. It was pricey stuff, and it seemed like it would be tricky to get the hard wood installed right and tight without any nails. I was especially worried about the chevron pattern I want to do in the library. (P.S. John and Sherry over at Young House Love used Elastilon to install their hardwood floors and it looks like they had a pretty easy time of it.)

 photo xDSC_0598.jpg

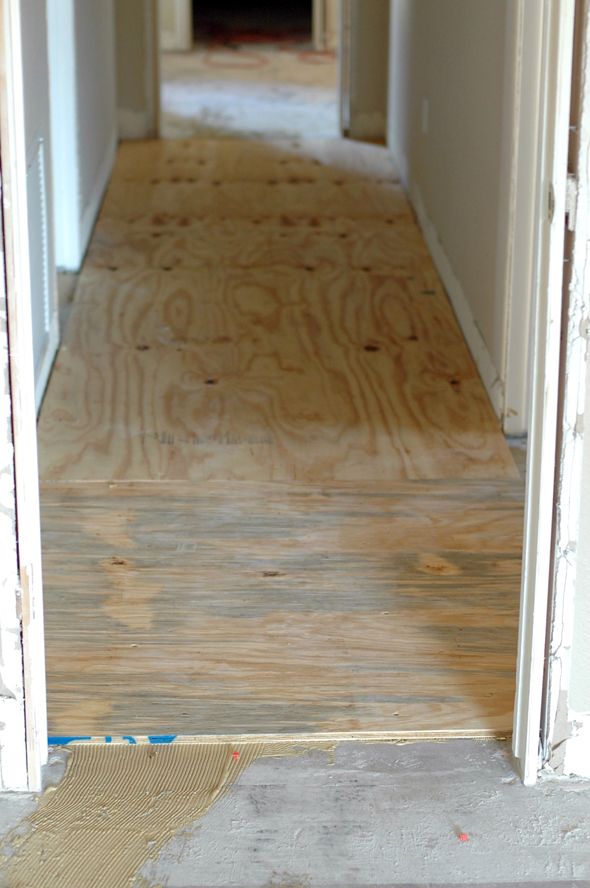
3) The last option is to glue and nail down 5/8" plywood on all the concrete and then install the hardwood planks with a nail gun. We ended up going with this method because it was slightly more cost effective on the front end, and hugely cost effective on the actual floor installment because we could nail the planks down ourselves. Jason was very helpful with the demo process and he also really took charge in installing the plywood subfloors, which were a bit of a nightmare.

 photo DSC_0588.jpg

You trowel on glue (which is rated to be a moisture barrier, as well, though is much less expensive than the other glue I just mentioned - about $75 a bucket and we needed about six or seven) and then you lay down the plywood sheet and use a gun-like ramset to shoot nails into the concrete using the force of .22 caliber bullets. It was nuts and seriously hard work. This was a good project to get pro help on.

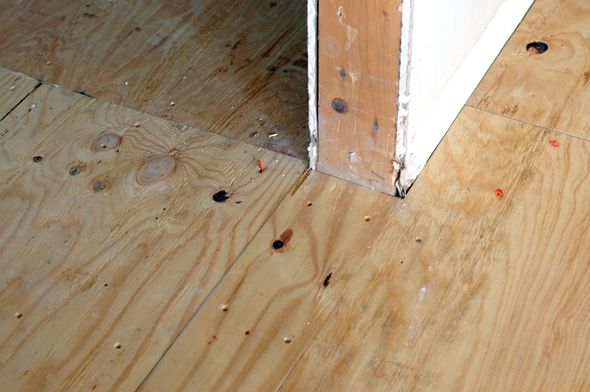
 photo IMG_6784.jpg

 photo xxDSC_0593.jpg

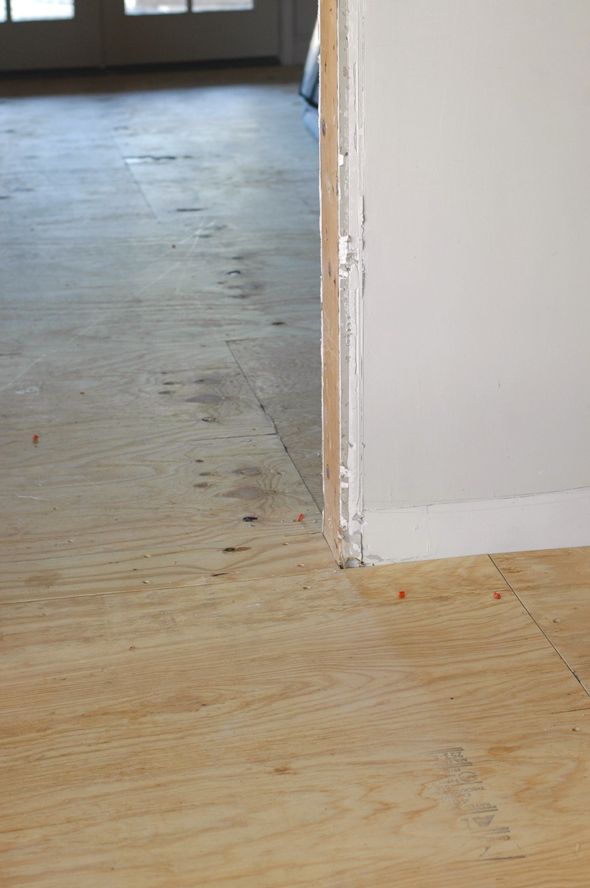
In the girls' rooms and the landing upstairs we were able to reuse the plywood floors already on the floor. The plywood is old, but level and in good enough shape. I had read online that it is imperative for plywood subfloor to be perfectly smooth and as free of old nails and staples as possible. I cannot even begin to describe what a pain it was to pull out all the staples from the old laminate. Hours and hours of hard, intense labor, bending over and kneeling down and pulling at those staples like mad. It was not fun and not easy because the staples are so long. Jason later told me it's not really that big of a deal and we could have just bent the staples over and hammered the them flat, but you know, whatever. I like to do things the hard way. (*hits head repeatedly on pile of wood boxes*)

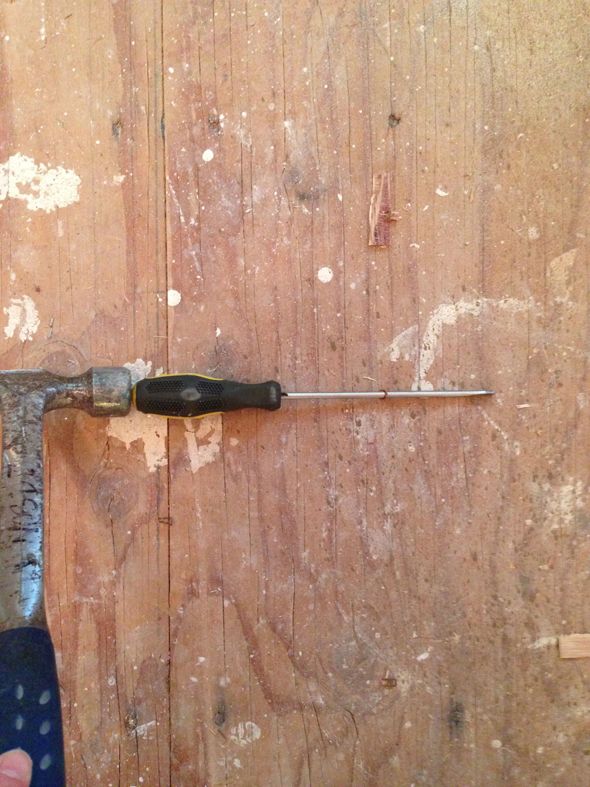
If you also like to do things the hard way, we found the easiest method to be to tap a long screwdriver into the staple,

 photo IMG_6298.jpg

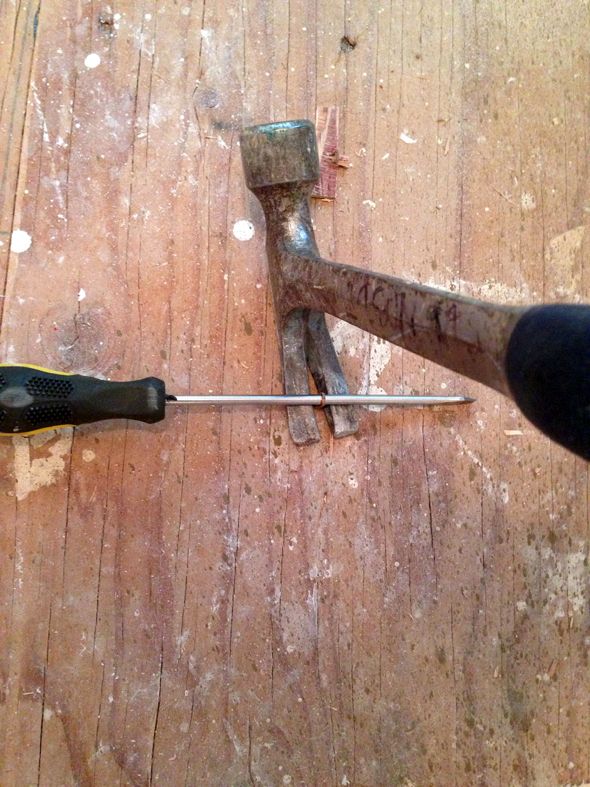
And then use the hammer to pull the staple out by prying the screwdriver up. All the staples will be installed at an angle, all the same direction and if you pull them out in the same direction it makes the process a little easier and rips up your plywood less.

 photo IMG_6301.jpg

Then we swept and vacuumed and it was time to start the floors, which I'll detail out for you in a separate post.

 photo zDSC_0444.jpg

I know a lot of you were on the fence about me taking out the hand-scraped engineered wood and the ceramic tile. I was on the fence too - it was a tough choice that I considered very seriously. And even though we've saved a lot of money by buying the wood prefinished from Lumber Liquidators and installing it ourselves, it still was expensive to buy all this wood, plywood, glue and nails.

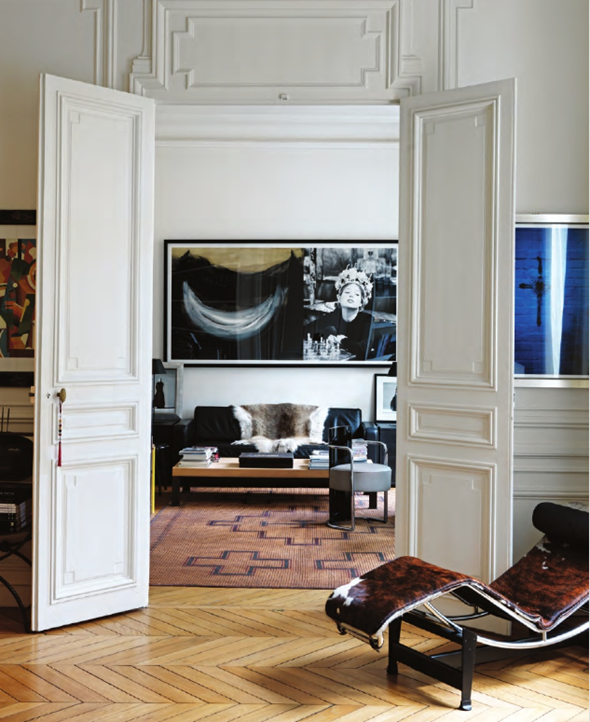
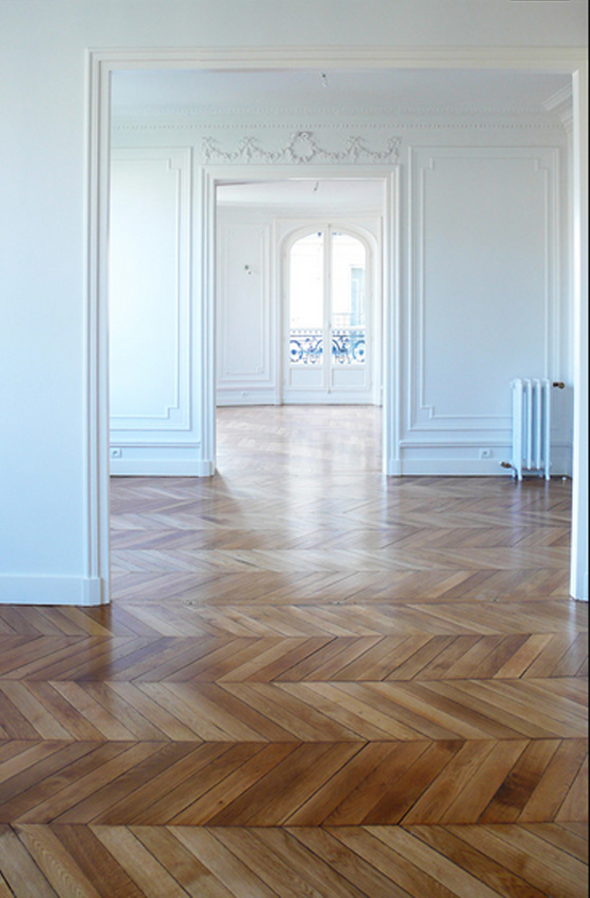
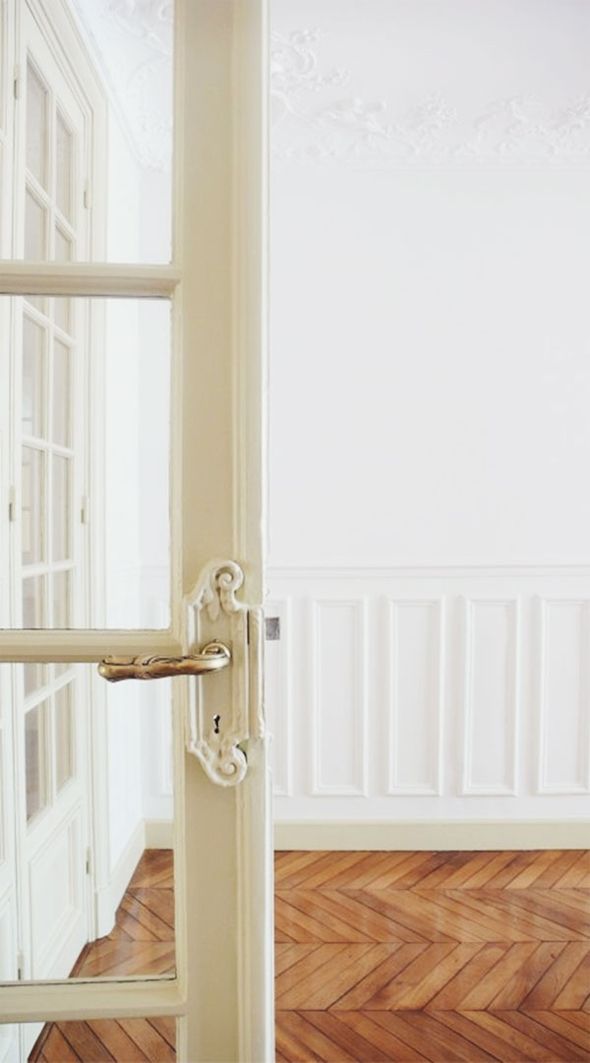
You'll probably remember that when I decided to pull out the old floors, I was shooting for the stars and wanted a very specific Parisian apartment look to the wood. Classic and traditional looking, but a little more on the worn in side and warm-looking. I had put aside a lot of our savings to try and do this, but when I got the quote of nearly $40,000 for the wood and installation and finishing on site (not including the demo), I just had to let go of the idea. We hit more roadblocks right and left and ultimately I decided to just go with the prefinished white oak solid wood and take the time to install it myself.

 photo xDSC_0418.jpg

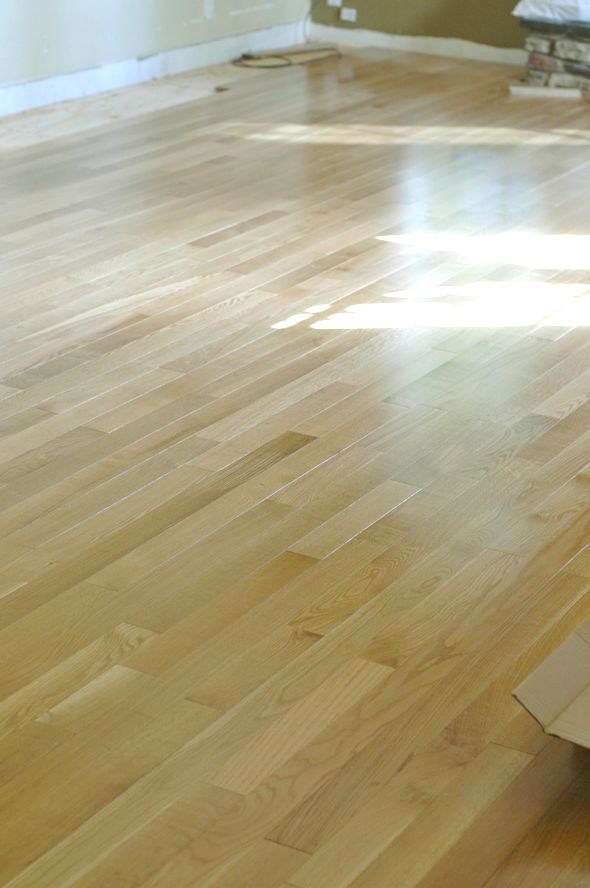
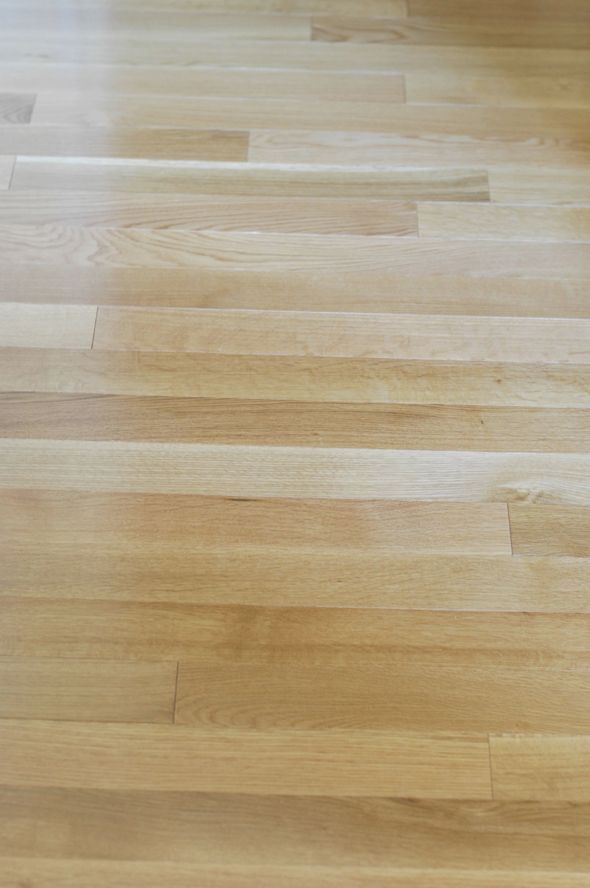
This way I'm still getting a little bit of the look I was hoping for with the finished-on-site wood and have the option to sand and refinish the floors several times down the road, if we want to.
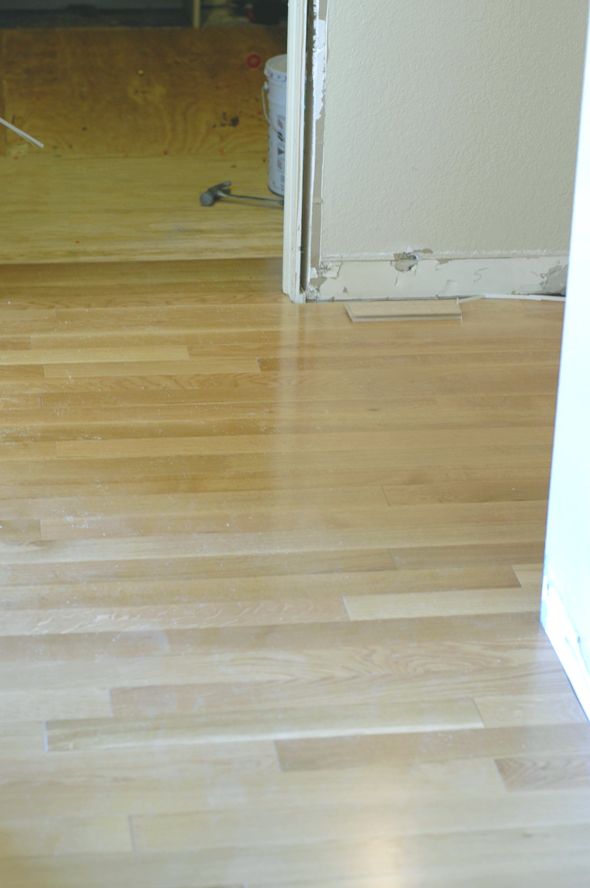
 photo xDSC_0414.jpg

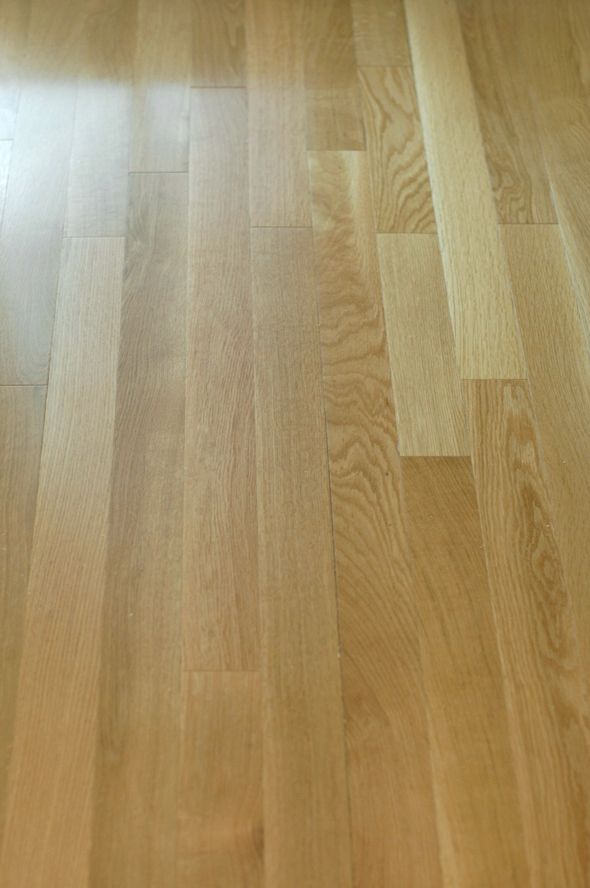
So far, I'm liking the floors like a 7.5 or an 8 out of 10. The good news is I really like the 3.25" plank width. I think it will be perfect for the chevron pattern we're starting on in the library next week. I'm okay with the stain/wood color (though there are occasional pieces that are more pink than I'd like to have, but you know, that happens with oak). Minus two or three points for the finish though - it's a little too perfect and satin-y. This is what I was worried about with the prefinished route, but I know it'll look great when we get furniture and rugs in here to break up the sea of smooth wood. We're trying to leave just a hair of a gap in some planks just to avoid that tight butcher block look that I want to avoid. And happily there's none of that hollow sound when we walk and I attribute that 100% to Jason's handy work with the subfloors. Dude knows what he is doing.
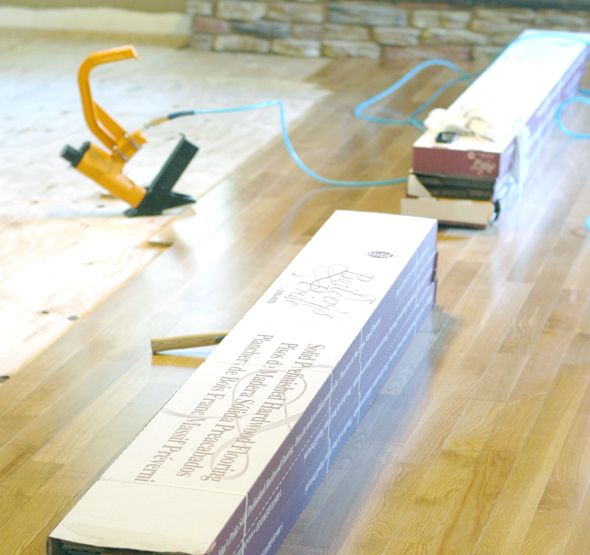
 photo zDSC_04161.jpg

I'm being nit-picky about the finish though - I really like this wood and I still think it was a good choice to change out the old floors before we settled in to this side of the house. Once the walls are all painted and the trim is back up, I know I'll love the floors even more! I'm really glad we did it.

Back to the nail gun!
White Oak Wood Floors

Originally we planned on putting in unfinished white oak floors so I could customize the stain color and finish. We were going to have a company come in and lay the floors for us since we were in a time crunch and there's a lot of floor to be laid. To save money we were just going to do the demo ourselves. It's a long story with not a lot of interesting take-aways, but the short version is that the floors weren't going to be able to go down before the moving truck arrived with our stuff, so there was no reason to pay the extra money to have the flooring company lay them for us. We are saving about $25,000 by laying the floors ourselves and by going with a pre-finished wood. $25k is a pretty insane amount of money to me. I don't mind putting in the work myself at all so that I can save that cash for other projects and especially for the kitchen reno we're planning down the road.

 photo IMG_5203.jpg

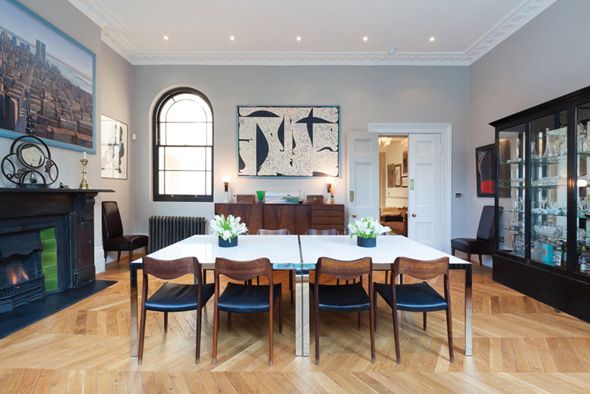
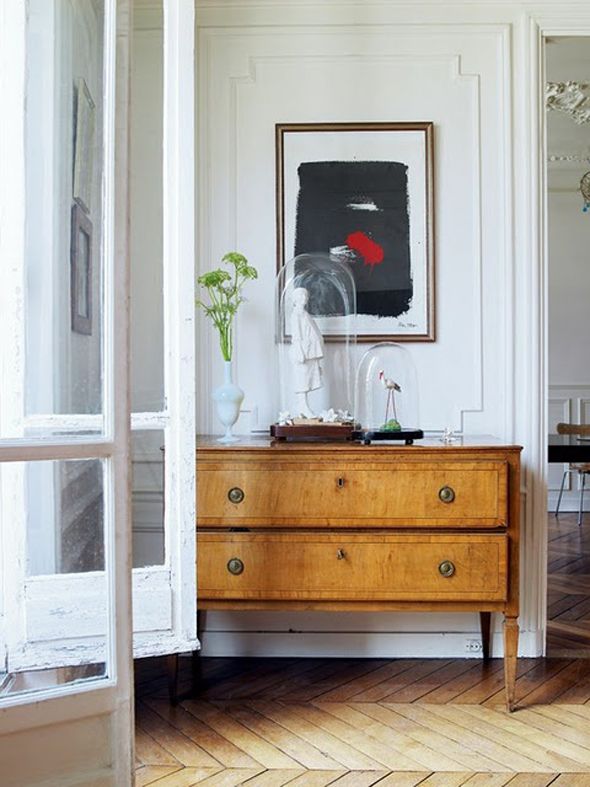
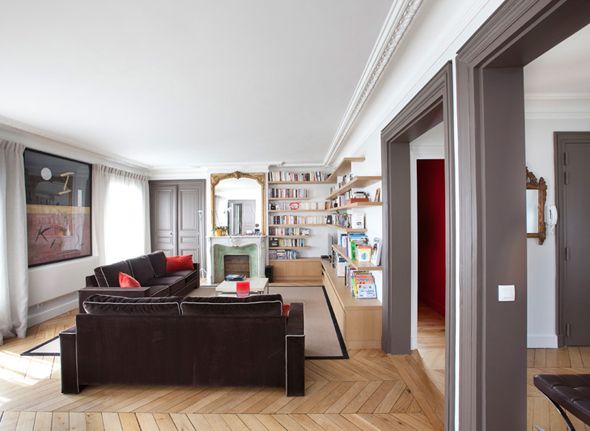
At first I was a little sad about not getting to customize the stain and finish on the floors, but I actually don't think the custom stain would end up being so different from the pre-finished wood I ultimately selected. When I was trying to figure out a stain formula, I kept thinking I wanted a more gray look. Then I would look at my favorite inspiration images and those floors were definitely more golden-natural than gray.

 photo FLOORSDomus-Nova-Leinstercopy.jpg

(more after the jump...)


 photo herringbone-floor-entry.jpg

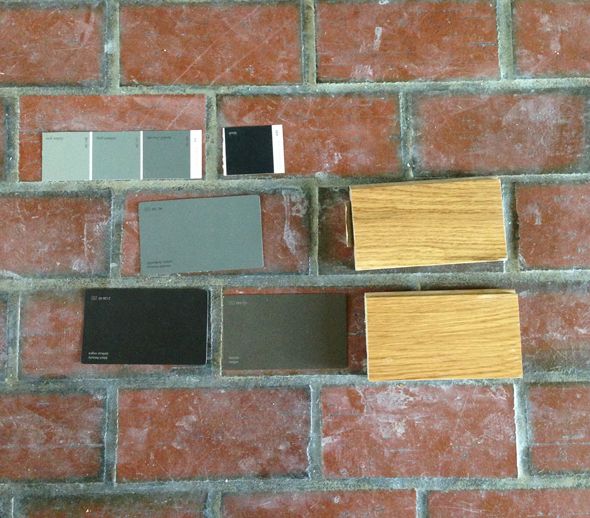
So I figured I should take my own advice about finding color balance in my home. I usually pick very cool-tones for my wall colors (grays, blues, white), and if I went gray on my floors too, the overall look wouldn't be quite right for me.

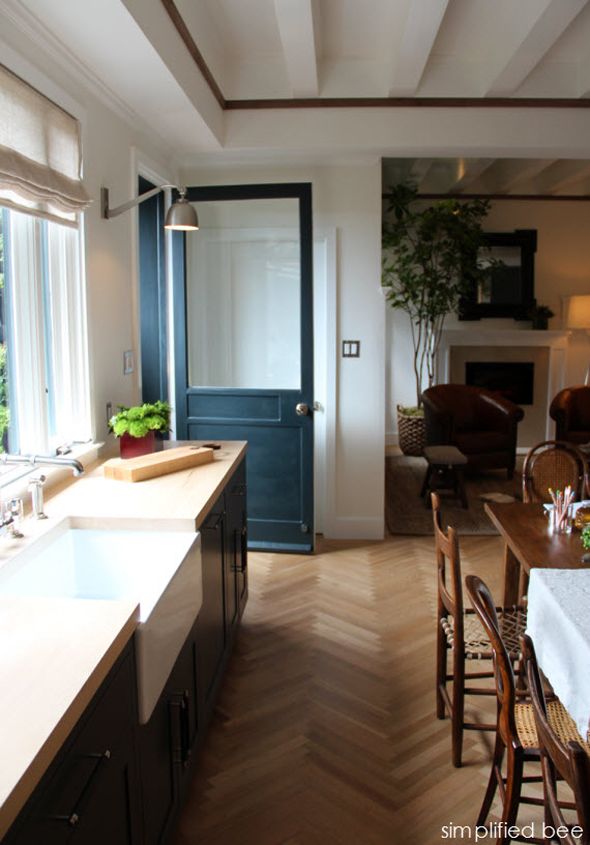
 photo farn-house-kitchen-sink--herringbone-wood-floors--kitchen-door.jpg

 photo PERFECTFLOOOOOOORRSaliacopy.jpg

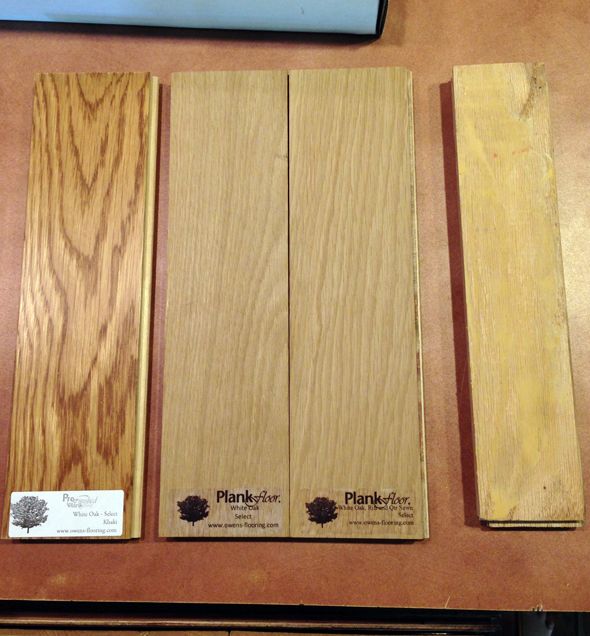
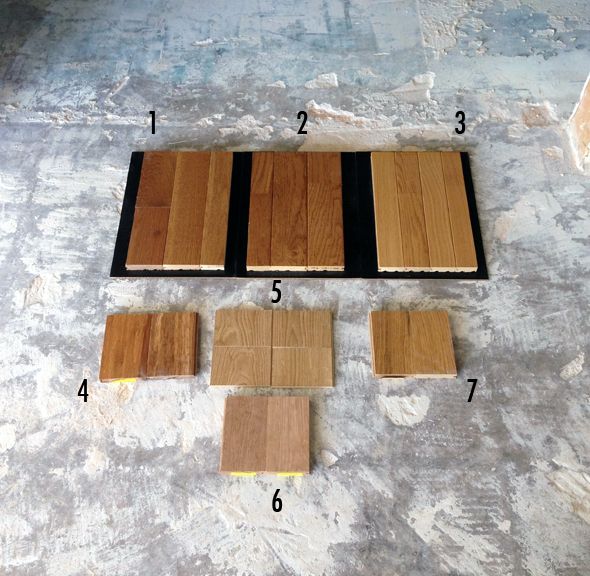
So I went shopping and picked up samples of pre-finished hardwoods. Just like with paint, I think it's always a good idea to see how the samples look in different lighting throughout the day. 

The top three samples are from Lowes. I liked the color on the right (#3), but that stain and species (white oak in natural) only came in 2.5" planks. Also the Lowe's wood was more pricey than the Lumber Liquidators options here on the bottom row.

 photo IMG_5806.jpg

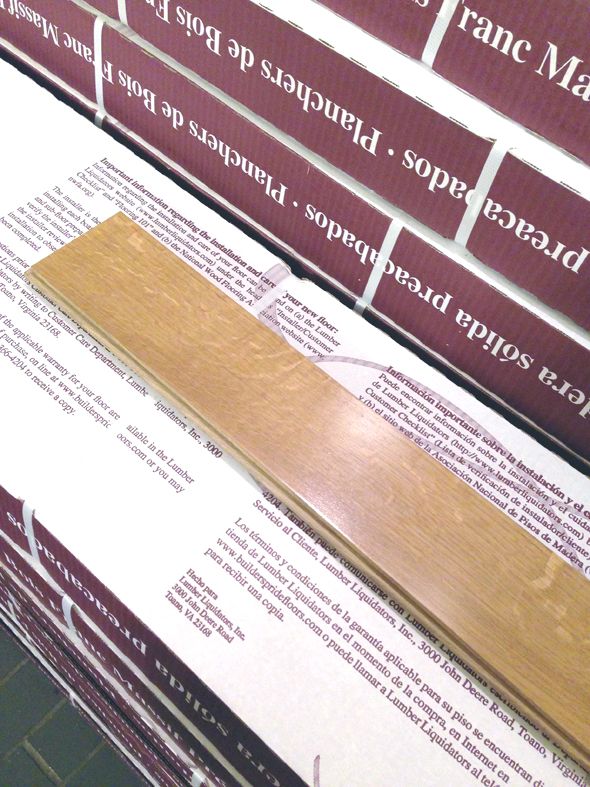
Number 4 is actually a bamboo that looked really nice in the LL showroom, but wasn't right for me. Number 5 is a cheap-o laminate from Home Depot. I picked up a couple of samples because I really liked the golden gray color and thought I would try to match the stain on my unfinished wood (which is #6). Number 7 is a 3 1/4" select grade white oak from Lumber Liquidators, made by a company called Builder's Pride. The select grade just means there aren't any hardcore knots. It's a nice and clean look, but still has the character I want to see in wood floors.

 photo sIMG_5803.jpg

Lumber Liquidators was so nice and seriously wonderful to work with. They aren't sponsoring my blog in any way - I'm just genuinely impressed with their customer service level and the way they run their business. None of their salespeople work on commission so everything is low pressure and very friendly. I didn't even have to ask about sales or promotions - they automatically knocked 30 cents per square foot off the price because I was ordering 2500 sq feet of wood. And tonight they are delivering my wood free of charge (which normally is a paid-for service) just because there was going to be a truck in my area. So, so cool of them.

 photo IMG_5911.jpg

Soon my freshly painted dining area floors will be stacked high with boxes of wood. The wood will need to acclimate to the house for at least seven days before we can start laying it. But there's plenty to do in the meantime. We need to lay a plywood subfloor on all the concrete on the ground floor and we're going to start all the miter cuts for the chevron floor in the library now. My handy man Jason (who is amazing - email me if you need a guy in the east valley Phoenix area) framed out all our demo work earlier today. It was CRAZY to see how fast he got that wood up! He's going to install my front door early next week too. And we'll have some drywall guys come in this week as well so that I'll be all ready to put down the floors the second the seven days of the acclimation period is up! In the meantime I'll be practicing my mallet-swinging form for working the floor nailer and stretching out my hamstrings, which are apparently what will ail me the most while hunching over the nail gun. :)
Updates on the Demo!

Sorry for the delay on the laundry room reveal guys! We're having some technical difficulties, but the post should be up tomorrow morning!

In the meantime, I thought I'd share a little update on where we are with the demo. Part of me feels like things are getting done fast, but the other part of me is dying inside from impatience. Not to sound ungrateful but we've been living out of suitcases and sleeping on air mattresses for weeks now since our stuff isn't here yet. I'm a little over it. The idea was to get the floors done before the moving truck arrived at the end of the month, so we've been hurrying as fast as possible to get the demo done. The turnaround was going to be tight even if everything went perfectly perfect (which, duh, it never does).

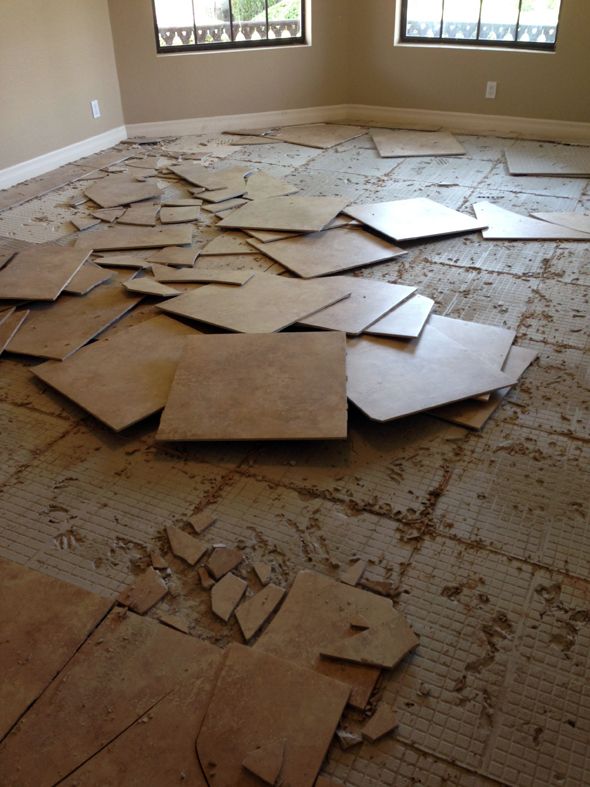
The floor tiles came up pretty easy and many of them were salvageable. The thinset was more like thick-set (almost a full inch in some places!) and that made for a major dust situation to get down to concrete.

 photo IMG_5298.jpg

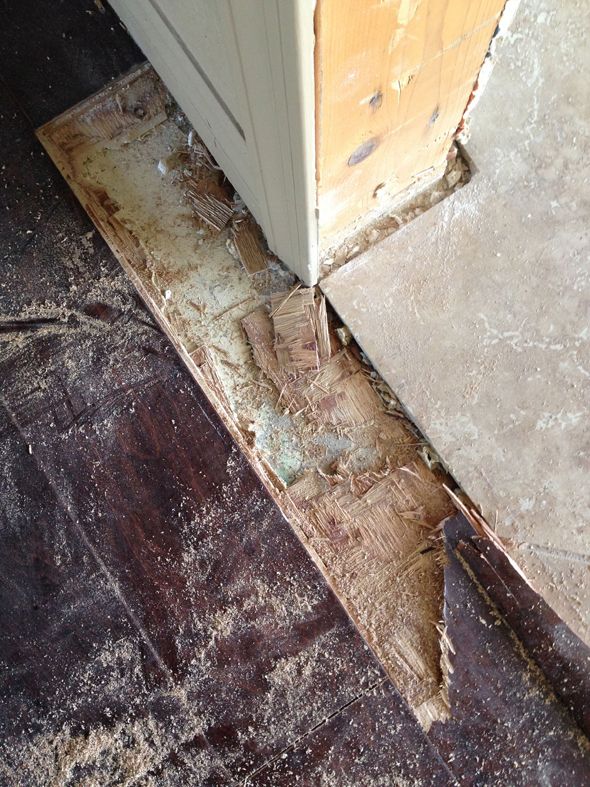
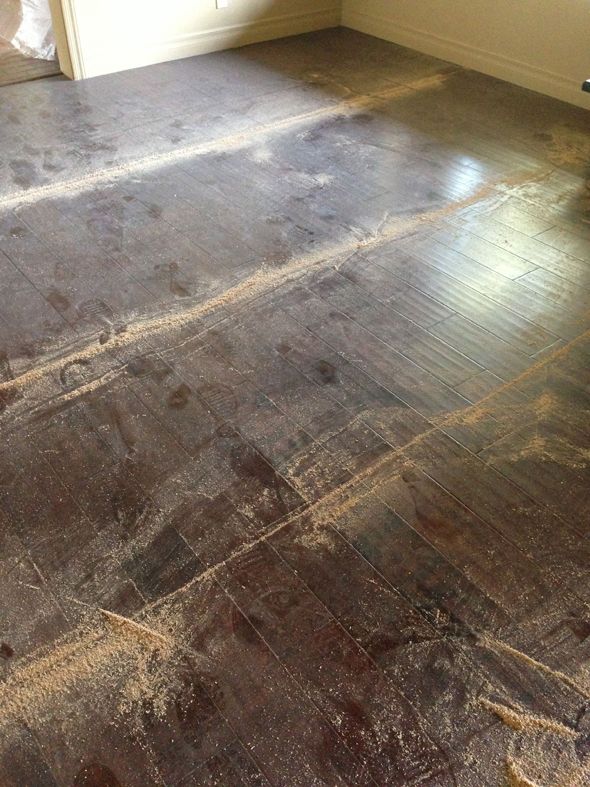
The wood upstairs was nailed down to the plywood subfloor, so it came up in big salvageable planks. So that was good news. The wood in the living room and in the master bedroom however was laid on the concrete slab. It had to be glued down and it was a royal nightmare to pull up. The stuff just shredded when we took a crow bar to it!

 photo fIMG_5289.jpg

(More after the jump)...
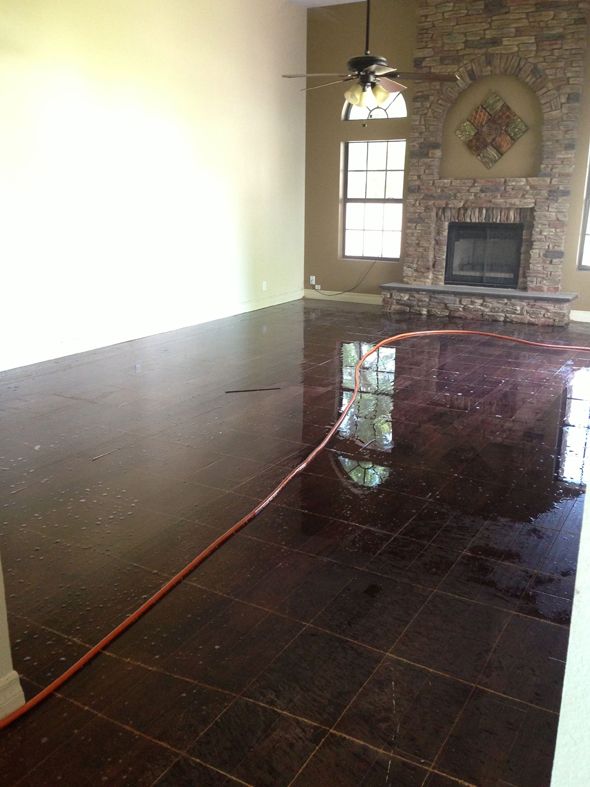
We ended up having to score the floors with a circular saw and then soak them (literally) with water from the garden hose to loosen the wood and the glue underneath. Thank goodness we only had two rooms of that glue down stuff, but just those two rooms have taken days and days of work.

 photo IMG_5306.jpg

 photo IMG_5556.jpg

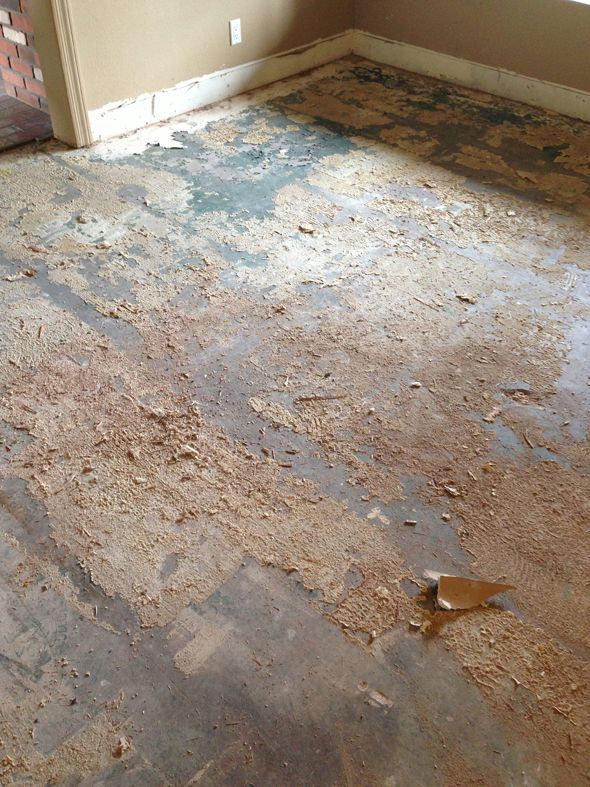
This is where we are today. Just the bits of glue left!

 photo IMG_5726.jpg

There's been some drama with the wood I wanted too, so the materials haven't even been ordered yet. :/ This is the part of the reno process where the owner (bummer that it's me this time) starts banging their head on the (dusty) walls, tears streaming down their face and dolla dolla bills flying out of their pockets at the speed of light.

But we'll get there! I think we've figured out an alternative option for our wood floors that is more affordable and easier to install (I'll share more next week). There is a bit of a light at the end of this tunnel!

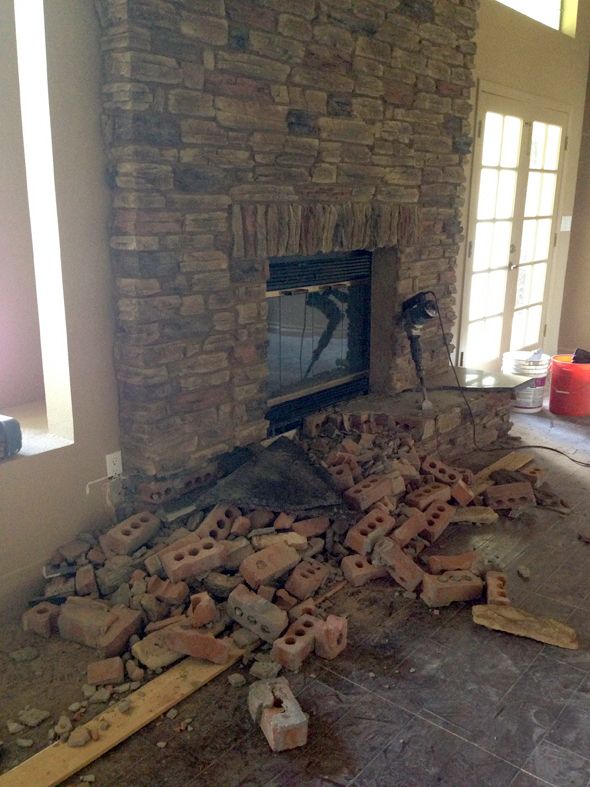
The other aspects of the demo are going a little better than the floors. The walls came down fast, which was completely exciting and satisfying! :) The hearth was ripped up in about twenty minutes!

I had a mason come out today and now it's looking like we're only going to redo the fireplace in the living room. We have to have a fireplace specialist build an entirely new firebox because of the way the flu (or the lack there of - it's sort of just a pipe?) was built. While it's not cheap to have this work done, it's not as expensive as I was worried it would be, so I'm happy to invest a little to make this fireplace special since it's in the family room. I think we'll save the cash on the master fireplace though and just paint the stone or something else DIY.

 photo fIMG_5554.jpg

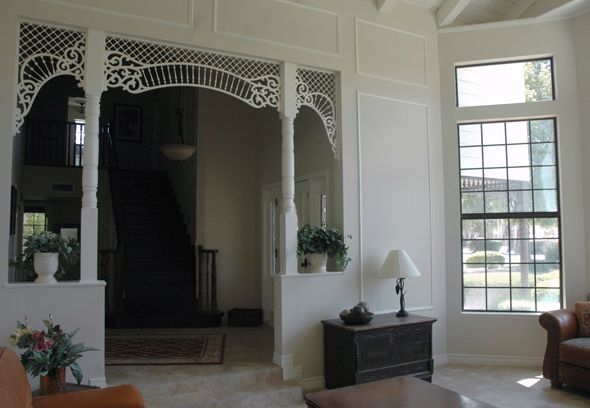
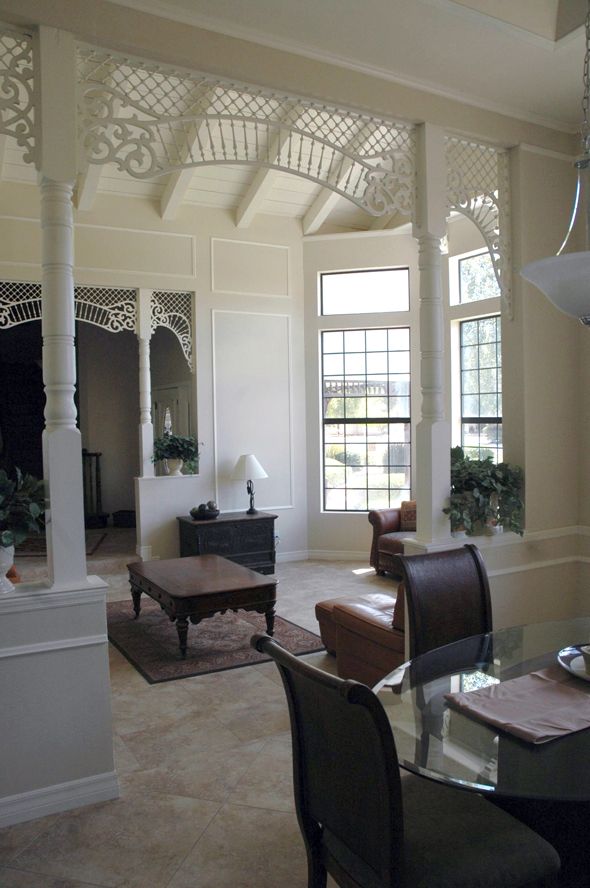
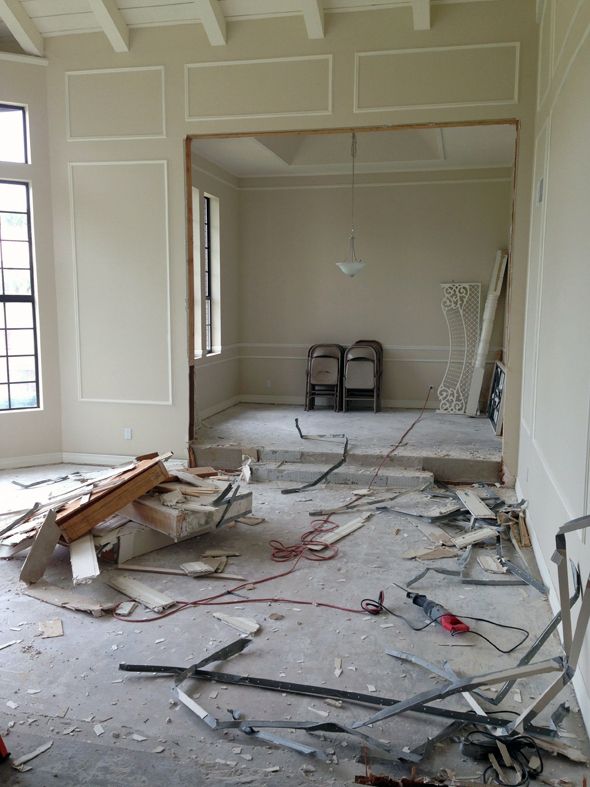
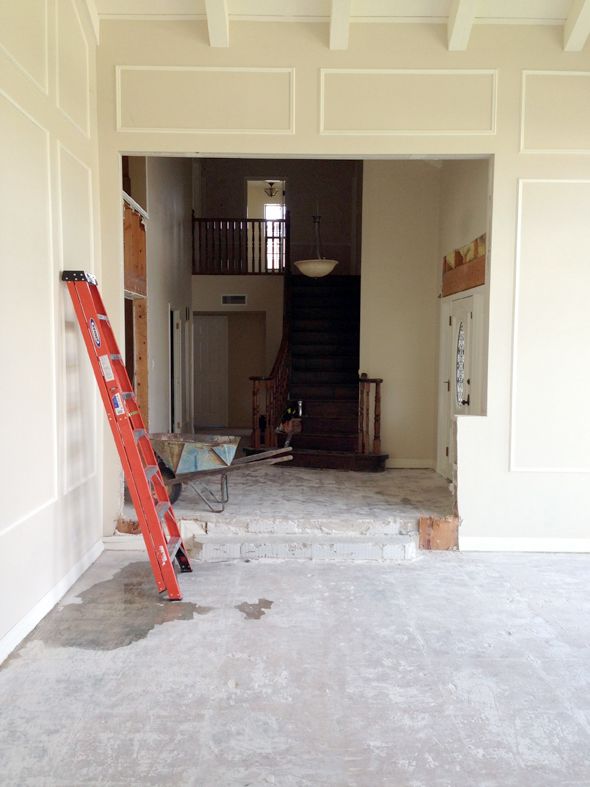
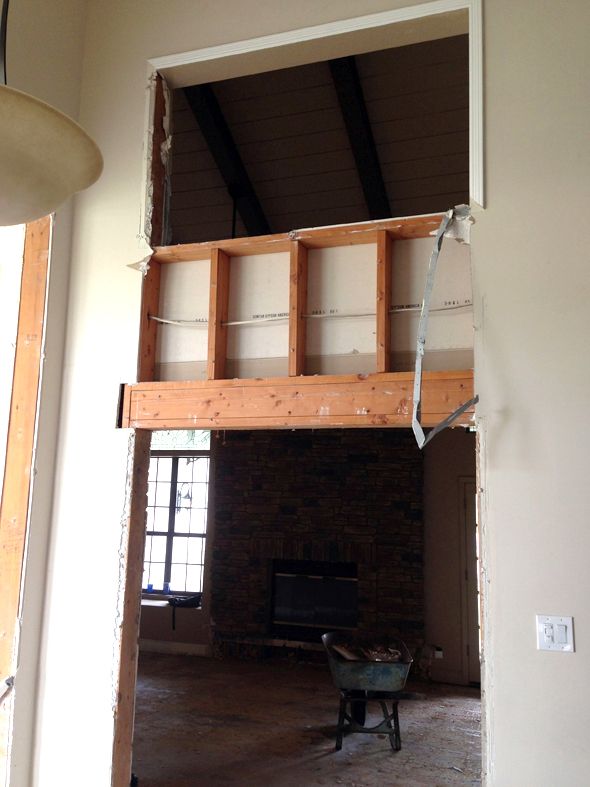
In the front part of the house, we ended up taking off the pony walls and the columns completely to make the bookshelf built-ins easier down the road. I'm loving how open the room feels now! We're building back some of the walls, but I think it will still feel very open. Can't wait.

 photo dDSC_0368.jpg

 photo dDSC_0384.jpg

 photo IMG_5729.jpg

I was hoping to put in a new front door in a couple of months (once the bank account had a minute or two to recover!), but because of the new floors we're having to change the threshold and it just makes sense to do this now. I think I found one that I like that's affordable, but it needs a little DIY magic to make it special. Post coming there, of course.

 photo IMG_5721.jpg

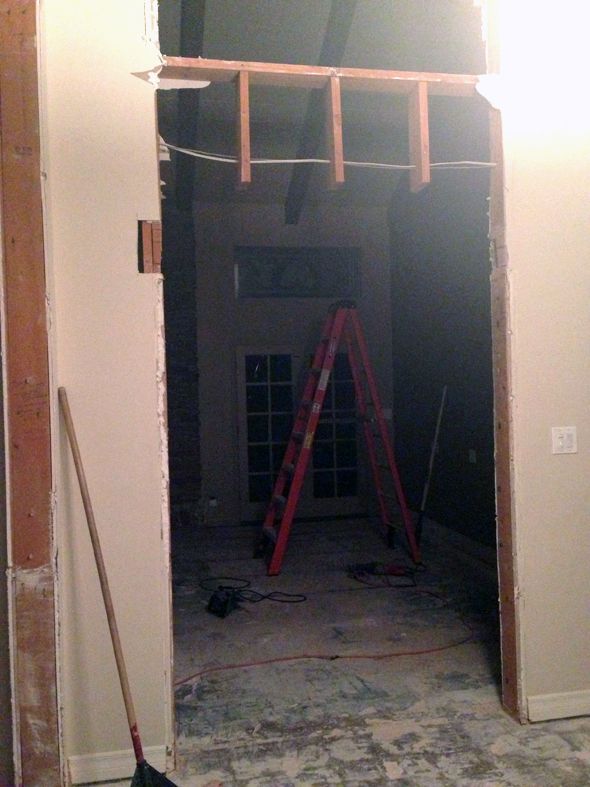
The entry way opposite the front door is getting raised now too. Both the front door and the entry way were only 80" tall and both will be about 100" now without trim, which will better match the proportions of the high ceilings in the rest of the house I think. The short doors felt weird in person, so in a way I'm glad we were forced to take these projects on now rather than later.

 photo IMG_5731.jpg

 photo IMG_5745.jpg

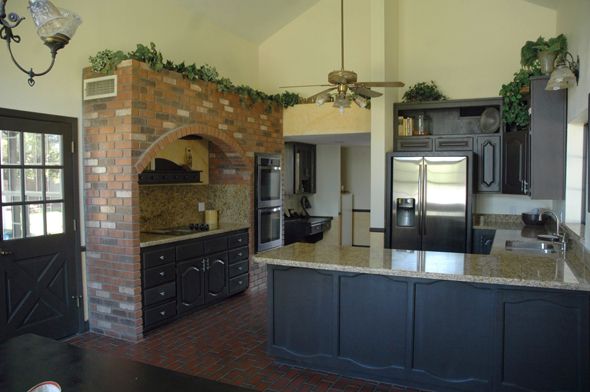
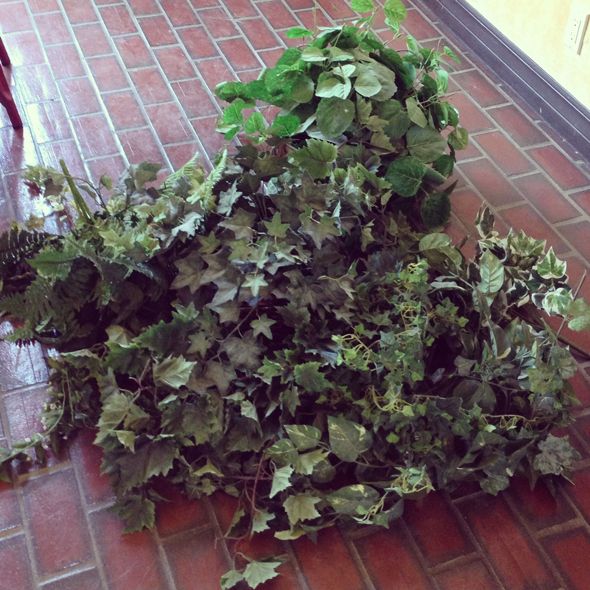
The rest of the house has been getting only minor updates so far. I started a few little projects in the mudroom and I took down the plastic plants in the kitchen. :)

 photo DSC_0583.jpg

 photo fIMG_5719.jpg

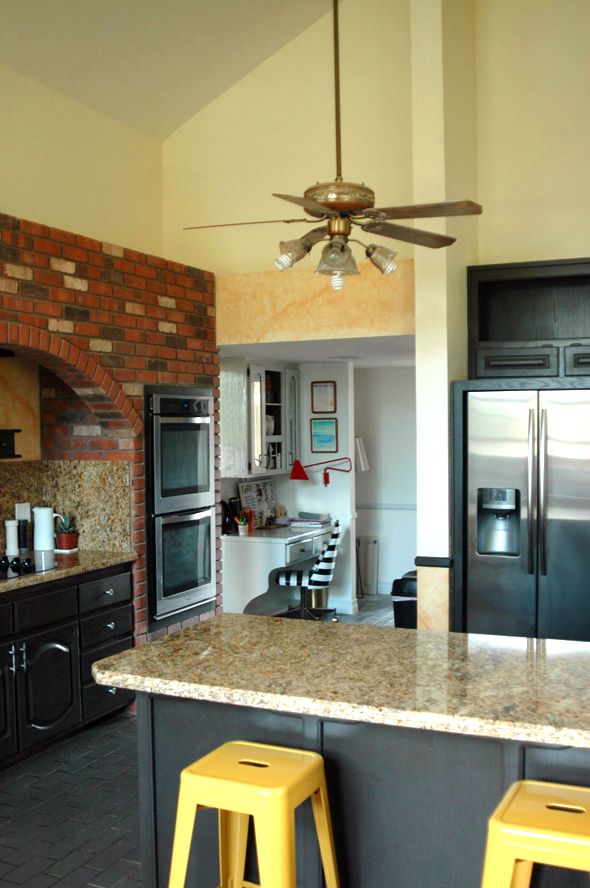
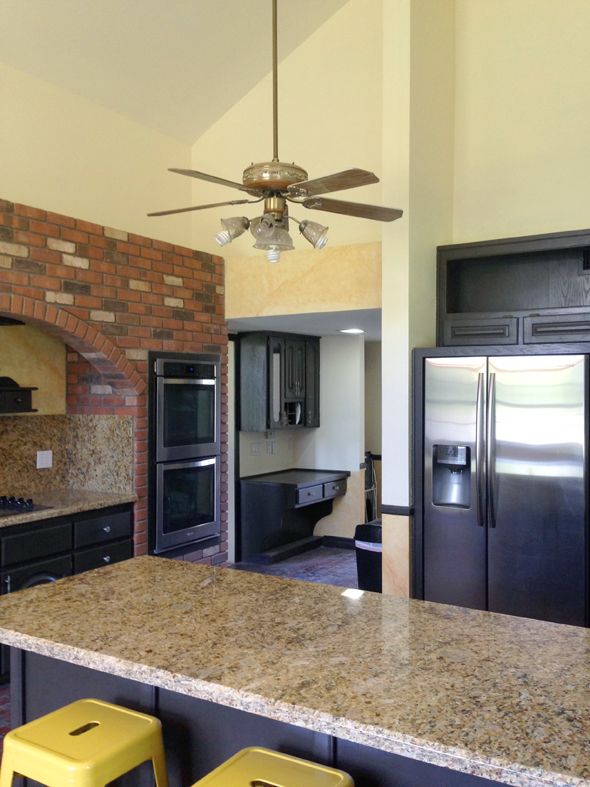
I'm totally dying to paint in here (well, everywhere actually), but we need to wait until the demo dust settles a little more. I think this weekend might be a good time to throw up some sample swatches. Pretty sure about 50% of my anxiety will be gone once that yellow faux plaster paint job is gone!  ;) ...also that ceiling fan...

 photo IMG_5812.jpg