Tampilkan postingan dengan label Mud Room. Tampilkan semua postingan

DIY Plank Walls (and Painted Mudroom Floors!)

We are making some great progress on the mudroom this week! Before we moved in and tackled the space, the room had plant shelves aplenty and highly textured walls.

 photo DSC_0622.jpg

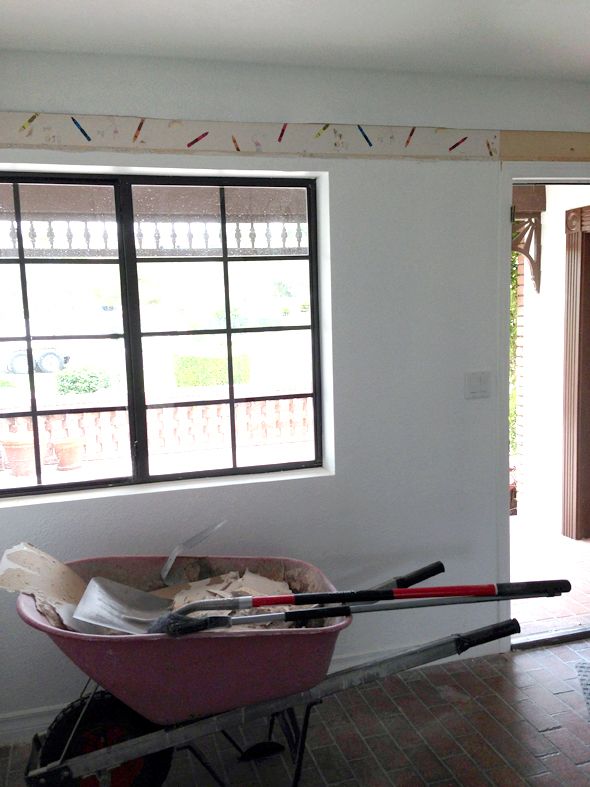
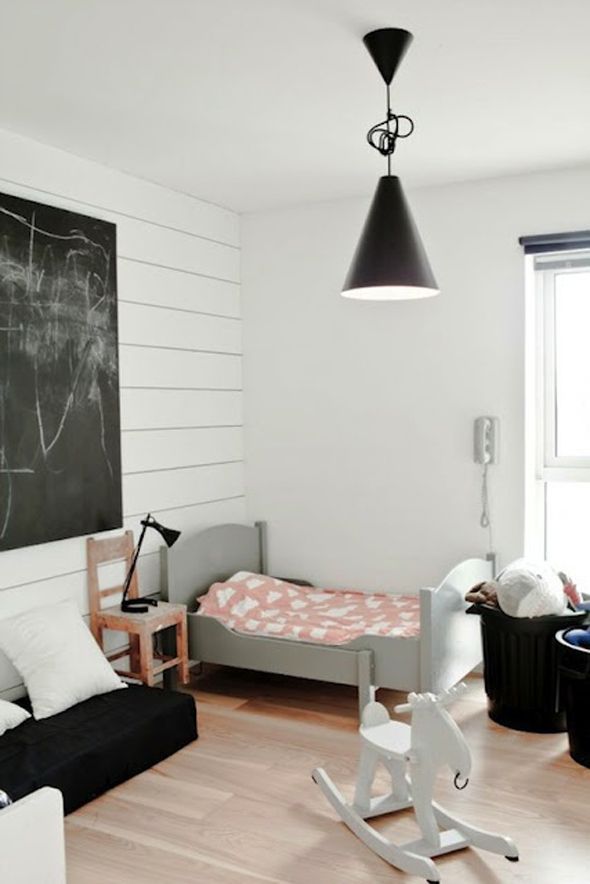
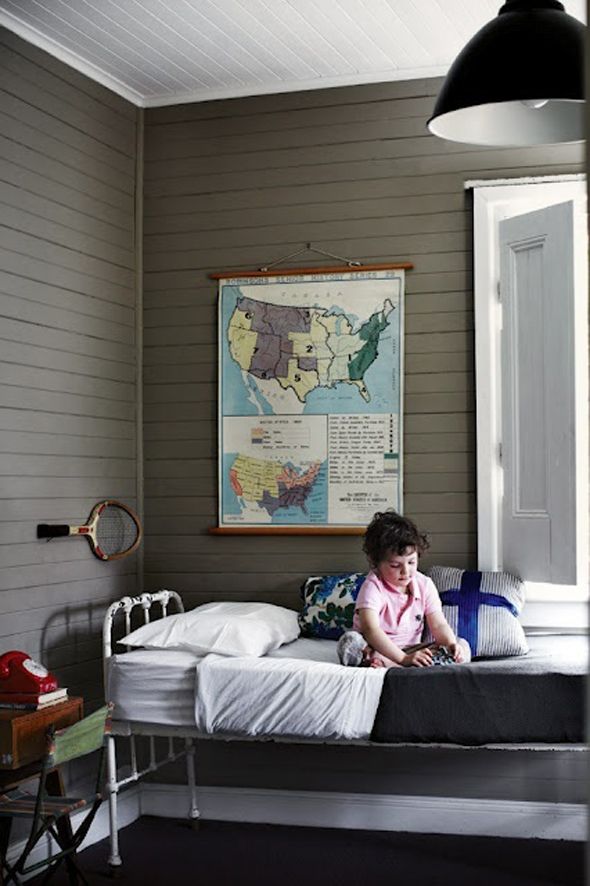
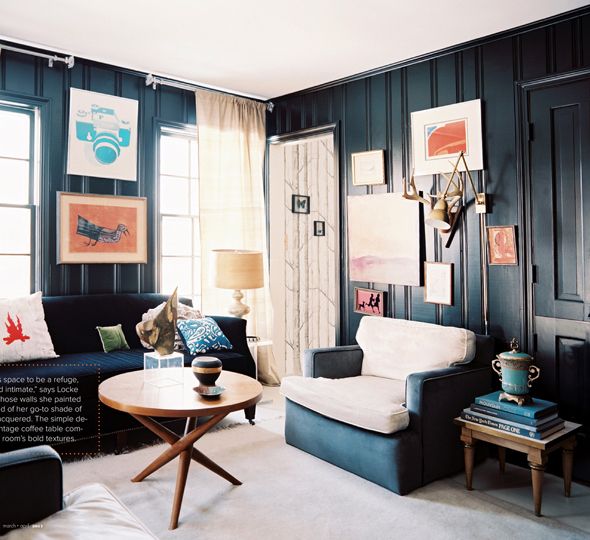
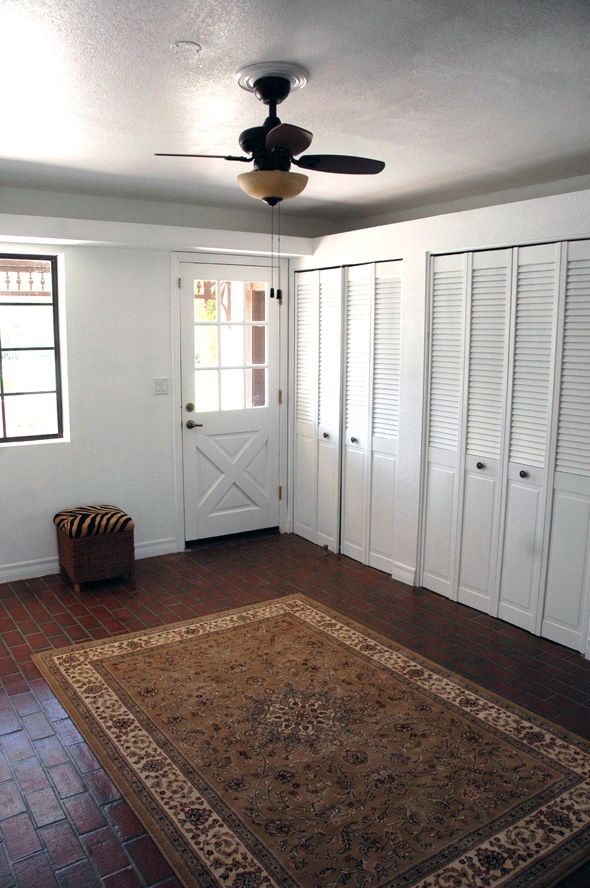
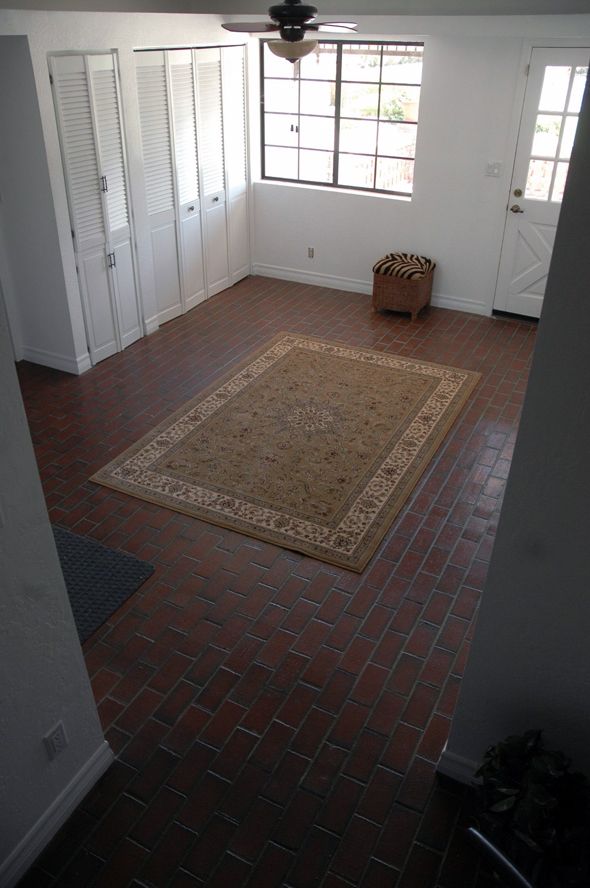
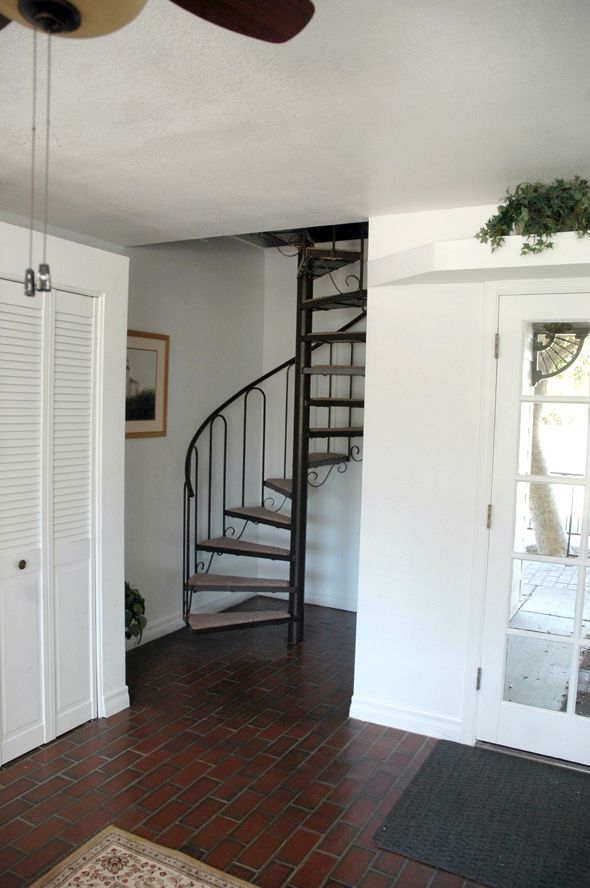
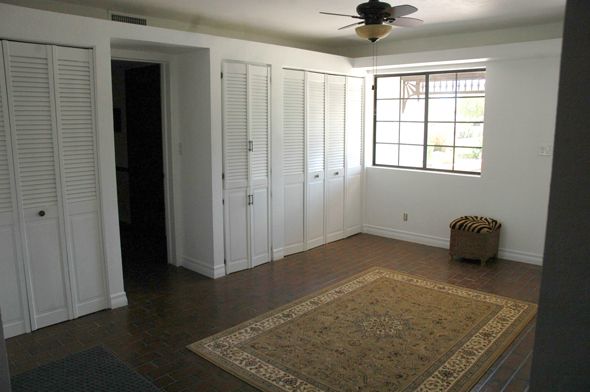
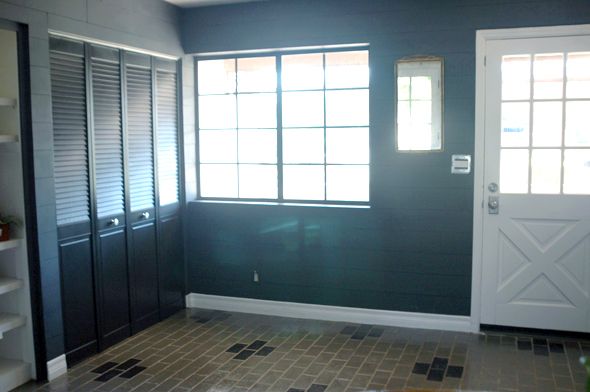
It's still a work in progress, but I love the direction we're going in here. The room is completely flooded with light all day long, so I decided to go dark and dramatic on the walls and the floors.

 photo DSC_0679.jpg

Here's the full break down...

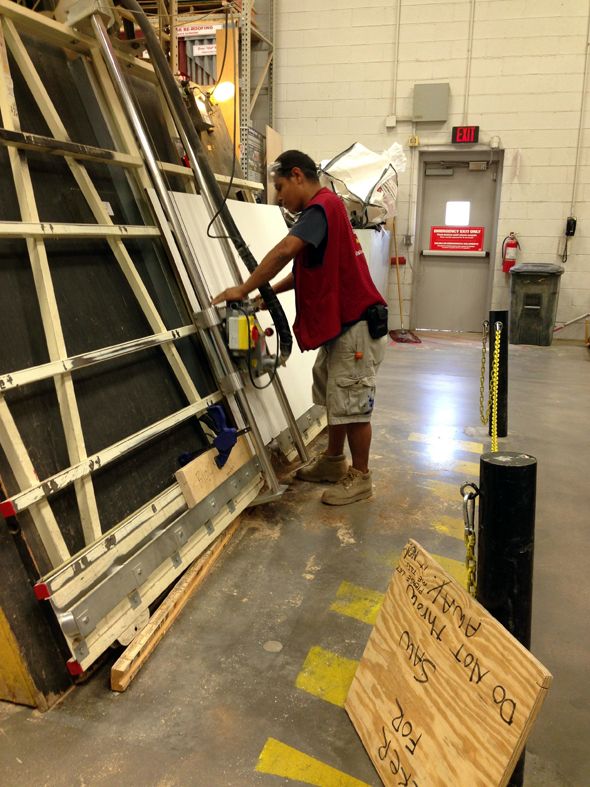
A couple days ago we headed over to Lowes to have the wood cut for the wall planks. We decided on 1/4" melamine boards because they're inexpensive, light and easy to hang. Lowes has a pretty generous lumber cutting policy. Usually they'll do all your cutting for free (even many multiple cuts like with these planks), but sometimes they'll charge 10-25 cents per cut. We cut my stack of five 8x4' melamine board ten times, so it wasn't that expensive to have the wood cut quickly and precisely. I had all the boards cut to be 6" wide and 4' long.

 photo IMG_6080.jpg

The installation part is a breeze. You'll want a miter saw, a nail gun, a handful of nickels, a level, a hammer and maybe a nail set if you want to see no nail heads. 

 photo aDSC_0434-1.jpg

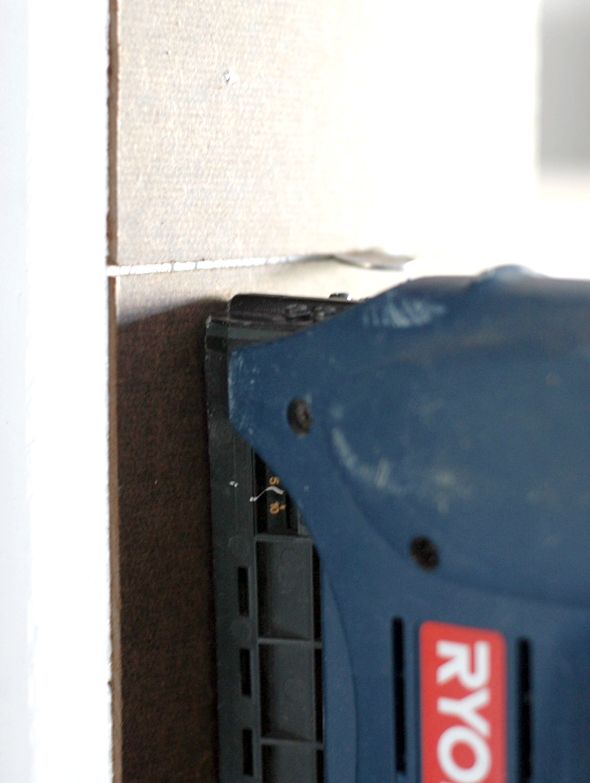
So to start, just use a level to hang your first plank up against the ceiling and then stagger the next plank underneath and maybe cut it down a little too so not every plank is the same length. You'll have lots of different lengths to choose from before long though as you hit corners and doors/windows. 

 photo IMG_6350-1.jpg

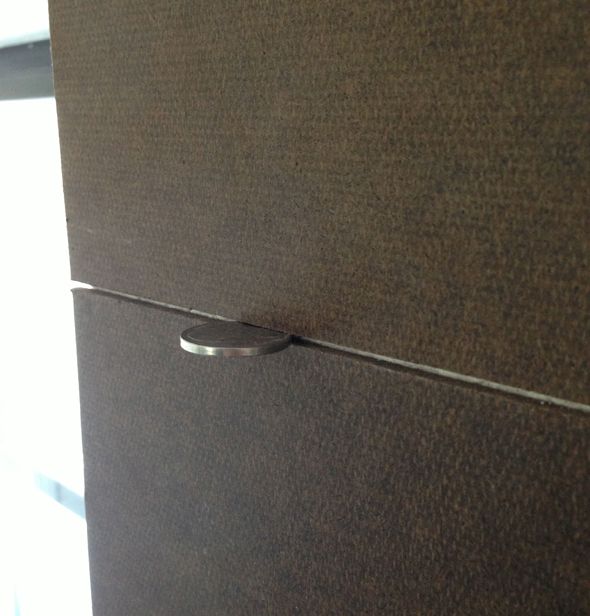
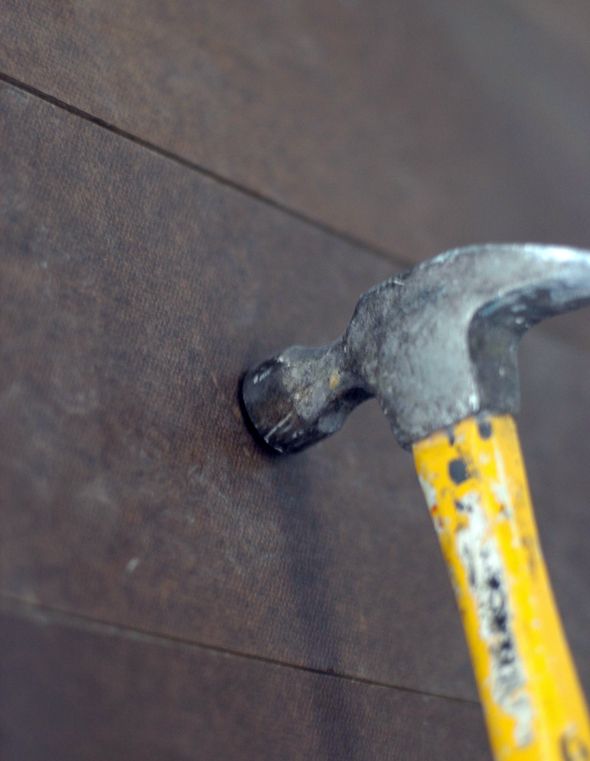
I used a couple of nickels to space out my planks before I nailed them in. Worked like a charm to create a small, consistent sized gap between the planks. And to make my nail heads more flush with the planks, I just tapped the nails the rest of the way in with a hammer. I didn't set mine in yet though because I don't mind seeing the shadow of the nails in the planks. 

 photo ssDSC_0426-1.jpg

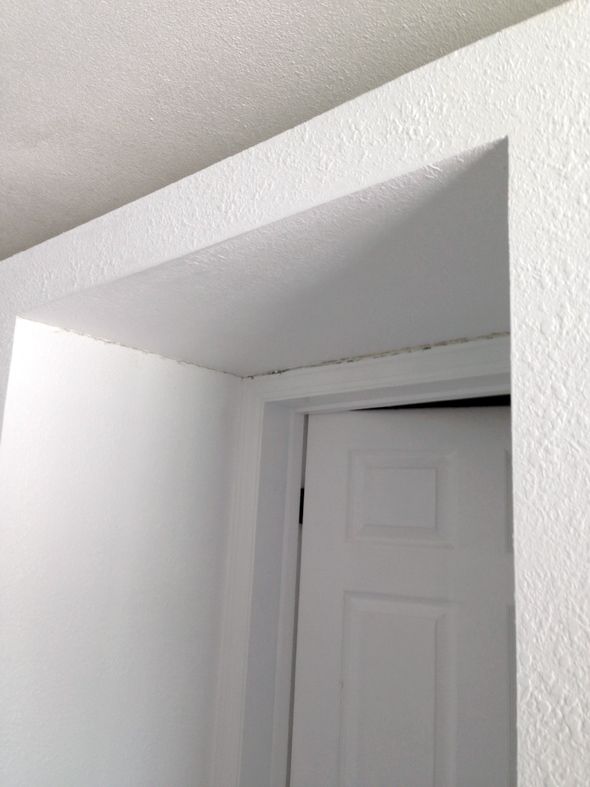
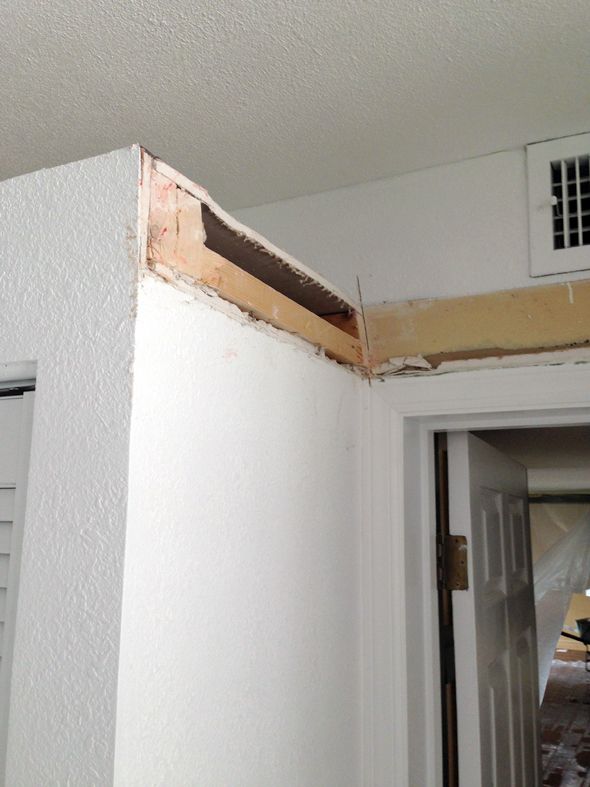
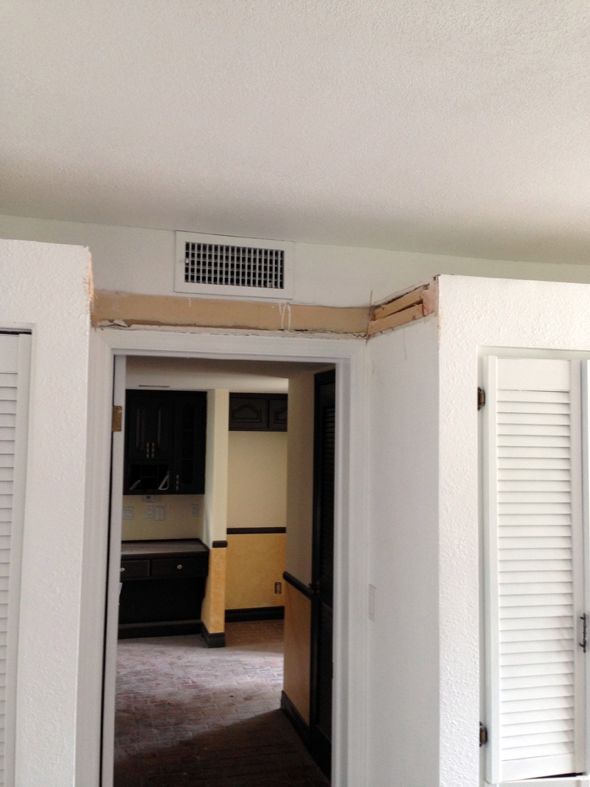
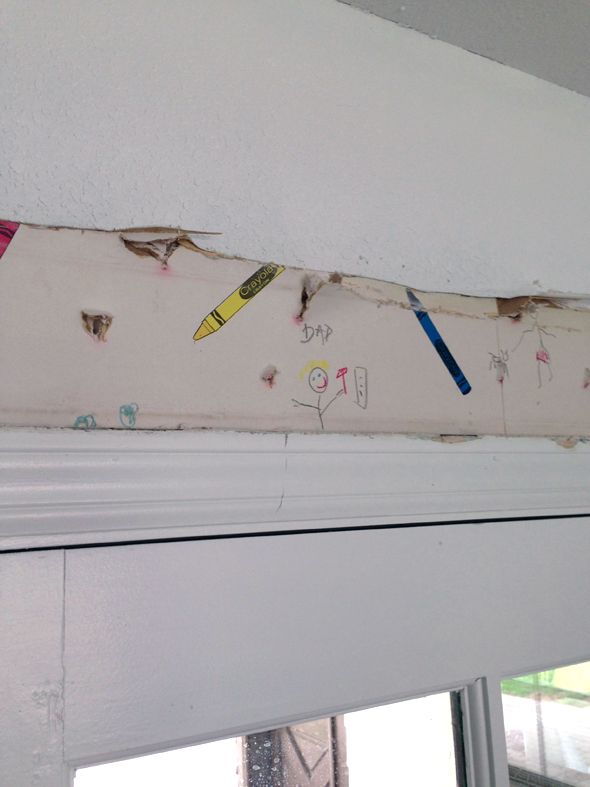
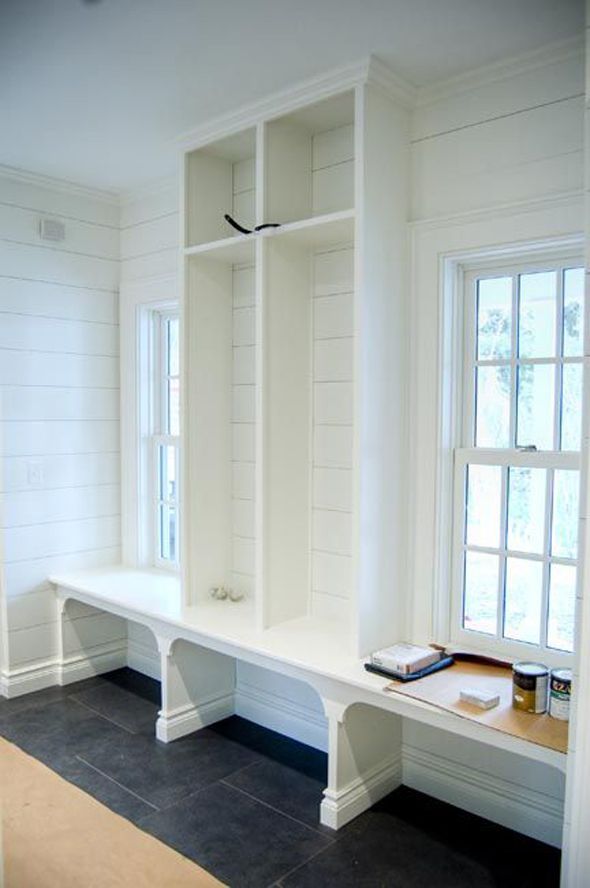
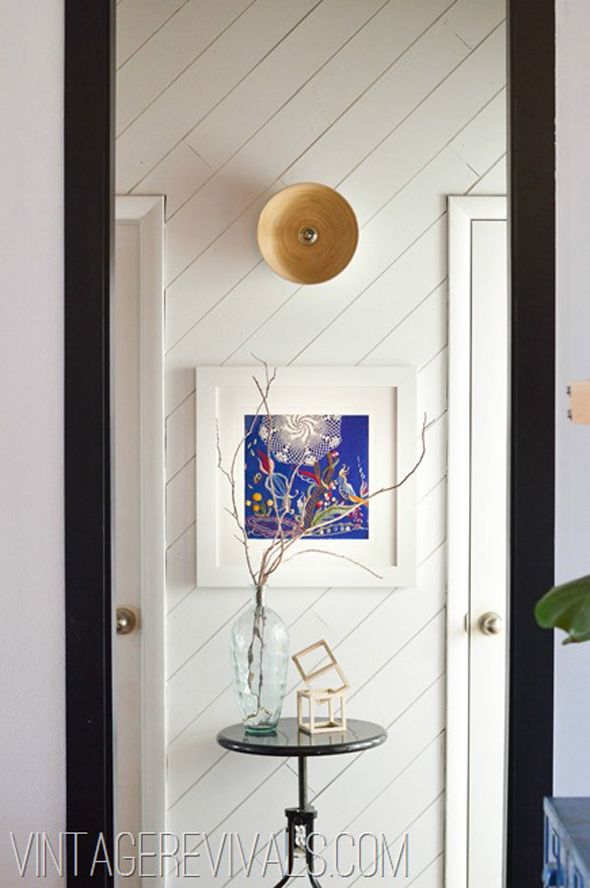
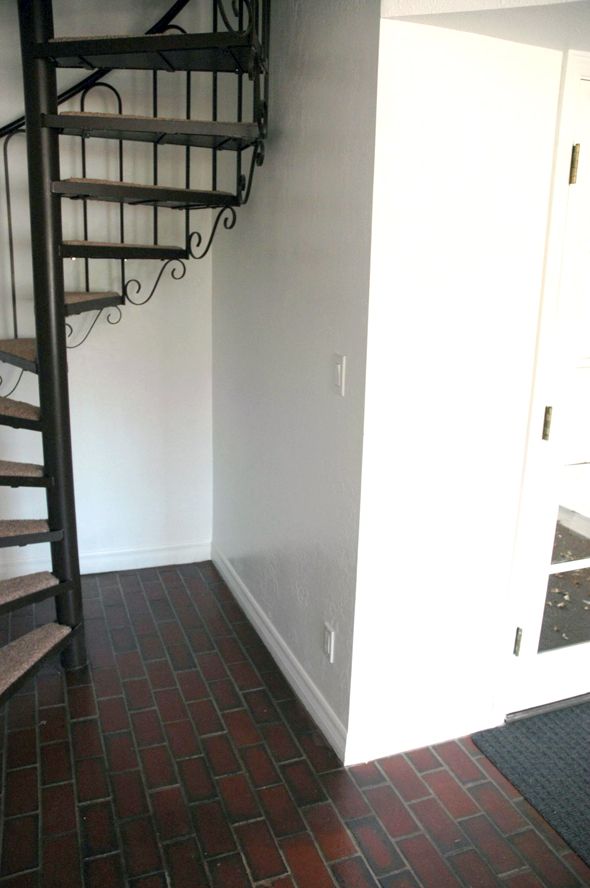
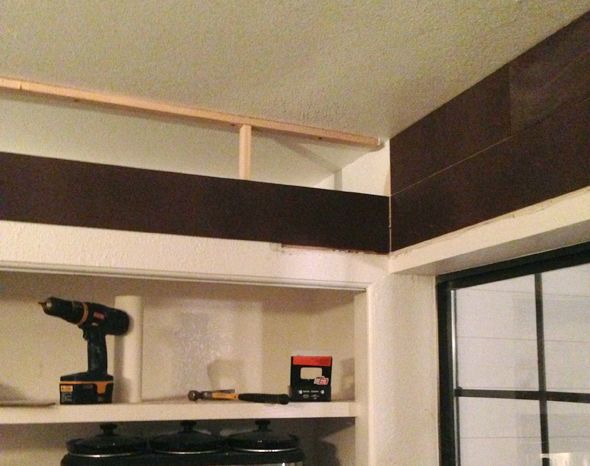
To fill in the plant shelf area above the closets, I sort of framed out the space with 1x2's and just nailed in the planks on the frame. I probably should have just drywalled in the space, but this worked too.

 photo sIMG_6371-1.jpg

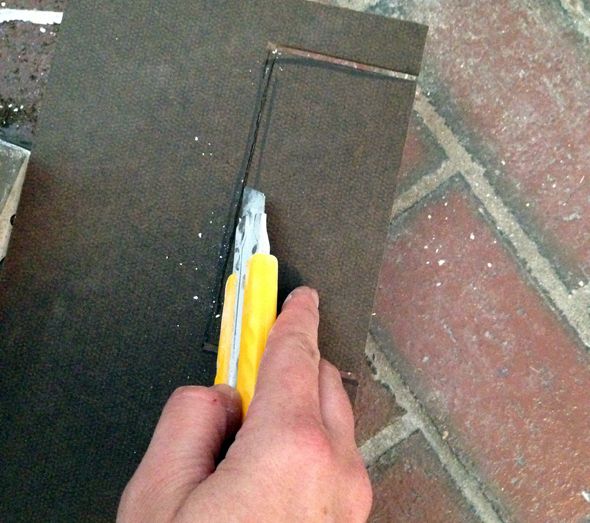
One of the great things about using melamine board is that it can be cut with a razor blade. If you score it over and over again, it actually cuts pretty easily. It was nice to not have to pull out my small Dremel saw or some other tool to cut around light switches and electrical outlets.

 photo IMG_6353.jpg

 photo IMG_6356.jpg

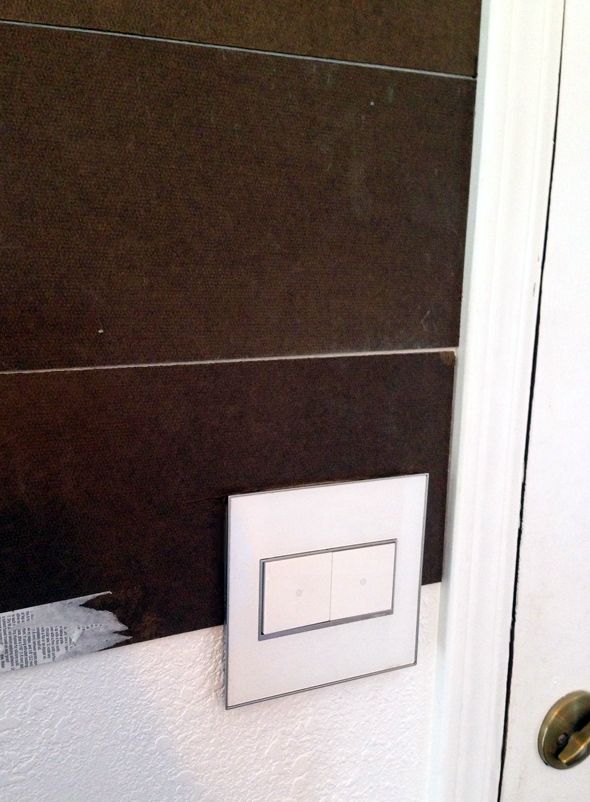
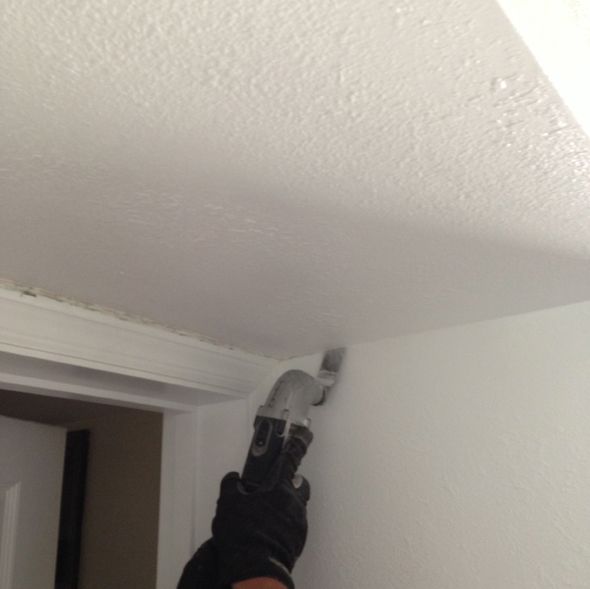
The room isn't finished yet. I'm still working on the built-ins part of the room, so the planking doesn't go all the way around the space yet. I got anxious though and decided to paint what I have done so far (the brown melamine was hurting my eyes). So I took off all the switch plates again and threw on a coat of paint.

 photo DSC_0446a.jpg

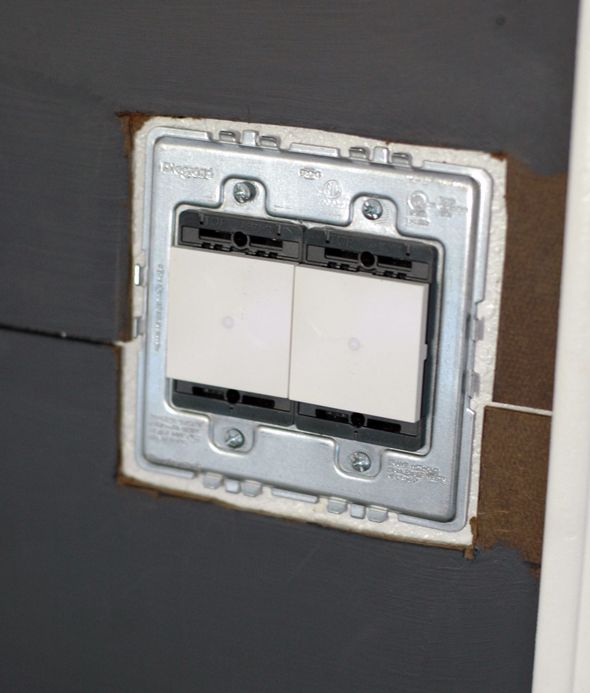
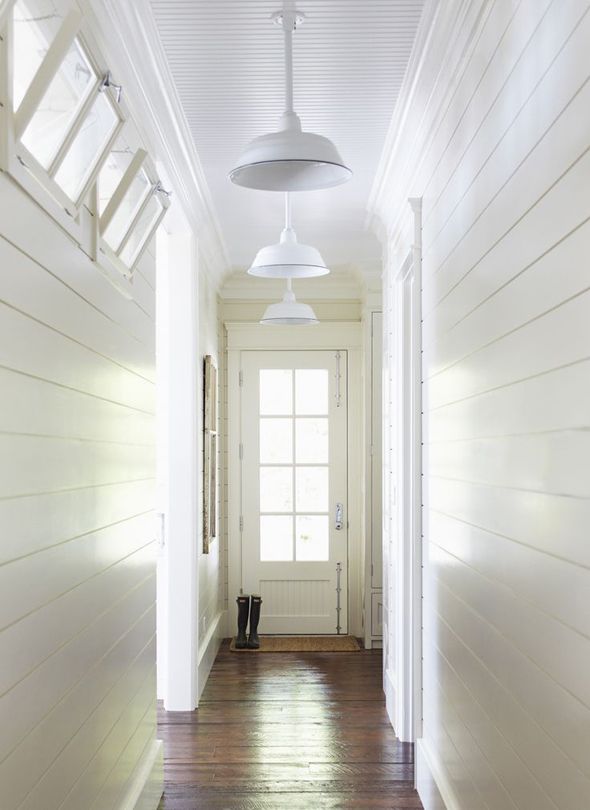
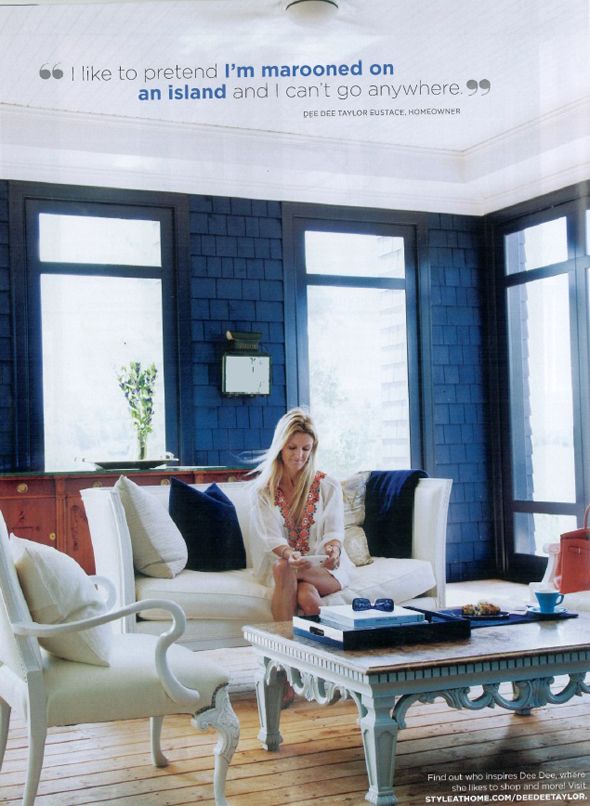
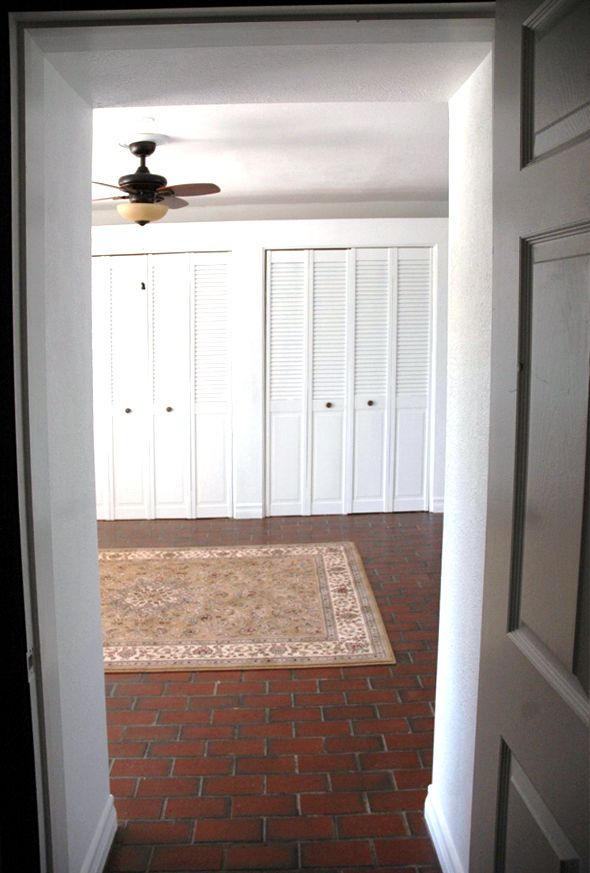
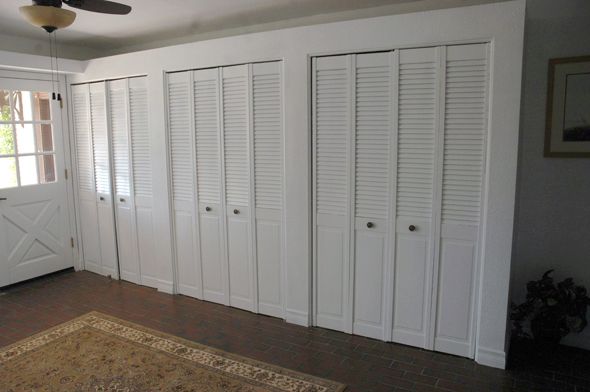
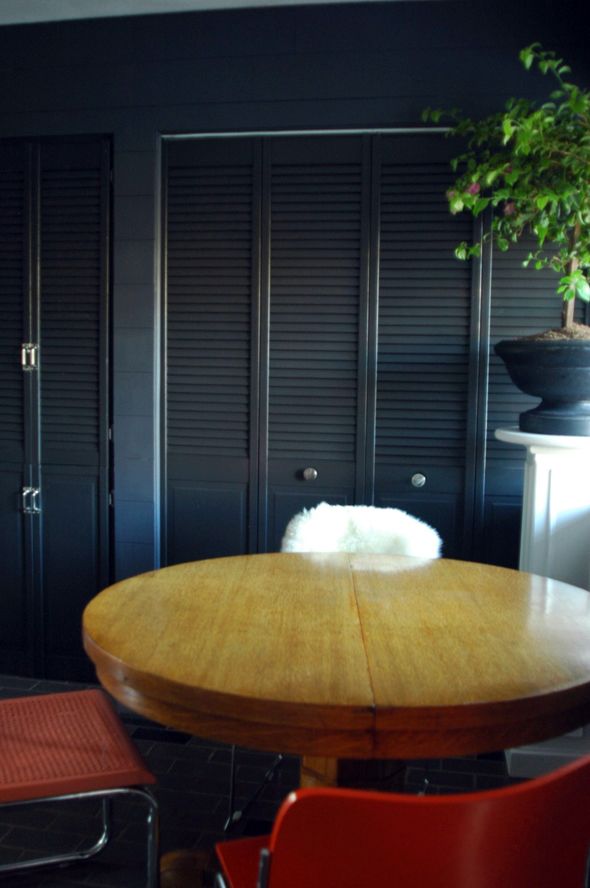
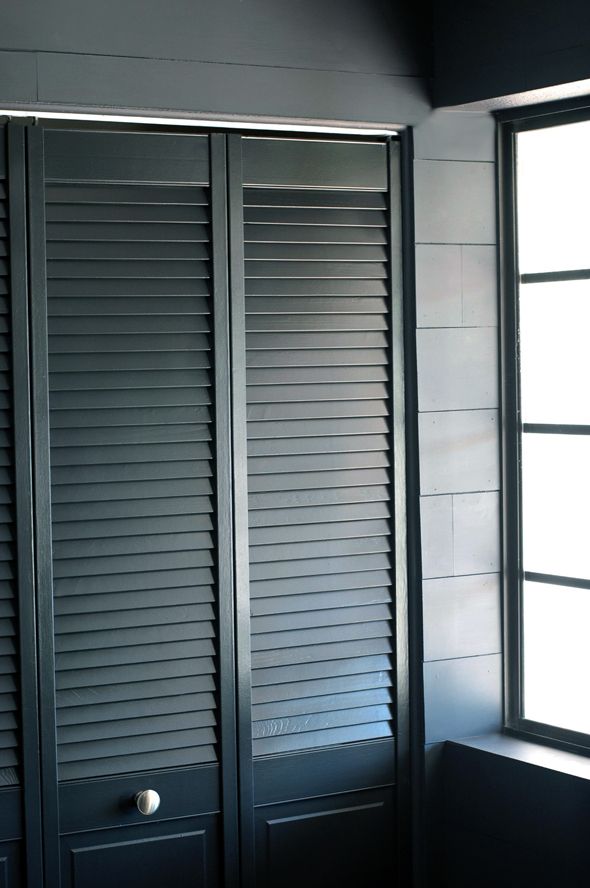
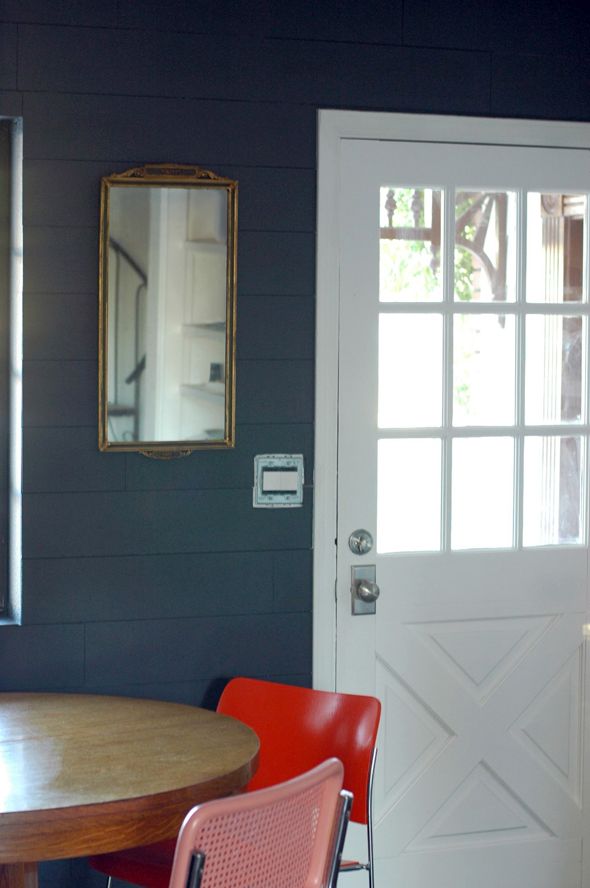
I've been using Benjamin Moore's Onyx on our doors (you can see it here in action on the louvered doors below) and I decided to go a couple shades lighter on the walls in here. The color is called Day's End and it's a really pretty charcoal with blue undertones. It looks navy for part of the day, which I'm digging.

 photo IMG_6381-1.jpg

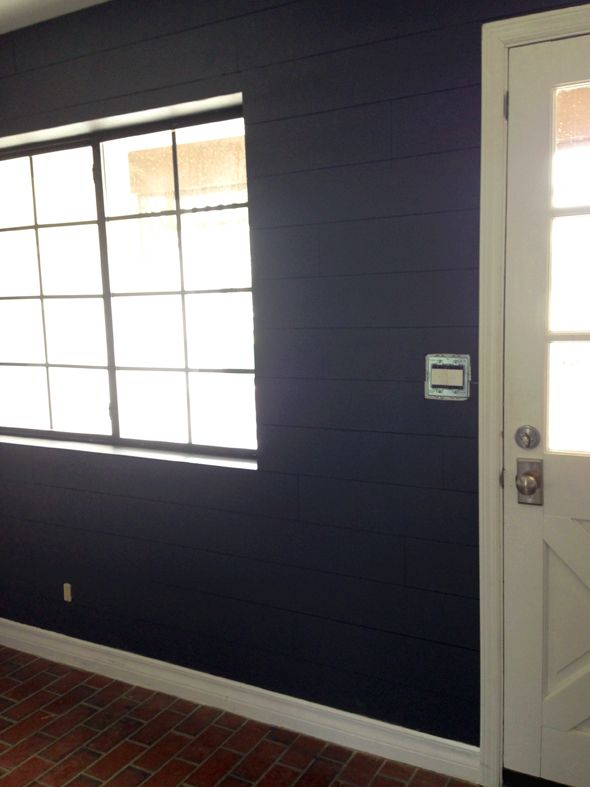
The brown side of the melamine board takes paint SO well. The white side sort of deflects paint in the same way most IKEA furniture does, so I'd stick with the brown side even if I was going with a light paint color. I just brushed the paint on so I could get into the cracks between the planks easily. 

 photo IMG_6376.jpg

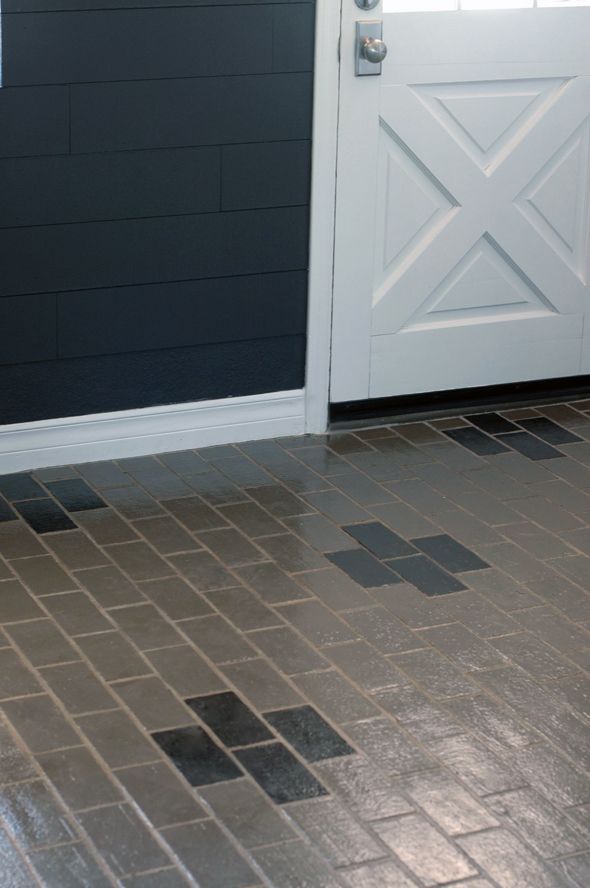
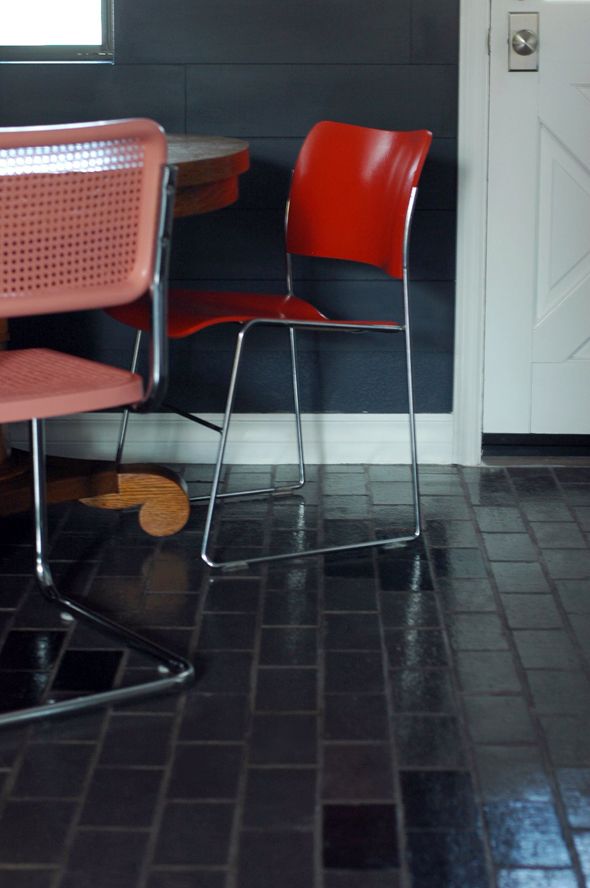
On Monday night my kids had a sleepover with their cousins at my sister's house so I took advantage of their absence and painted the floors. I decided I wanted to try a sort of medallion pattern in here, but wanted it to be not as busy as the laundry room floors.

 photo IMG_6407.jpg

I marked out my idea with painters tape and then painted most of the tiles the same color as I painted the kitchen floors (post coming there).

 photo IMG_6416.jpg

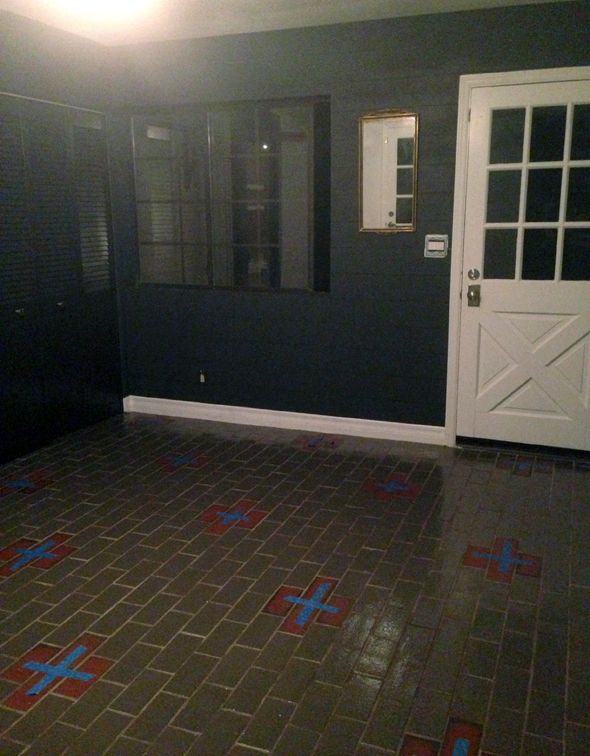
And then I filled in the medallions with black paint.

 photo aADSC_0456.jpg

This whole area will get reworked when we do the big kitchen renovation in a year or two, so I'm fine with this temporary fix on both the walls and the floors. I spent only about $50 on wood and supplies and I love how it's looking.

 photo aDSC_0466.jpg

 photo aDSC_0422.jpg

Here are those freshly sprayed closet and cabinet doors. Man, I love that Critter sprayer!

 photo DSC_0679.jpg

 photo aDSC_0436.jpg

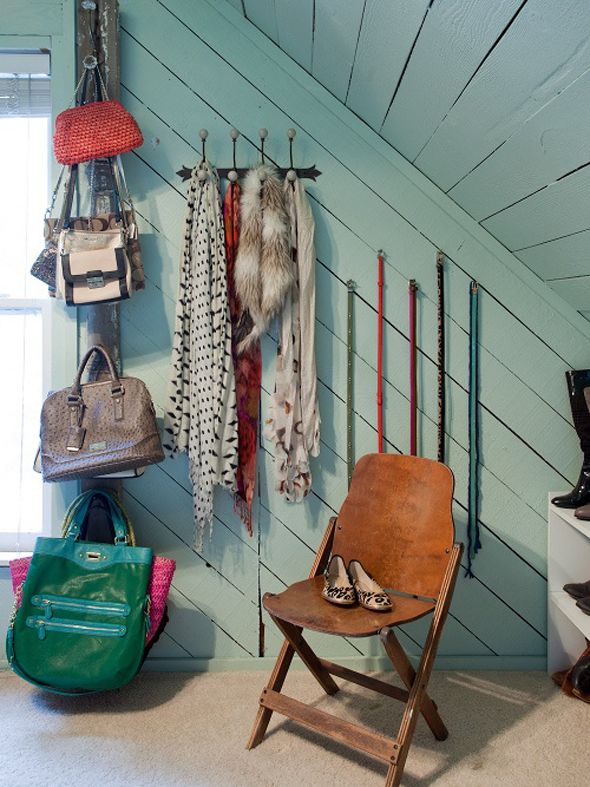
I also used the Critter to spray the chairs in here, which are all a similar style, but were thrift store finds on different days over the past couple weeks. 

 photo sDSC_0669.jpg

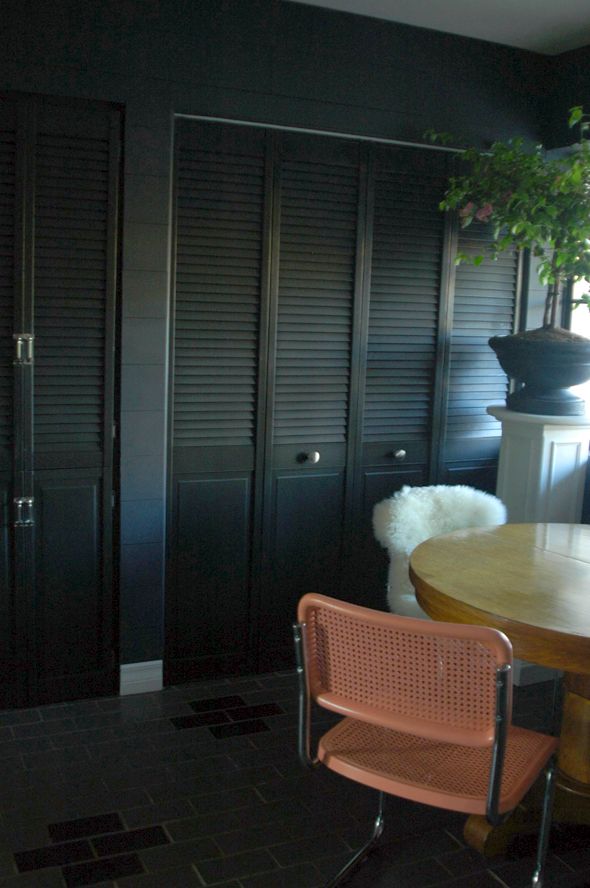
And actually, the bright orange-red chair was a garbage room find from when we lived at the loft. I should dig up some before photos - it cleaned up really well with that new coat of sprayed paint.

 photo aDSC_0644.jpg

Remember that mirror from the powder bath in the brownstone? It fits perfectly on this little wall. I always love having a mirror by an exit door so I can verify I don't look like a complete fool before leaving my house. This came in handy earlier today when I noticed a big smear of black paint on my forehead as I was leaving to pick up the kids. Daughter-embarrassment dodged!

 photo 1DSC_0615copy.jpg

Lots and lots to do in here still, but, you know, it's progress!

Progress in the Mudroom

While the wood planks for our floors are acclimating to the house for a week before they can be installed, I've started a few other projects around the house. The girls start school next Wednesday so I figured the mudroom would be a great place to begin working so they can have a place to hang backpacks and keep their shoes. Also - isn't it crazy they're already starting school?! They definitely got a short changed with summer vacation this year with the move - only about five weeks! They're stoked to start though (too young to know better).  :)

 photo gDSC_0620-1.jpg

Remember how in the mudroom there were these weird plant shelves everywhere? It looks like the storage closets were added after the fact and for some reason they didn't take the closets all the way up to the ceiling.

 photo DSC_0622-1.jpg

Strange, right?

 photo dDSC_0626.jpg

We used one of these little reciprocal saws to take off all the shelves, including this part over the doorway that goes into the pantry hall and on into the kitchen. (psst - I am also working on a little desk area redo. Post is coming up Monday!)

 photo dIMG_5628.jpg

(More after the jump...)


 photo dIMG_5627.jpg

 photo IMG_5631.jpg

 photo IMG_5646.jpg

Check out the old wallpaper we uncovered. Looks like the original owners used this space as a little play area?

 photo IMG_5633.jpg

 photo IMG_5638.jpg

So, next I need to figure out how I want to fill the openings between the closets and the ceiling. I could pretty easily patch the drywall, but I would have to skim coat all the walls in here to remove the old texture. And I think I want something a little more interesting in here anyway. I had some wood cut at Lowes this week and I think I'm going to try to do a planked wall which will make it easy to both cover the old texture on the walls and also fill the open space above the closets. I don't want it to feel too rustic, but I think it could be the planks would be a cool look for a mudroom.

 photo 6de34996d865531d9b3effaac9b27aa6.jpg

 photo ade4db87d01ad0fdba62255cbfb2bb08.jpg

 photo f2f7f306a9526d7406be27b07a848f10.jpg

 photo gulfshoredesign2d1373f469ad56168cc7e9528d097b68.jpg

 photo 31b4829318e2140b22521d2e29e1b91b.jpg

 photo 5dea26719db67de8849ac9989d9de186.jpg

Maybe on the diagonal?

 photo HowToPlankAWallDigonallyVintageRevivals2.jpg

 photo e48c9da27b433d49c08679a05aac1479.jpg

Maybe in a dark color?

 photo 5e23cb717dd3acbe3f8c0533eb4a1d9f.jpg

 photo f25c6cdc7aea1c6e398207ca528055a3.jpg

 photo Pm8y3MUmRiTl.jpg

Now if you'll excuse me, I've got a hot date with my miter saw and nail gun. I hope you have fancier weekend plans than I do. :)

Valley House Tour: The Mud Room

At the end of the hallway past the kitchen pantry, is a bright, open storage space that we've been calling the mud room.

 photo mudroom.jpg

Right now there is no interior door access to the garage (you have to walk out this door here and about the three steps outside to the right is the exterior door to the garage - another one of those head scratchers in this house!)

 photo DSC_0620.jpg

(More after the jump)...

Eventually (probably when we redo the kitchen in a year or so) we'd like to reconfigure the pantry-kitchen-mudroom area and the access spaces to the garage and to the play room, which is above the garage.

 photo DSC_0624.jpg

But for the next while, I have plans to make this space work as our mudroom, where the girls will keep most of their shoes, their backpacks and coats (I guess more like light sweaters at Christmas time?? This will be an adjustment!).

 photo DSC_0619.jpg

It works out nicely for the three nooks to belong to each one of my girls. We're going to take off the folding doors here and either do hooks and open shelving or replace the doors with something that operates a little smoother. (and pinches little fingers less!)

 photo dDSC_0621.jpg

On the other side of the room are more closets with shelving, and I think I'll use this space as craft storage for the girls (we'll probably put a little table next to the window here for projects) and party supplies. Since our pantry is pretty small, I'm sure I'll have some kitchen overflow going into the closet on the left, as well.

 photo DSC_0622.jpg

More brick floors to be painted! :)

 photo DSC_0685.jpg

I need to look into why the closets have that ledge on top, but it looks like its to account for the ductwork. I need to think about a solution there. Maybe just taking down the plant portion above the door here would be good enough for now?

 photo dDSC_0626.jpg

And then there's the spiral staircase in the corner that goes up to the playroom. My kids were seriously so stoked about this staircase (I would have been too when I was young - I loved anything that felt like a hide away or a secret space), but I have to admit that I'm stressing a little bit about having this in the house.

 photo DSC_0627.jpg

It's the only interior stairwell to the playroom and guest room area, so it will be used a lot - like all day, every day. It's actually not all that cumbersome to climb as an adult, but I worry about kids getting hurt. I have a couple of ideas for making it a little more safe, but this will be one of the changes to the house when we do the kitchen overhaul. I think I'll probably put some flush backing on each step for now, so no little legs can slip through.

 photo dDSC_0631.jpg

Also, I have a really long vintage kilim runner that I'm thinking of cutting up and using on the treads here. Wouldn't that look so cool!? I'd consider painting the stairs themselves a fun color but they were recently powder coated by the previous owners in an oil-rubbed bronze finish, so the condition is great. And it might be tricky to get a smooth enough finish here without spraying. It looks black most of the time anyway, which might look best with the bold colors of the rug I want to use.

 photo dDSC_0632.jpg

Speaking of unsafe, here is the top of the staircase. I was freaking out when we walked through the first time. I was like, how is this okay to leave this huge gap in the floor?! Where is the railing!

 photo DSC_0633.jpg

I was planning on having to fix it ourselves before moving in (or asking the sellers to do it), but then they mentioned that the railing was hanging out in the back yard. It had not been reinstalled yet after they did the powder coating.

 photo dDSC_0687.jpg

I felt like an idiot because I had totally thought to myself 'what a weird little half fence to put around a tree!' Duh.

 photo DSC_0688.jpg

This shot shows you that back porch area that we're planning to use to expand the kitchen into eventually. We'll probably also close in this back portion so that there is interior access to the garage (that brown door on the right) and a full size set of interior stairs to the guest area and play room. Right now that area at the top of those brown stairs is a back porch on the playroom that I feel like we won't miss too much.

 photo DSC_0691.jpg

This is all so far down the road though. I'm glad we'll get to live in the house for a while (during all the seasons) so we can see what parts of the home work for us and which we could do without.

 photo DSC_0690.jpg