Tampilkan postingan dengan label Jenny Komenda Interiors. Tampilkan semua postingan

Painting Vintage Lighting

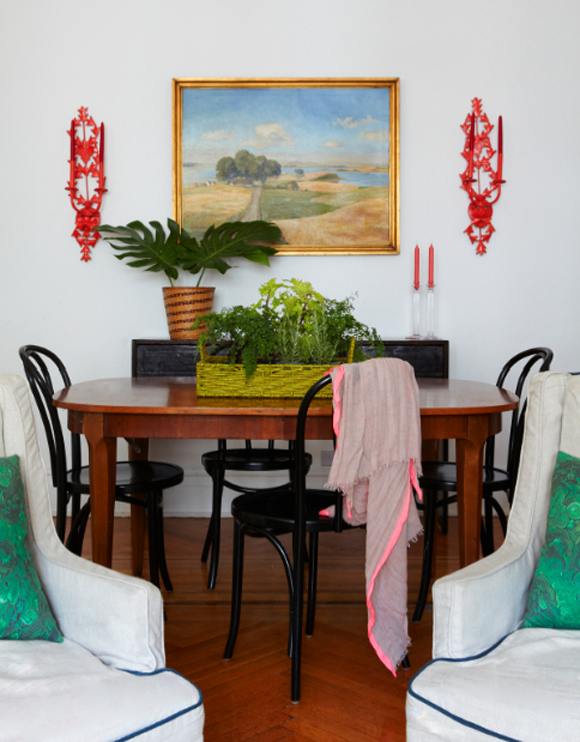
We're putting the finishing touches on the GIANT chandelier and it's looking really great. I'm in love! As I was spraying the bad brass away, I remembered a pair of scones we used in Abbey's dining room that I painted out. The paint on the tole was chipped enough that we need to strip down the sconces first. I slathered both with Citrastrip and scraped away the paint as it loosened up. Not a huge chore - it's actually kind of fun detail work.


Then I painted the orange on with a brush since it was too cold to spray the sconces (it was winter when we redid these). The color is one of my favorites - BM Tomato Red. It really pops against her white walls, right? And I love the orange next to the blue in Abbey's landscape.


PS I bought these at the flea market, but there are tons of super affordable tole sconces on eBay, just begging to get a coat of bright paint.

PPS More of Abbey's apartment:
Making a Wall Mural
Turning vintage side tables into benches
FLOR tiles in Abbey's Entry
Abbey's Mirror (a DIY idea)
Hungry Prints and Art in the Kitchen

Flame Stitch FLOR Tiles

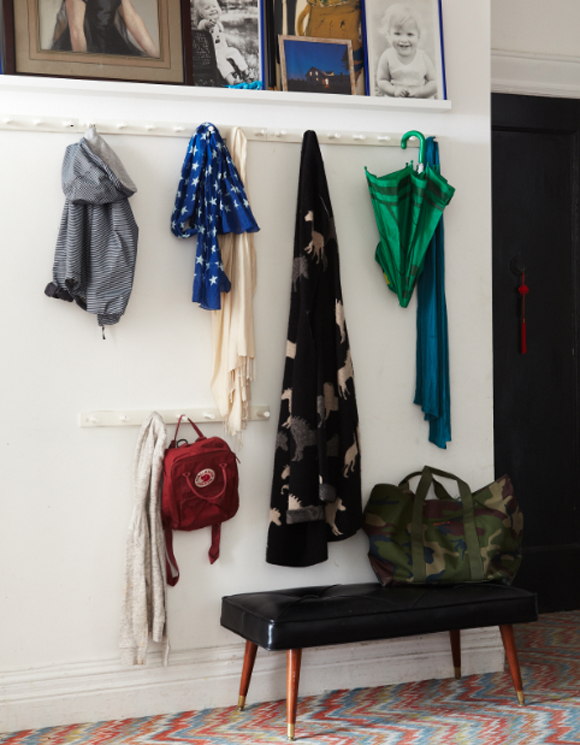
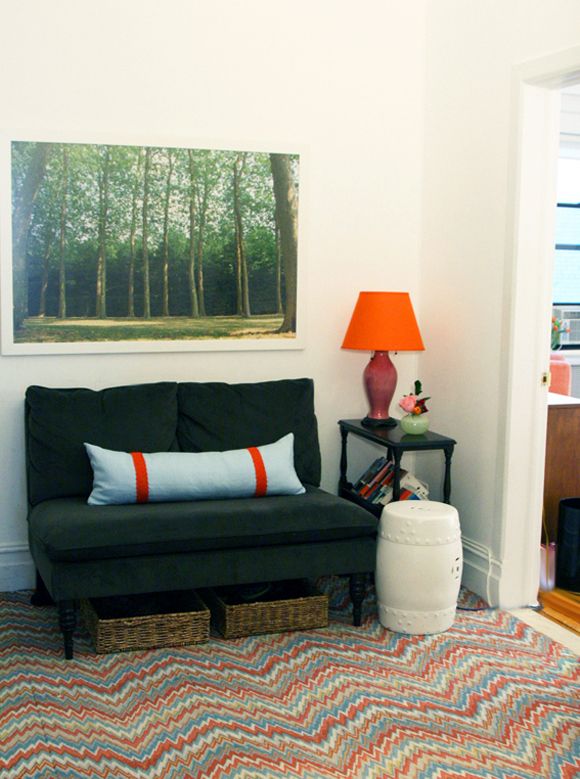
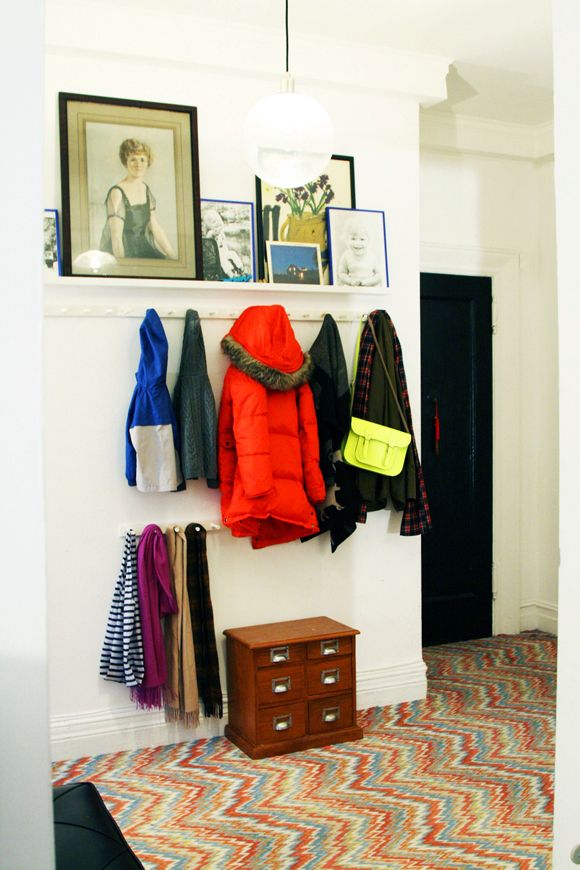
Have you ever used FLOR tiles before? Abbey and I installed them together in her apartment's foyer and it completely changed the space! (the floors used to be a really unfortunate red marble that Abbey hated).


While FLOR tiles aren't the cheapest flooring option out there, it's great that they can be cut to fit any space. And I love that the tiles can be replaced if (more like when) major stains happen. In high-traffic areas or in homes with pets and kids, this is a pretty amazing sense of security.


The people at FLOR recommend buying 10% more than your needs just to have on hand. It's really a good idea to buy at least that much, since there's a good chance your pattern won't be available after a year or two.


Here are some of my favorite patterns available at FLOR right now. Have you used these before too?


1  //  2  //  3  //  4


5  //  6  //  7  //  8

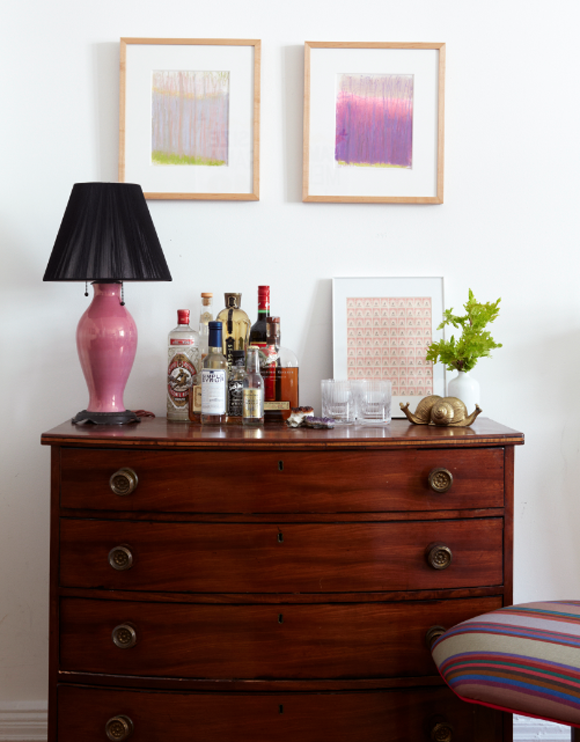
First photo by Seth Smoot, styled by Kendra Smoot. More of Abbey's apartment tour here.

Turning Vintage Side Tables into Upholstered Stools

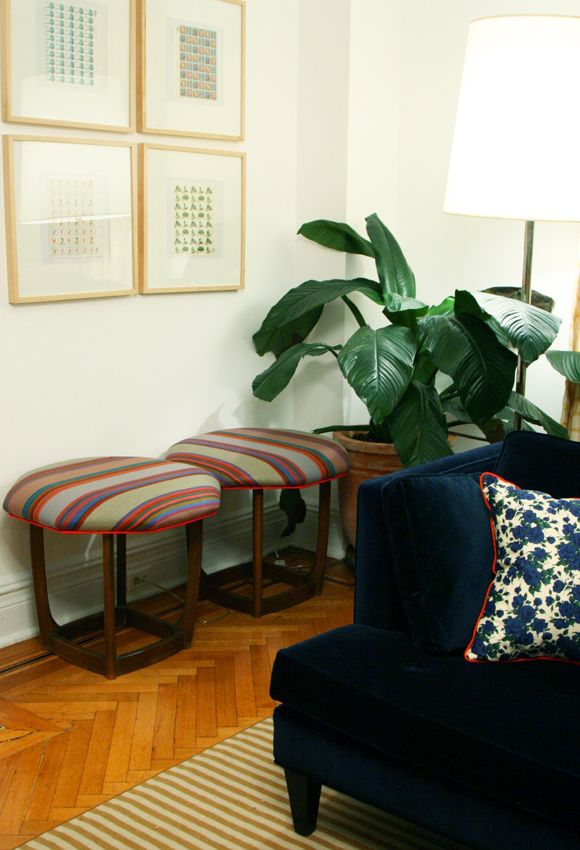
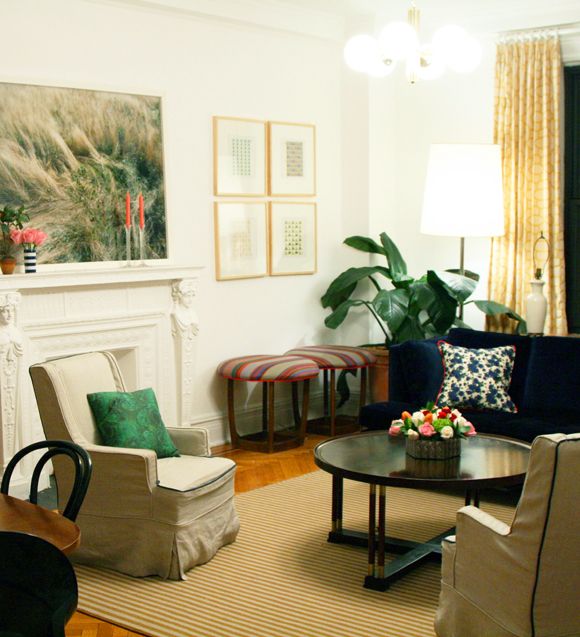
One of my (other) favorite projects from Abbey's apartment was these oversized stools we made from vintage side tables.


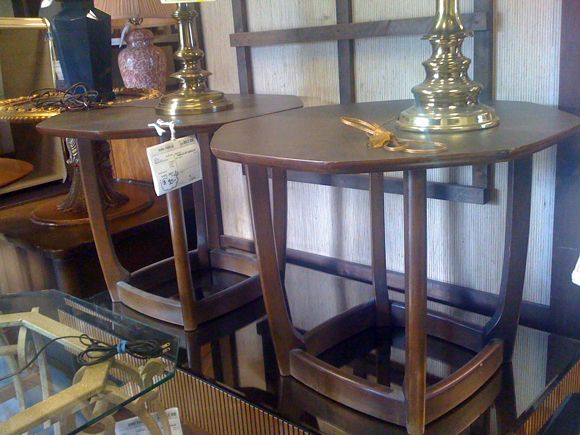
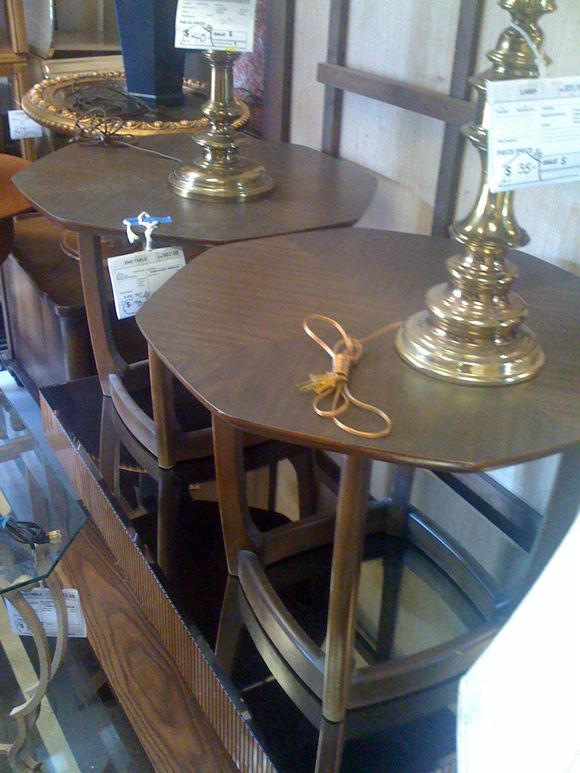
We knew we wanted a pair of stools or benches in her large living room to provide extra seating in a pinch, or just a place to put your feet up. I saw these side tables at a junk store in Staten Island and thought they would work perfectly if we could upholster them. I loved the octagonal shape!


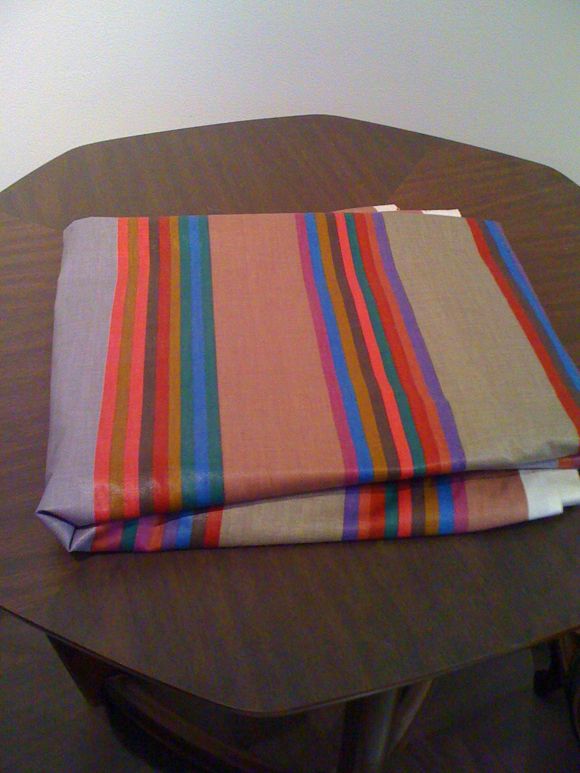
I had picked up a couple of yards of this vintage stripe fabric years ago in Philadelphia's fabric district. I still really love this fabric - all the unexpected color combos! Abbey and I both thought the stripe would be perfect for these benches, piped in a hot pink cotton.


Finished, they were taller than most stools (a little taller than chair height), but that was something I liked about them, and Abbey's living room was plenty large enough to house the pair. So if you're hoping to take on a similar project, just be mindful of the height of your side tables to begin with. You'll  end up adding two or three inches of height in foam and fabric after upholstering.


I think if I could have my way, every room would have a pair of little stools somewhere. They are so cute and functional! Have you DIYed or rehabbed any benches or stools? Off the top of my head, I can remember bench projects here, here, here, here, here and here (honorable mention here). I'd love to see your favorite pair!


Top photo via Abbey's house tour featured on Cup of Jo.

Making a Wall Mural

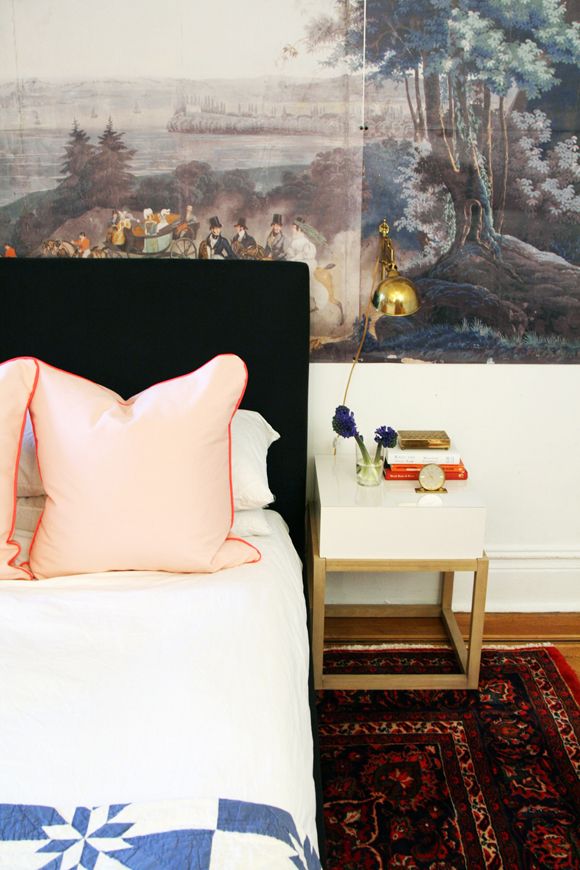
I was so lucky to get to work with amazing Abbey Nova last year on her Upper West Side apartment. We did a lot of really fun DIY projects together in her lovely home that I'm so excited to share with you! First up, a wall mural for her bedroom! (Pssst - if you want a sneak peek of some of the other rooms in her apartment, check out Abbey's house tour on Cup of Jo)


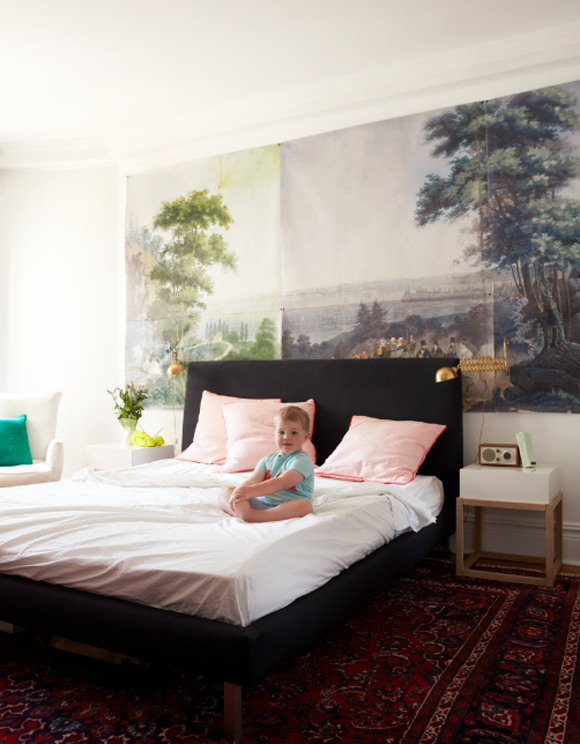
I'm pretty much crazy for landscape murals (in the right context!), so I was over the moon that we could put our version of that in Abbey's bedroom. We wanted something really unique and show-stopping in the master since you can see it from the entry if the bedroom door is open.


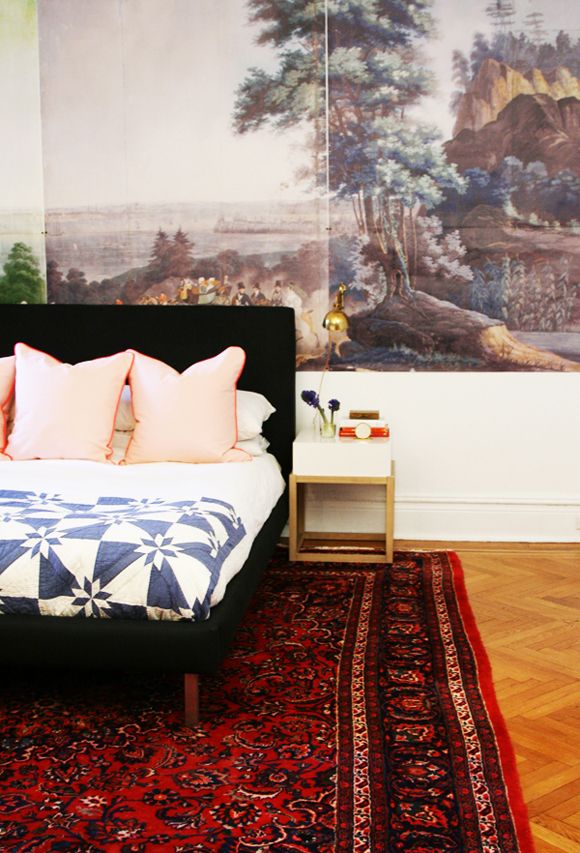
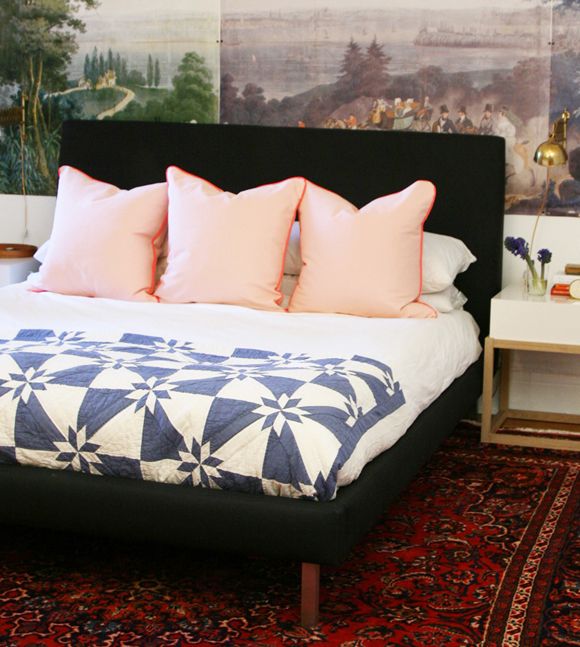
Abbey is a decorative arts historian and had access to this amazing scan of an antique Zuber mural. I had the scan printed on removable adhesive-backed paper using Wizard Prints. You can actually see in these photos that we just pinned up the panels of the mural rather than sticking it up on the wall. We knew Abbey was planning a move, so we wanted to save the adhesive for a more long-term application. (and actually! Abbey is moving this month and is selling some of her furniture, NYers!)


I love how the mural turned out! What a conversation piece if a visitor saw it peeking out from behind Abbey's bedroom door! If you want to do something similar, you can blow up your own images, or scan something in, or you can find large images online in public archives galleries. Those will most likely be a little grainy, but it's still a really cool look I think.


Another favorite part of the room - the antique brass scissor-arm sconces I found at the Chelsea flea salvaged from an old yacht!!! (you can see them best in the first photo).  And also I think the pink euros are great. I made them using peachy-pink linen and neon pink nylon (you know that sort of wind-breaker material?!) for the piping. I love how they work with the greens in the mural.

Top photo by Seth Smoot, styling by Kendra Smoot, for Cup of Jo. Bottom photos are mine.

Joanna's Bathroom Makeover

I'm sure some of you already saw these photos on Joanna's blog (and I just saw on twitter that Apartment Therapy did a feature too), so sorry for the repeat. This was such a fun (and very quick!) project Joanna, Kendra Smoot and I worked on together.


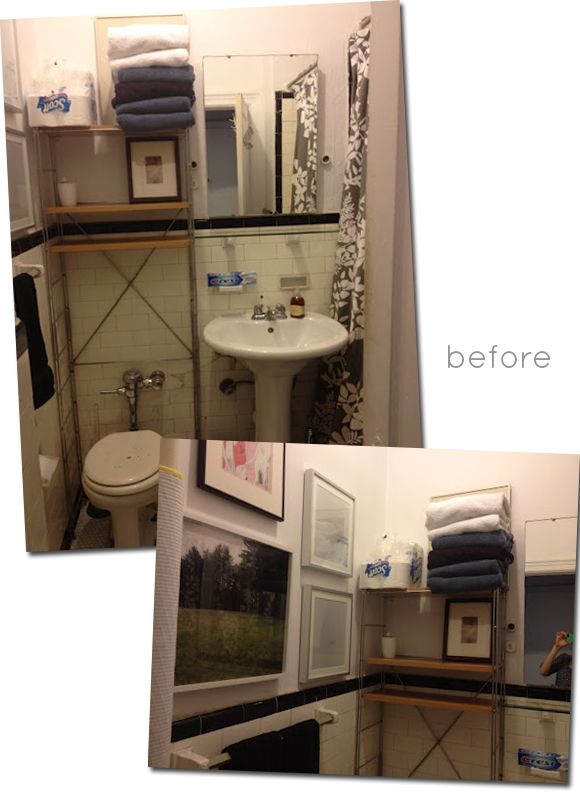
Joanna wanted an easy bathroom update. She and Kendra worked together to come up with a direction and I got to help with the execution. Here are the before shots. Such a dramatic difference, right?!


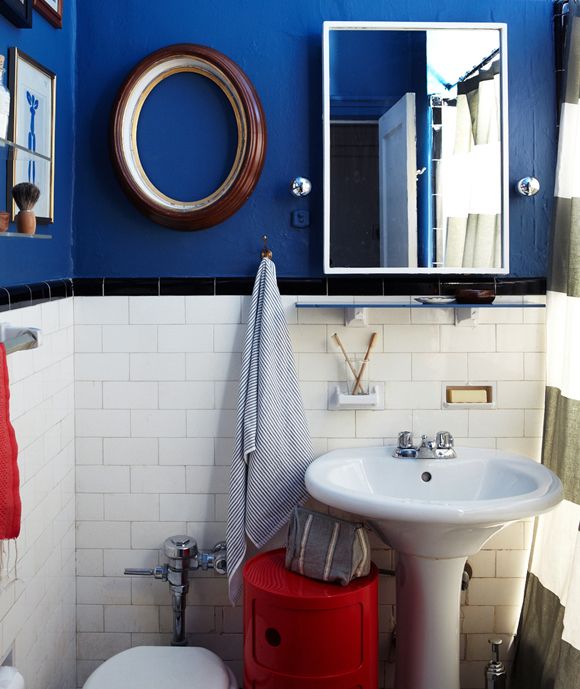
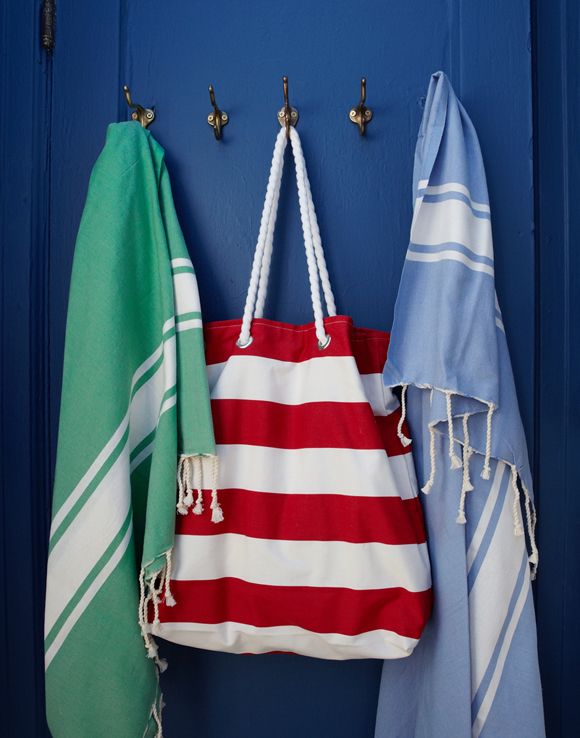
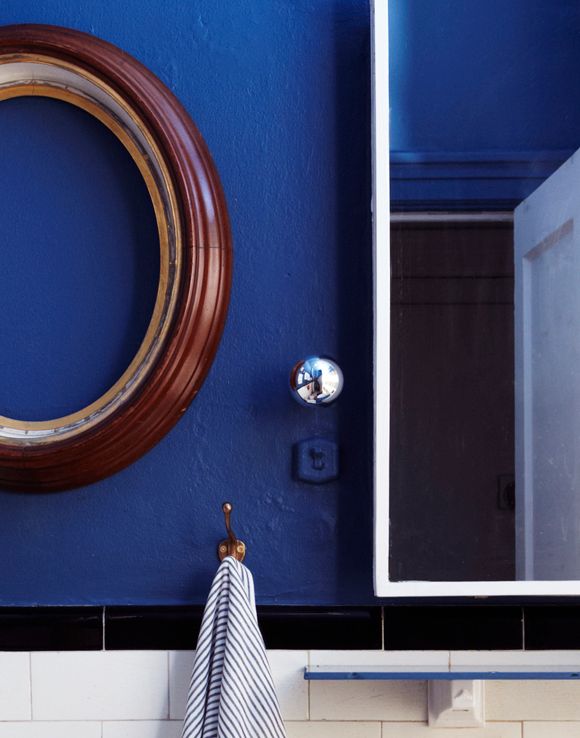
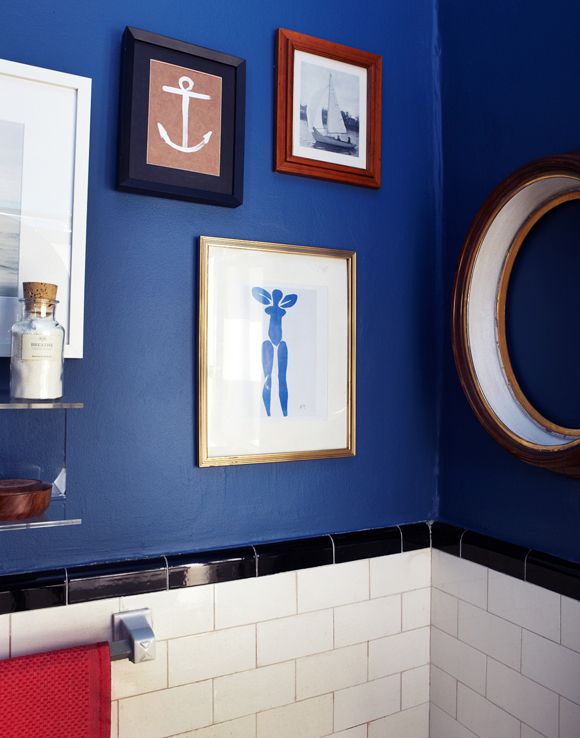
The walls AND ceiling were painted navy blue (the exact color was Ballard Blue by Valspar), which really helped the room both feel bigger and more cozy. We used a lot of brass accents, like these slightly mismatched antique brass hooks from the flea market.


I added white painted cube moulding to the fronts of the medicine cabinet using mirror glue and a little caulk. It was a super easy, 20 minute project. The framing makes the old medicine cabinet look so much more finished, don't you think?


Last I checked there were a couple nay-sayers on the round captains mirror frame we hung to the left of the medicine cabinet. Some people thought we should have used the space for storage shelves, but I love the frame and there's enough storage elsewhere. Plus, do you really want to see storage shelves first thing when you walk into a room? Me neither! :) And I really liked the idea of mixing of square and round corners on the frames. As soon as we hung it up I was like "Anna Spiro!" Remember her bathroom in Lonny?


I was originally wanting to to add mirror to the frame, but we all ended up liking the empty frame enough to keep it open. Gosh I love that frame. I found another similar one at the flea market recently and it will be making an appearance at our house I think.


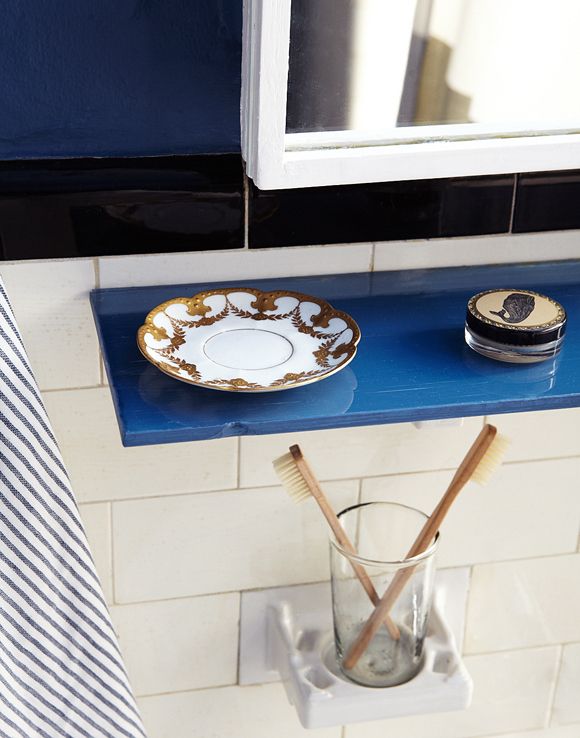
Another little easy project was painting the underside of Joanna's glass shelf. Remember this post? It's such a cool way to change things up without getting too crazy.


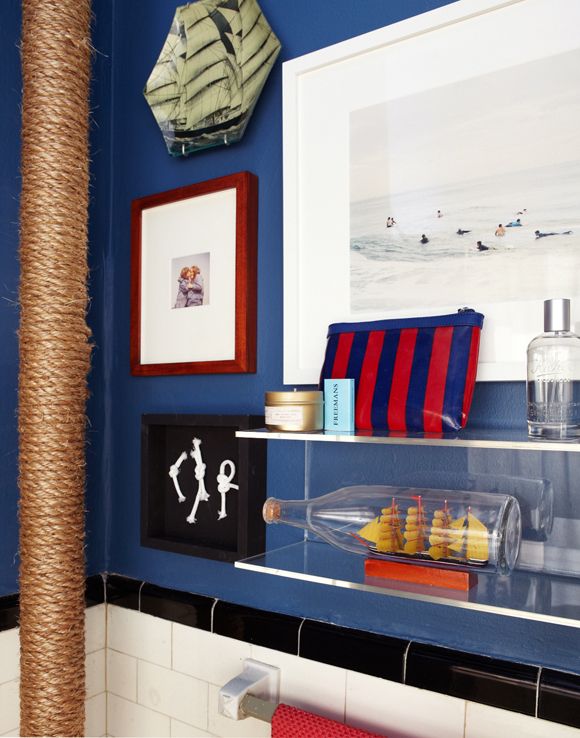
We wrapped the hot pipe (it literally gets boiling hot in the winter) with jute rope, which added a great textural element, but still allows the pipe to heat up the room, the way it was meant to - this way without burning little Toby's hands. This was another easy project and there was absolutely zero glue required - just really tight wrapping.


I think these $25 double acrylic shelves are so perfect for small spaces. I picked up two for our house too. Also, the artwork here (the photo with the surfers) is available at 20x200. I've got a fun giveaway from that site on the blog tomorrow, so don't forget to stop by and say hi!

Thanks again to Joanna for letting me pitch in here. And a huge thanks to Kendra and Seth Smooth for the beautiful styling and photos.

Joanna's Bedroom


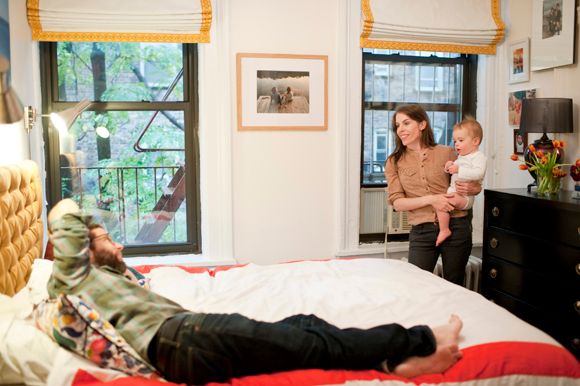
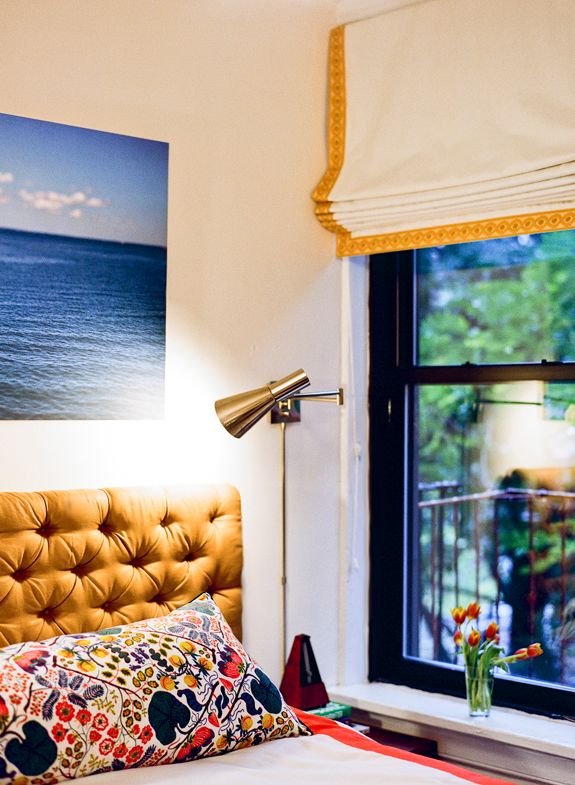
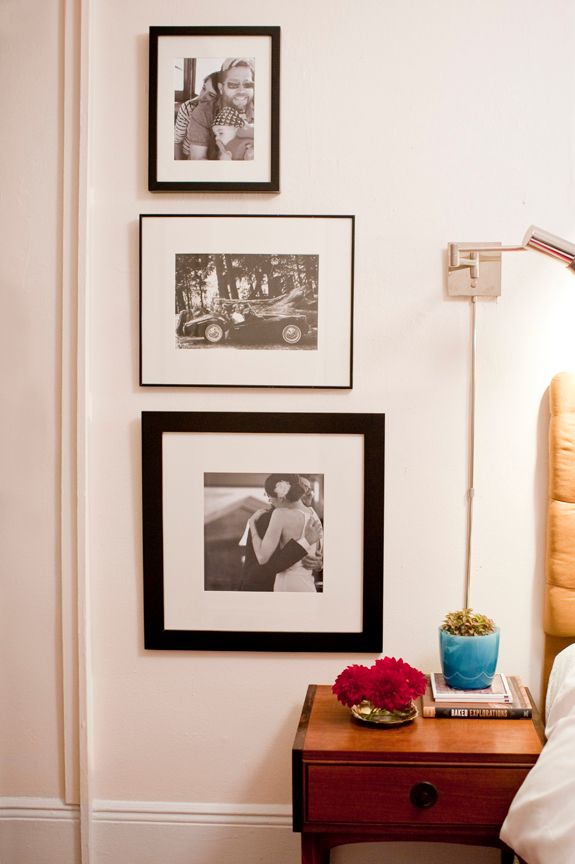
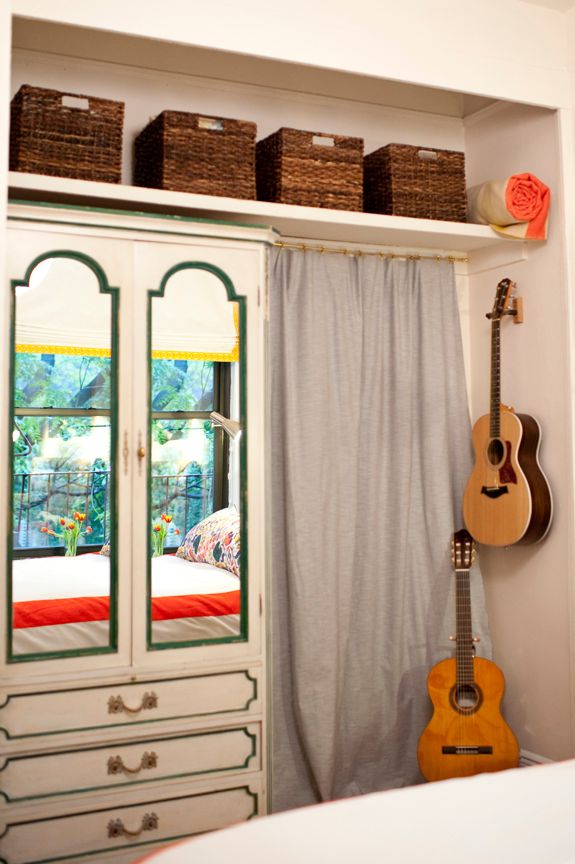
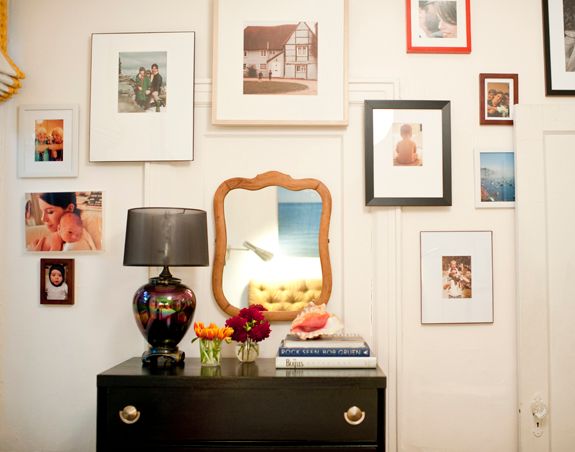
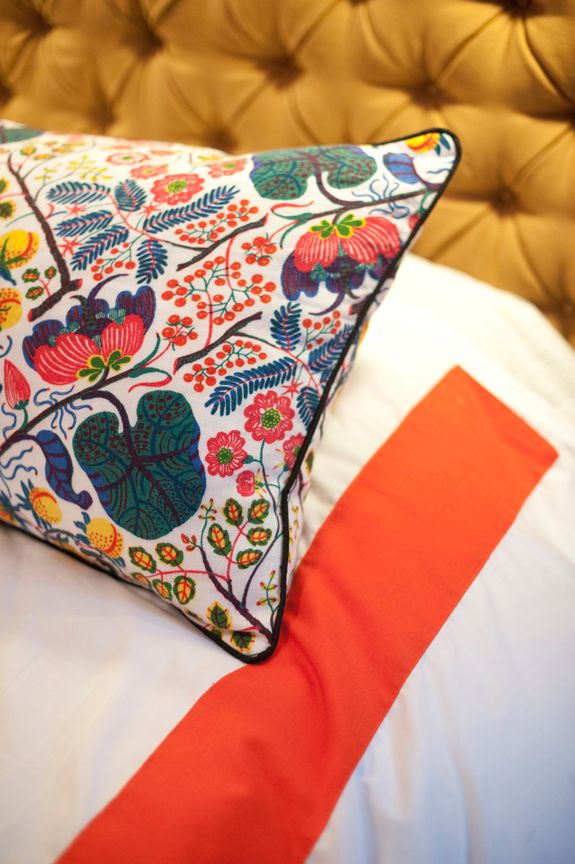
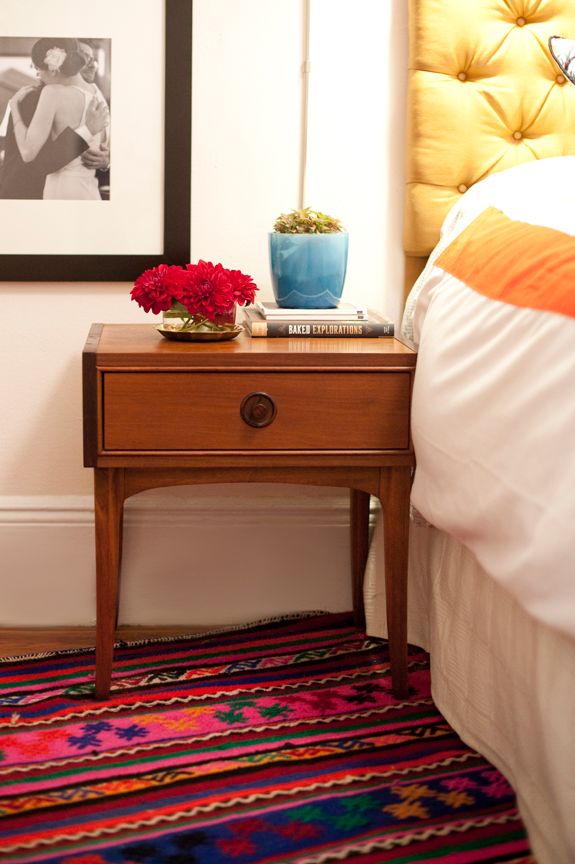
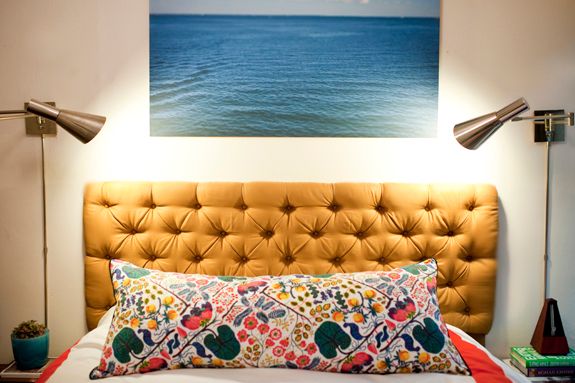
It was so fun decorating Joanna Goddard's living room and nursery last year, I jumped at the chance to work with her and her super-cool husband, Alex, on their West Village apartment's master bedroom. The room before we started was lovely and simple, but Joanna told me she really wanted to add more color and energy to the space, which made sense because she works in there a lot.


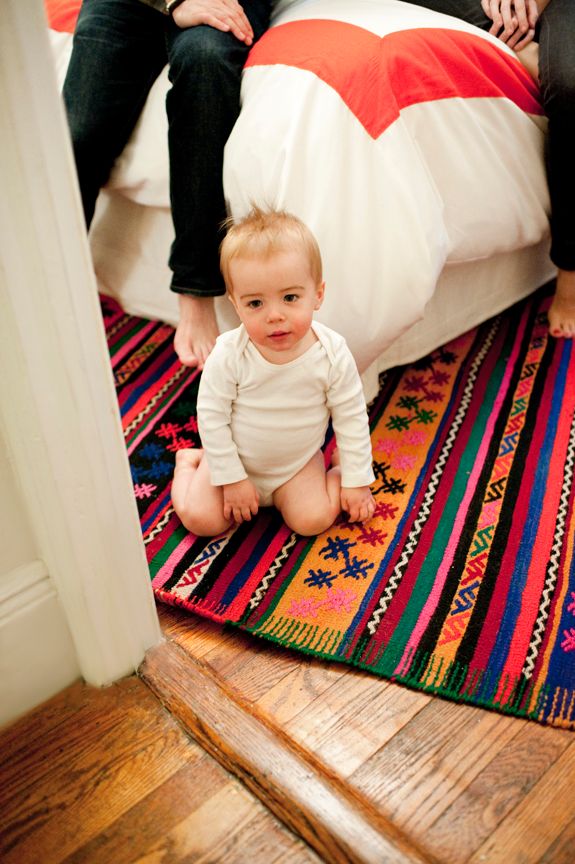
I thought I'd share all the after photos here and through out the week I'll share details on the DIY projects and sources. Come back in a few hours for info on Joanna's rugs and our inspiration starting out point.