Tampilkan postingan dengan label IKEA. Tampilkan semua postingan

How to Paint (and Even Wallpaper!) IKEA Furniture

Thank you so much for your kind feedback on the Domino article! I'm so excited to start sharing the behind-the-scenes projects and ideas today!

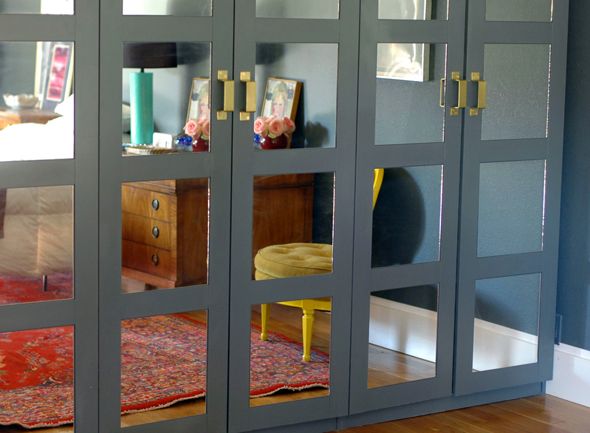
 photo DSC_0765.jpg

Pax wardrobes are incredibly versatile - they're really the perfect blank canvas when it comes to organizational furniture. Not only are the affordable shells are so basic and easy to customize, but then you also have all the handy shelves, drawers, baskets and other storage accessories made to fit the Pax at your finger tips.
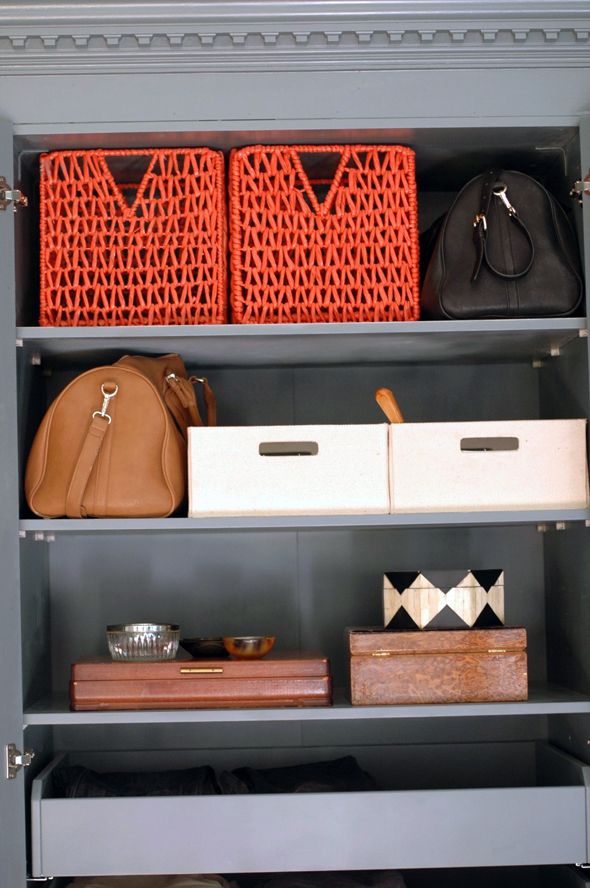
 photo aDSC_0685.jpg

I am crazy over these shoe trees. Each pull-out shelf holds 16 pairs of shoes, which is nowhere near enough for this shoe-lover, but a couple of the shelves comes close to fitting my seasonal shoe needs! :)
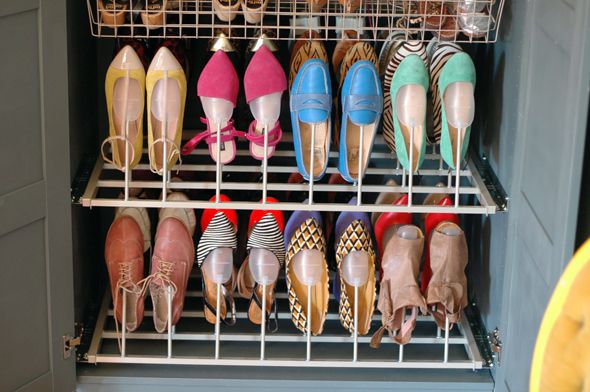
 photo aDSC_0678.jpg

I love how much our Pax wardrobes store, and I'm thrilled that we were able to get a more custom look with just a few changes to the Pax frames. Painting probably took the most time and labor, but I think changing the color to match the walls was a key part of making these wardrobes look less IKEA and more custom.

I've painted a lot of IKEA furniture in the past. Spray paint usually at least sticks and covers, but the paint will almost always chip off eventually without the right primer, which I didn't know about until recently. With a coat or two of this miracle primer, you can layer on sprayed, rolled or brushed paint for the top coat, and it will stick - and stay - on your IKEA furniture!
The brand is Zinsser, but make sure you get the shellac-based version. It is formulated for use on laminate furniture, which most primers aren't.
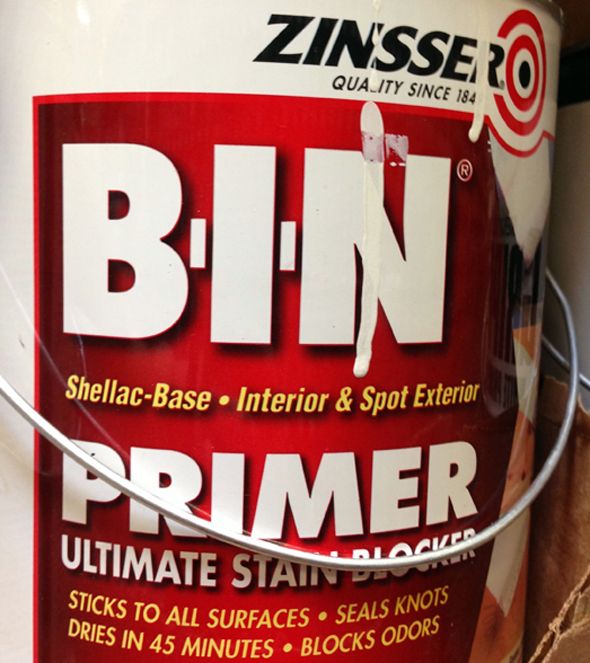
 photo IMG_7606.jpg

Whenever I'm priming a piece of furniture for a dark paint color, I ask the paint mixer to tint my primer. Usually it just ends up being a bluey-gray color, but it seems to help get a darker, truer color in the end when you're not having to work to cover up the white primer.
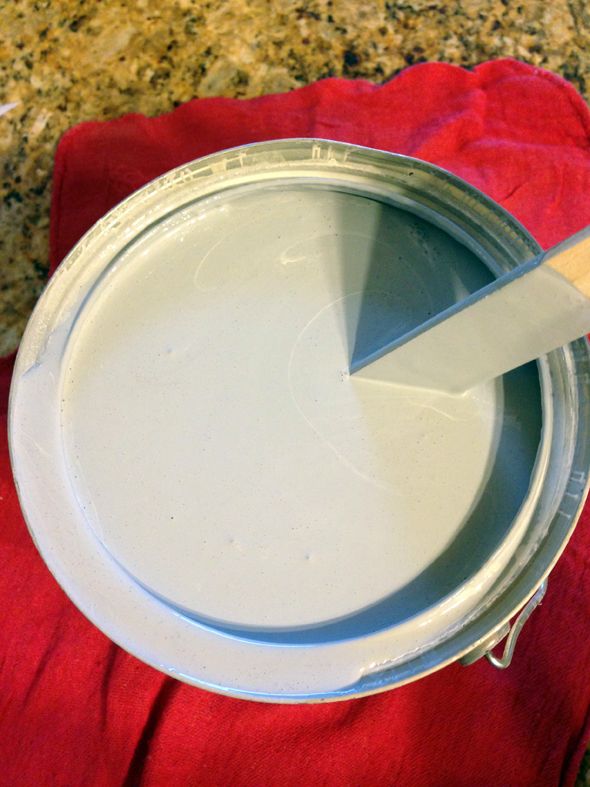
 photo IMG_7631.jpg

I recommend either rolling or spraying on the primer coat (to minimize brush marks and the need for heavy sanding). I still really recommend the Critter spray gun, but spraying primer with this gun doesn't work as well as spraying regular paint. The finish gets almost a little dusty. I found that if I lightly sanded after spraying the dust practically fell off and left a smooth finish. It might have been quicker to roll on the primer here though.
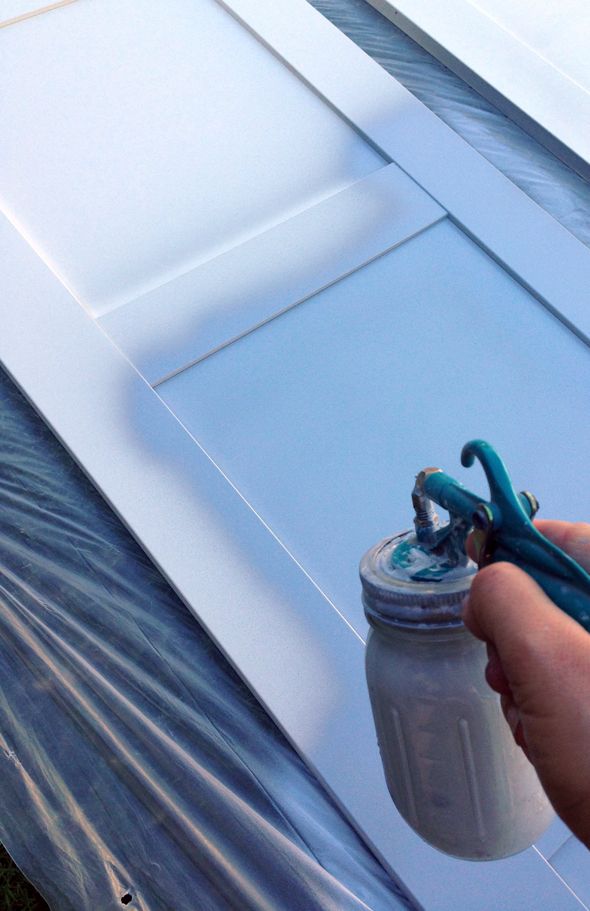
 photo IMG_7771.jpg

I think, whether rolling or spraying, it's easiest to paint the furniture before it is completely assembled. You can get in all the nooks and crannies and to reach all the edges better when all the pieces are separate.
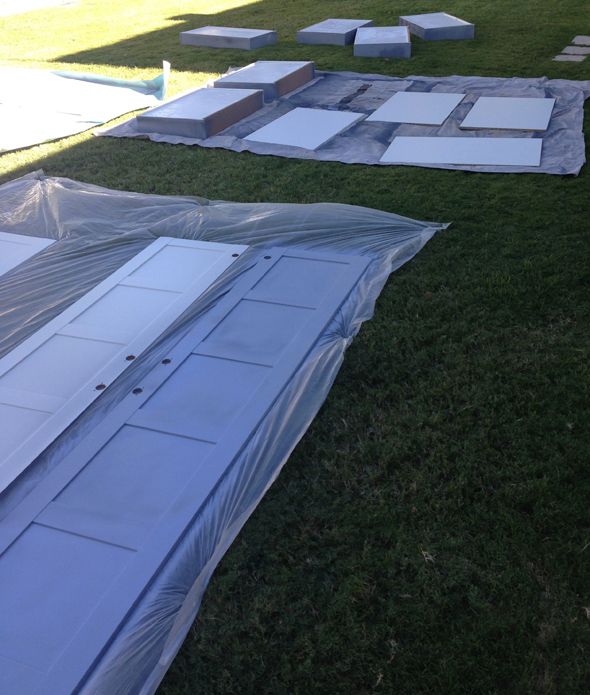
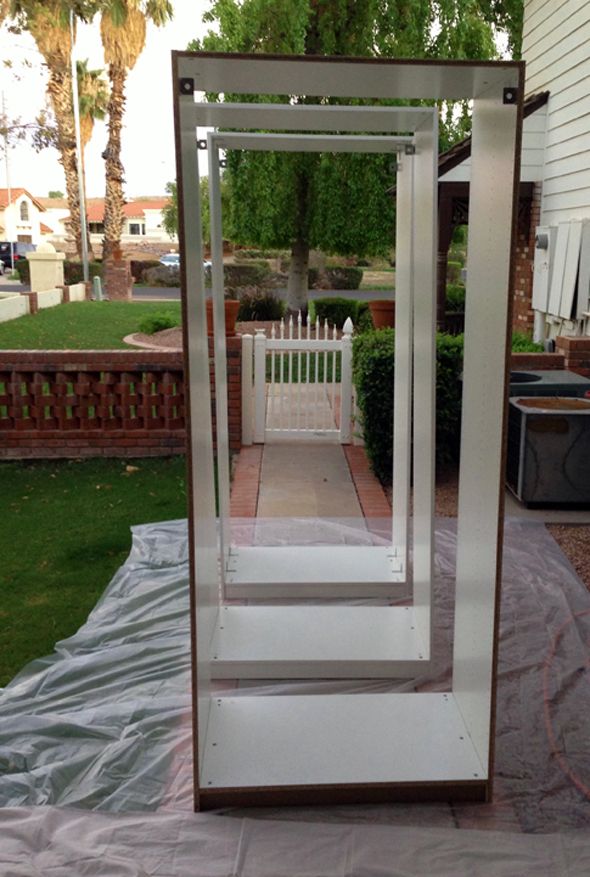
 photo IMG_7773.jpg

 photo IMG_7636.jpg

Once the frame was sprayed and it had a good sanding (why it looks so patchy here below), we screwed the units together and to the walls and then built up the top with a little box frame. Then we added crown moulding to the box (similar to what we did here). This simple step added about 12" of height the to Pax frames and instantly made the separate wardrobes look a lot more like a single piece of (giant) furniture.
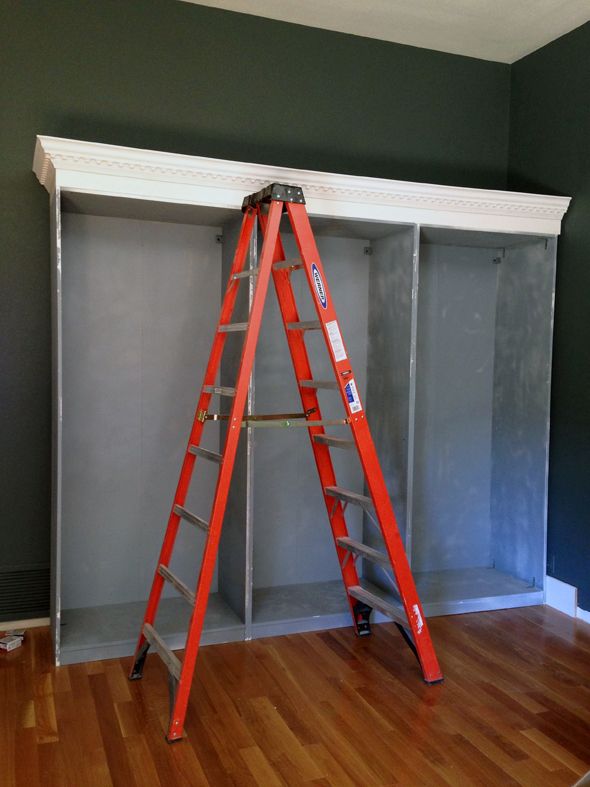
 photo IMG_7907.jpg

For the sake of time and ease, I sprayed all the doors and drawers and shelves outside with my Critter sprayer and I rolled the wardrobe frames inside. I was interesting to see if there would be any huge differences in the rolled vs the sprayed finish.
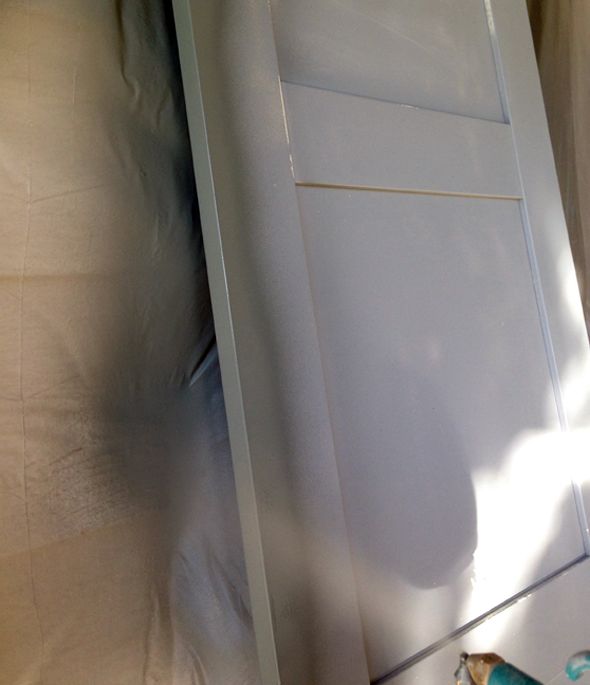
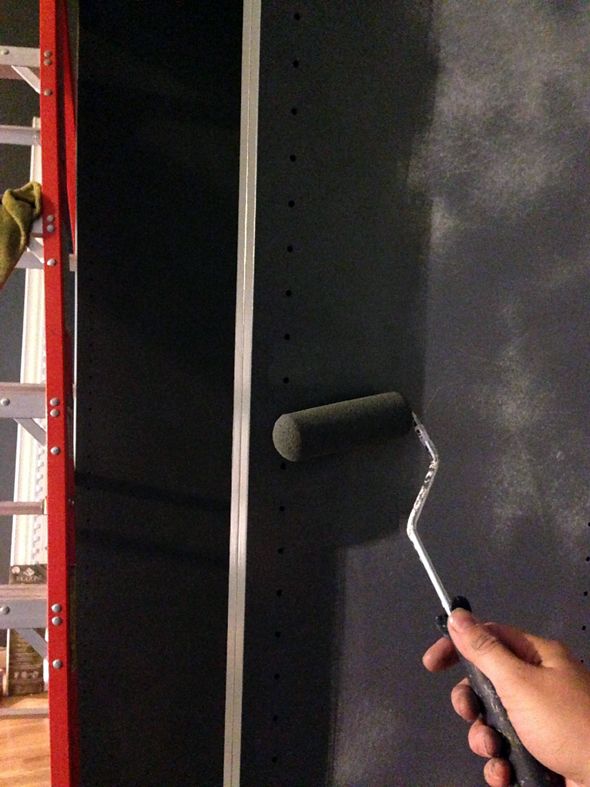
 photo IMG_7986.jpg

 photo IMG_7920.jpg

I had to go back a do a little more hand sanding on the rolled paint and the sprayed paint looked a little more original and like a factory-finish, but honestly, both looked fine. So if you don't have an air compressor and a spray gun, foam mini-rollers are a great option for you. Just make sure you do several coats to blur out any roller lines.
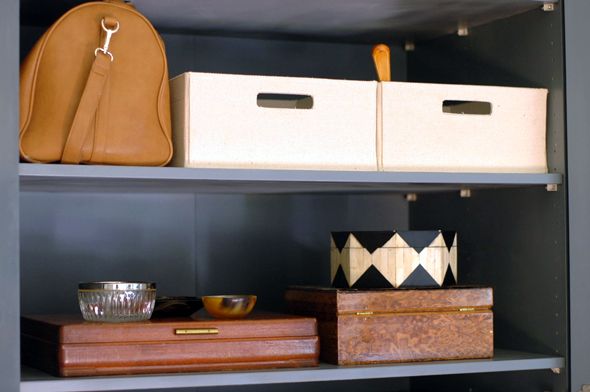
 photo DSC_0689.jpg

In my little vanity area in the center wardrobe, I wanted to add wallpaper to cover up the adjustable shelf holes, but I didn't want any extra pattern or color (I knew my jewelry would be color enough!). I found this little roll of pre-pasted grasscloth look-alike at Lowes for about $20 and it seemed like an easy option.
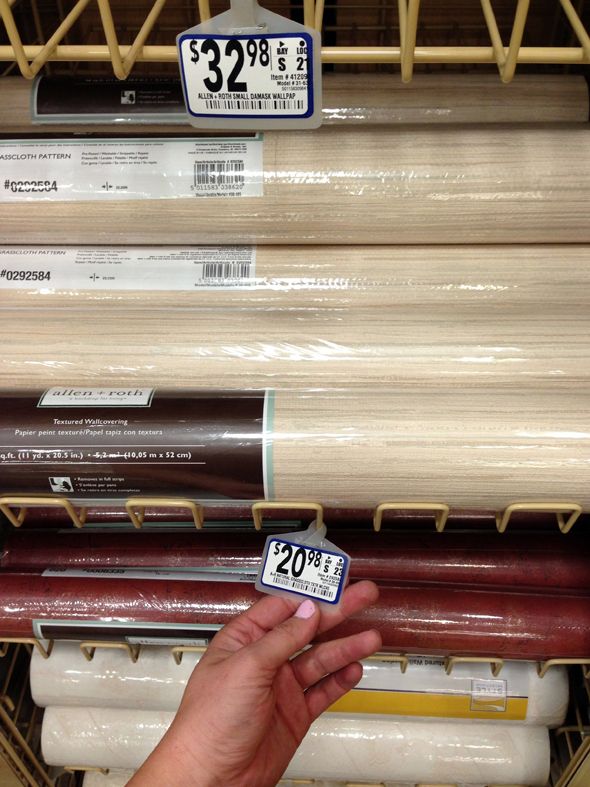
 photo IMG_7749.jpg

Most of the wallpapering I've done in the past has not been with pre-pasted paper. And wow, let me tell you - it is SO easy to wallpaper with this stuff. A million times easier than the paper that's unpasted. For a smaller application like this, you can just mark all your pieces and cut them to size all at once.
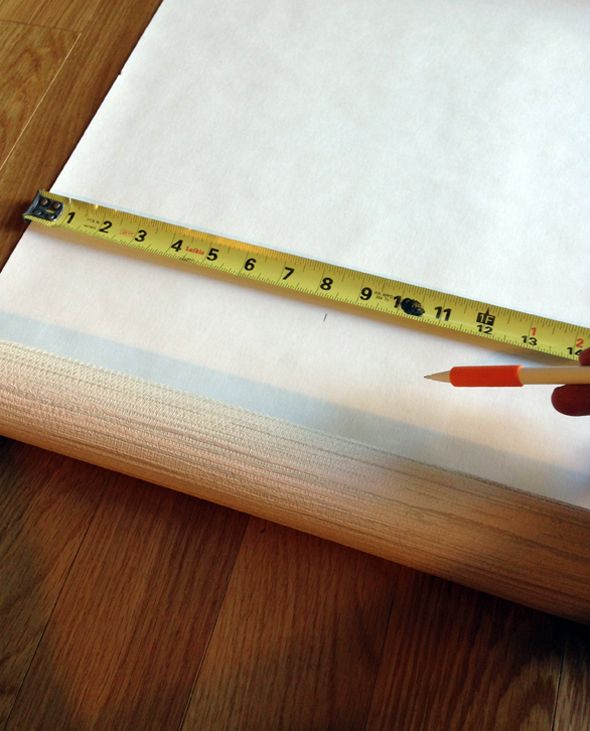
 photo IMG_8291.jpg

Then you get the paper wet and fold it in half for a few minutes while the paste softens. No need to get the paper too wet or you'll have a huge mess on your floors and walls.
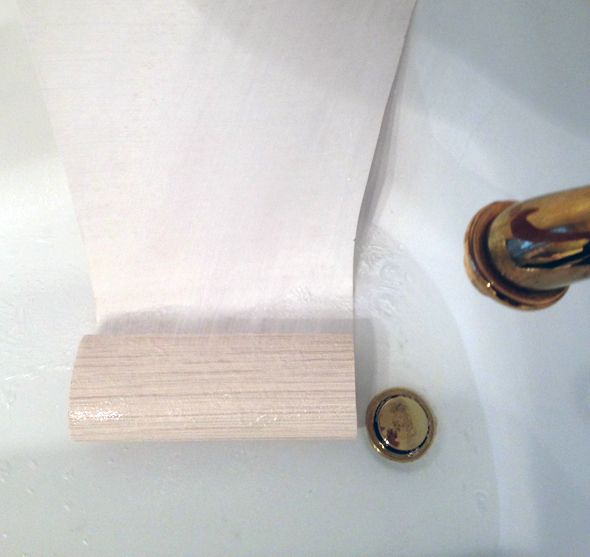
 photo aIMG_8295.jpg

After you put the wallpaper up on the wall, use a large, flat spatula to pull out all of the air bubbles and extra paste (which you'll need to wipe off with a wet rag as you go). If the spatula is large and if you work from the same edge and pull down and out with every swipe, you'll have perfectly installed wallpaper in just a minute or two per sheet. It goes really fast with this pre-pasted stuff!
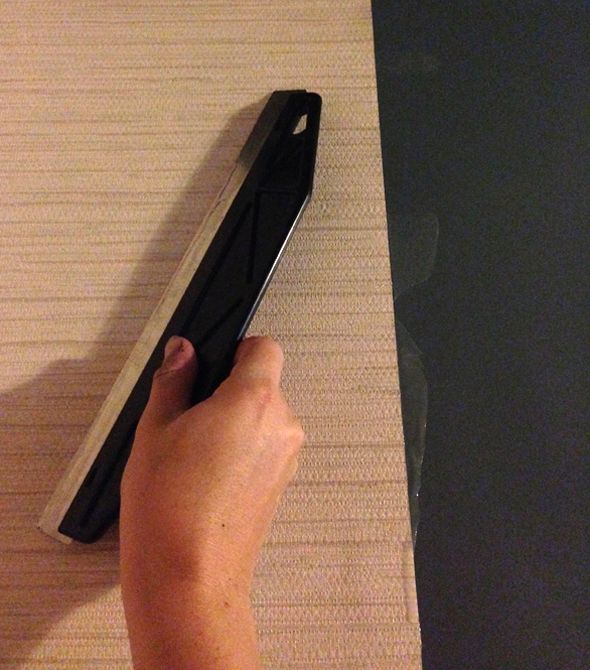
 photo IMG_8305.jpg

I used about half a roll for the vanity nook area and had more than enough to do the ceiling of the wardrobe too. 
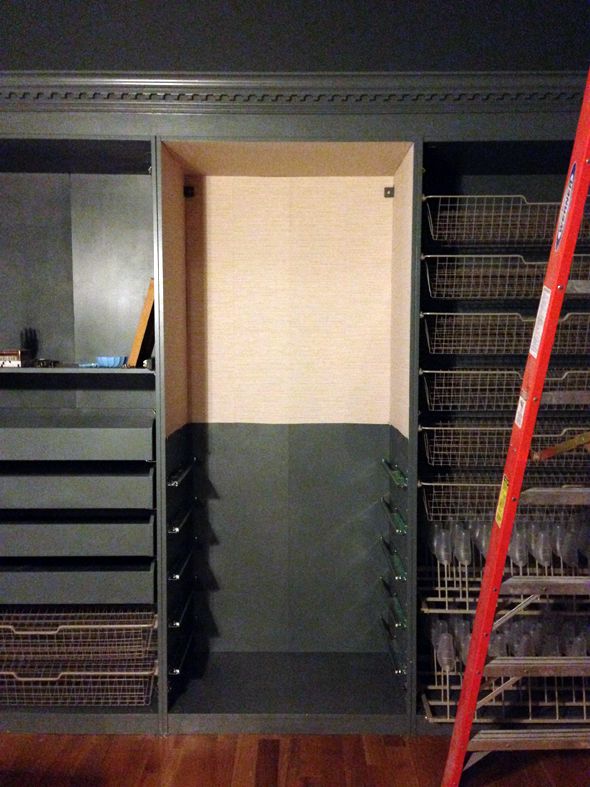
 photo IMG_8333.jpg

I rolled on the same paint (Benjamin Moore's Advance line, tinted to Knoxville Gray) once the paper and paste had dried. I wish the finish look more like real grasscloth, but the texture is beautiful and subtle. I think it was worth the extra few steps to make the vanity look special.
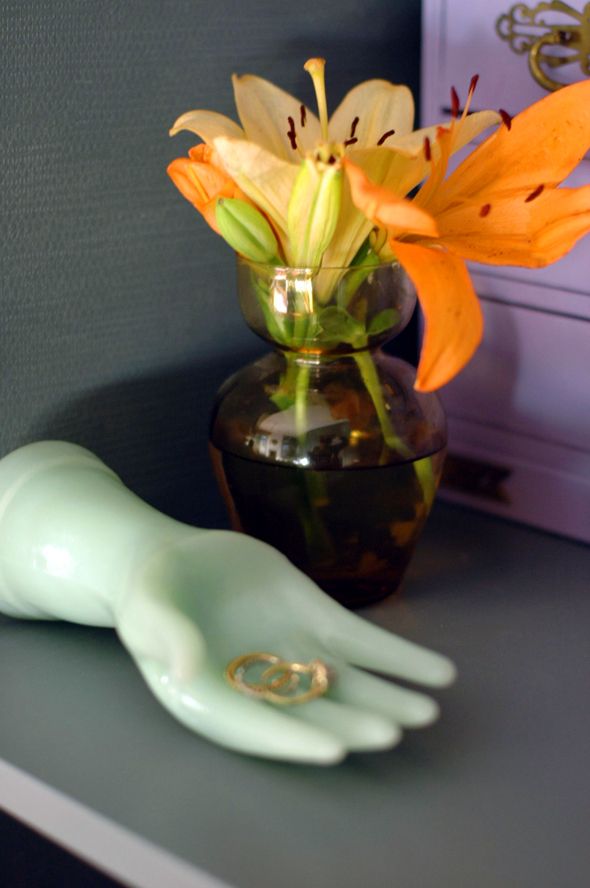
 photo aDSC_0567.jpg

 photo aDSC_0539.jpg

So, I'll be honest, while the steps of priming and painting all the surfaces in these three wardrobes were pretty easy on their own, it ended up being a lot of labor and it took several hours over the course of a few days to get everything covered and smooth. I love the finish and the color though, so I think it was worth it.
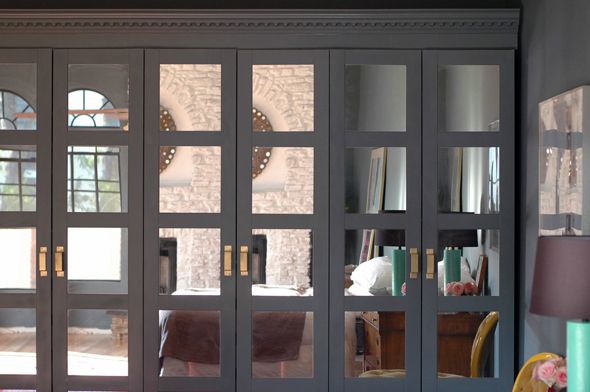
 photo aDSC_0706.jpg

More behind-the-scenes projects coming up!
Thinking About Kitchen Sinks

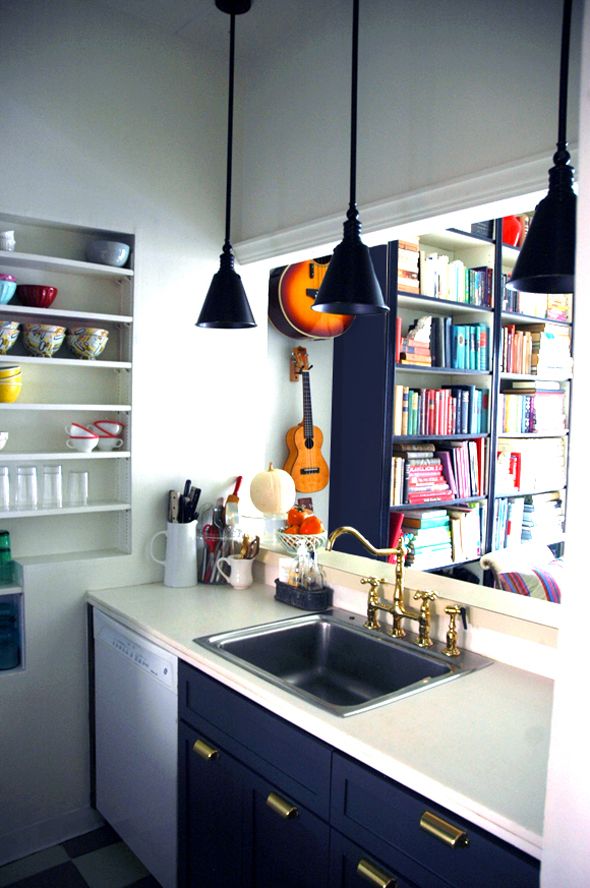
I've been making lists of projects I'd like to finish this year at the brownstone and I think it's time to replace the counters in our small kitchen and change out the sink.

 photo pendantsLGN.jpg

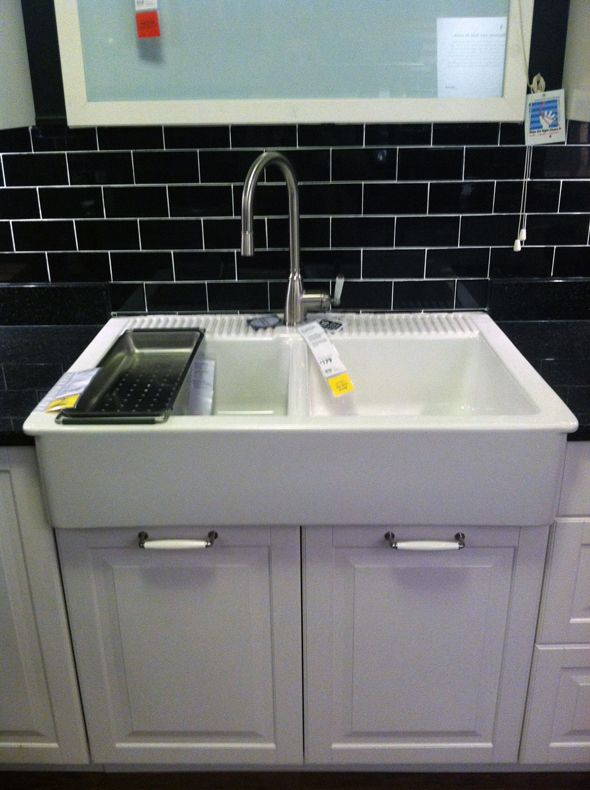
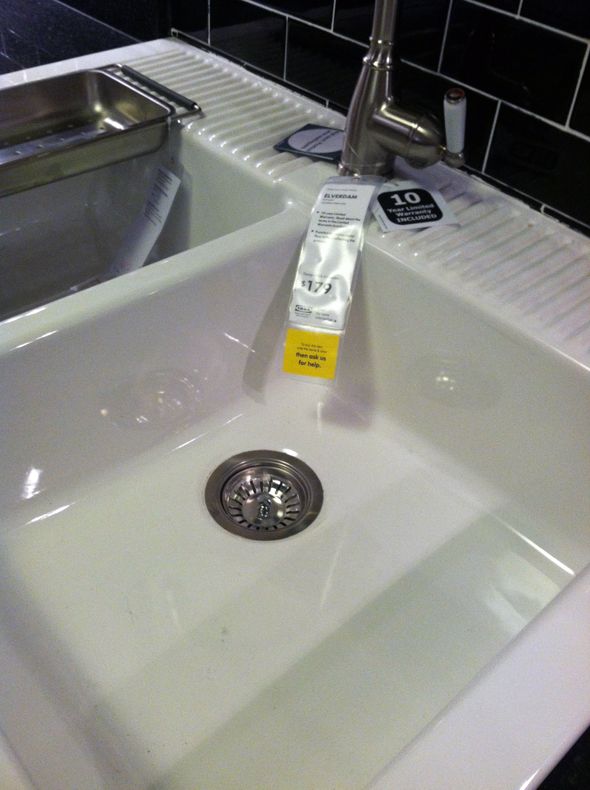
I have some research to do here still, but I am completely intrigued by this only $300 IKEA almost farmhouse style apron sink.

 photo IMG_1545.jpg

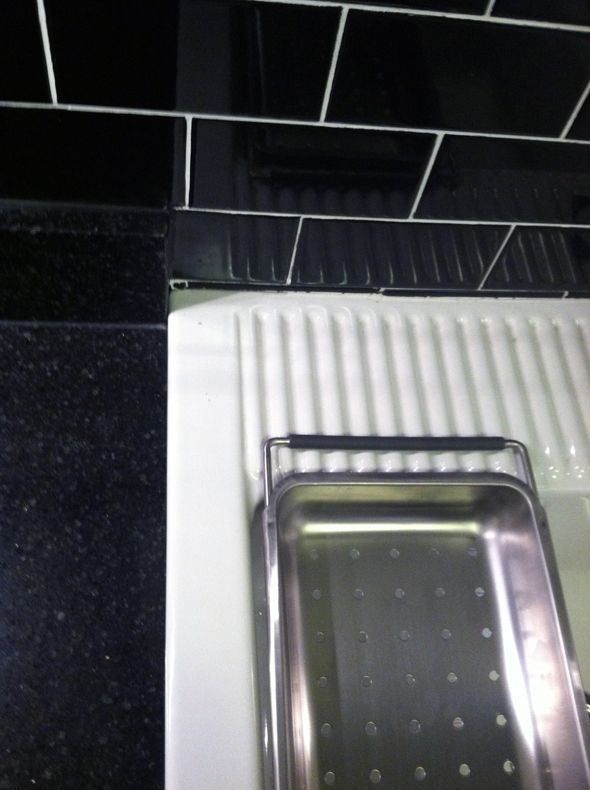
Most of these apron style sinks are under mount basins (which I really like for counter cleaning purposes). But I'm sort of digging the look of the fluted shelf/mini drainage area along the back of the sink.

 photo IMG_1547.jpg

 photo IMG_1549.jpg

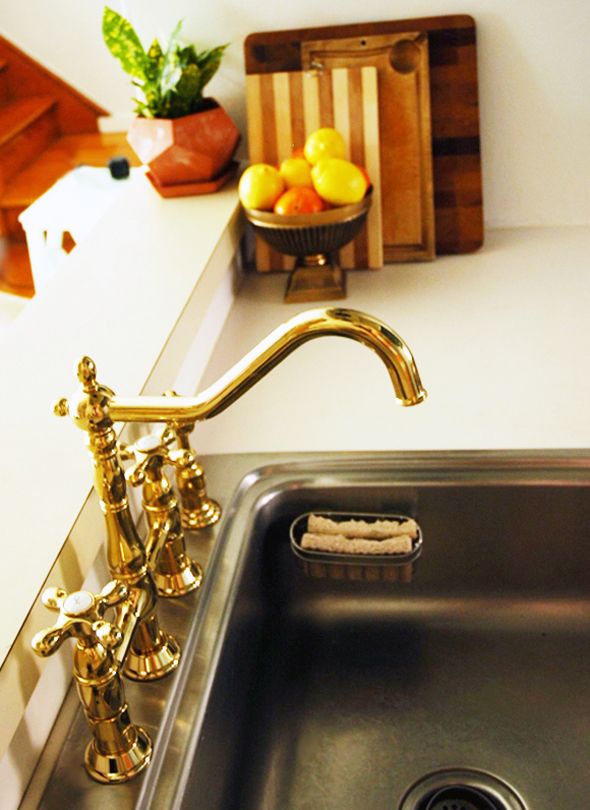
Luckily, the dimensions of the double bowl are perfect for my existing cabinets (installation would require us to cut out the faux drawer front and that's about it other than adding in some additional internal supports), but I'd need to get a new one-hole faucet to replace the bridge we have in there now.

 photo DSC_0109.jpg

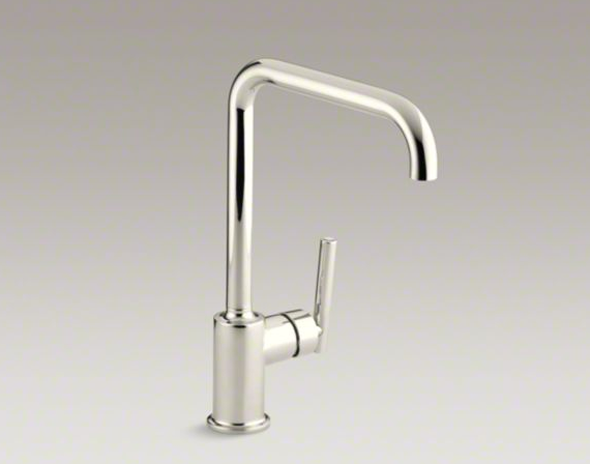
I think something pretty modern like (and less expensive than?) this one would be a great mix with the style of the sink.

 photo ScreenShot2013-05-07at115444PM.png

Do you have the Domsjo sink from IKEA? Thoughts on apron style sinks in general? Too played out? It's pretty hard to beat that price tag though!

 photo IMG_1545.jpg

Faux Brick Hardboard Wall Panels

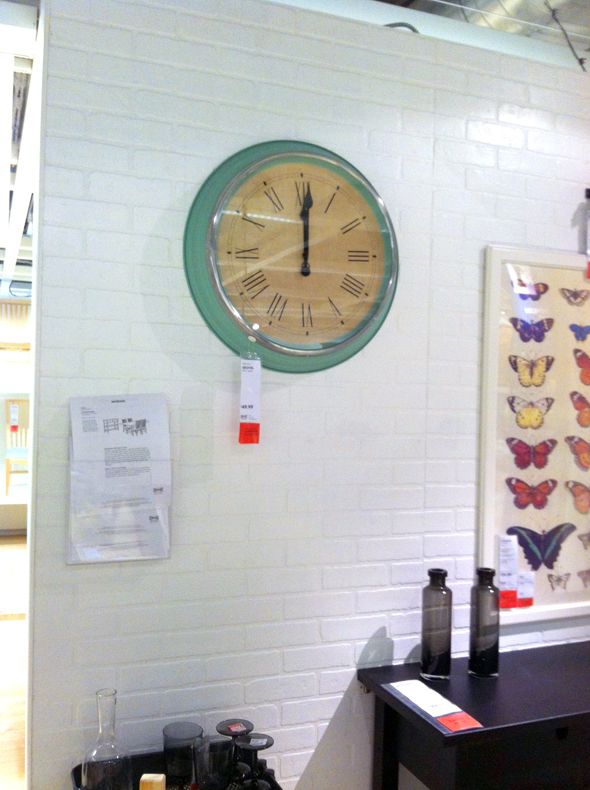
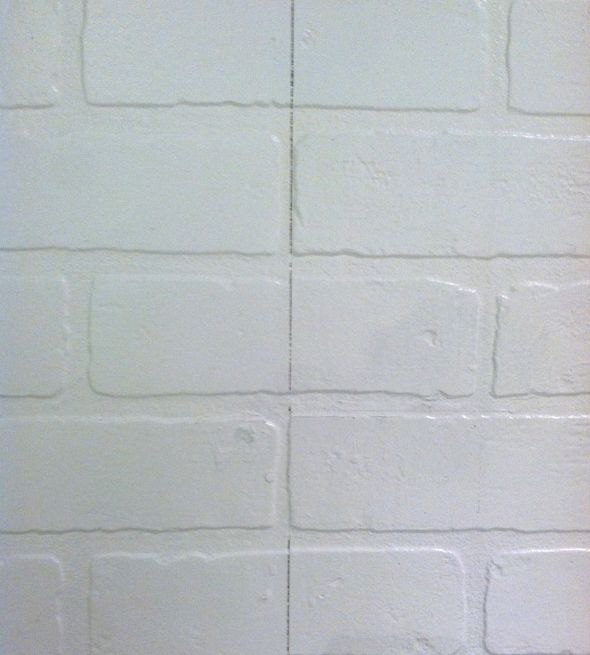
I took a trip to IKEA recently and noticed the badly patched seam in this brick wall on one of their displays and thought, "oh, that's not brick then. duh."

 photo IMG_1553.jpg

Looks like they could have filled the gaps a little better? But I did like the effect of the texture from the "bricks."

 photo IMG_1552.jpg

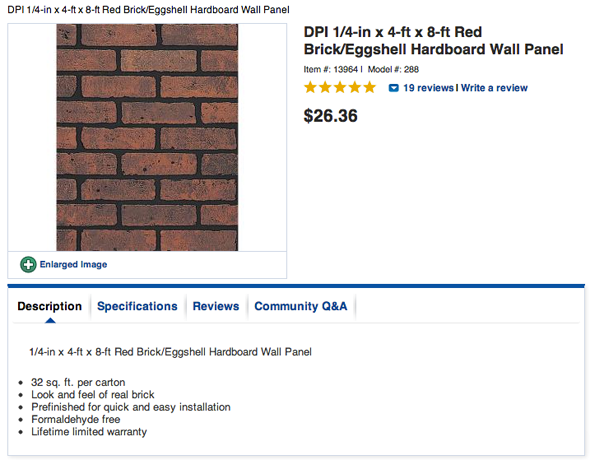
Later I did some digging around the web and I discovered these faux brick hardboard sheets at Lowes. I wonder why I've never noticed these before in the lumber aisle? About $26 for a 4x8' sheet is so affordable! And the reviews are all really positive.

 photo ScreenShot2013-03-21at15950PM.png

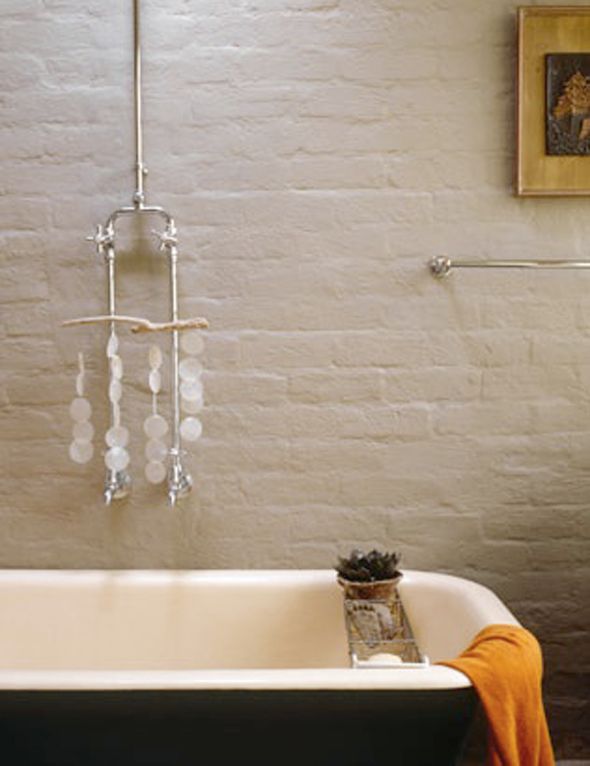
I think with a little effort and some plaster you could make the walls of your bathroom or laundry room look crusty and old like this:

 photo hallieburtonbath.jpg

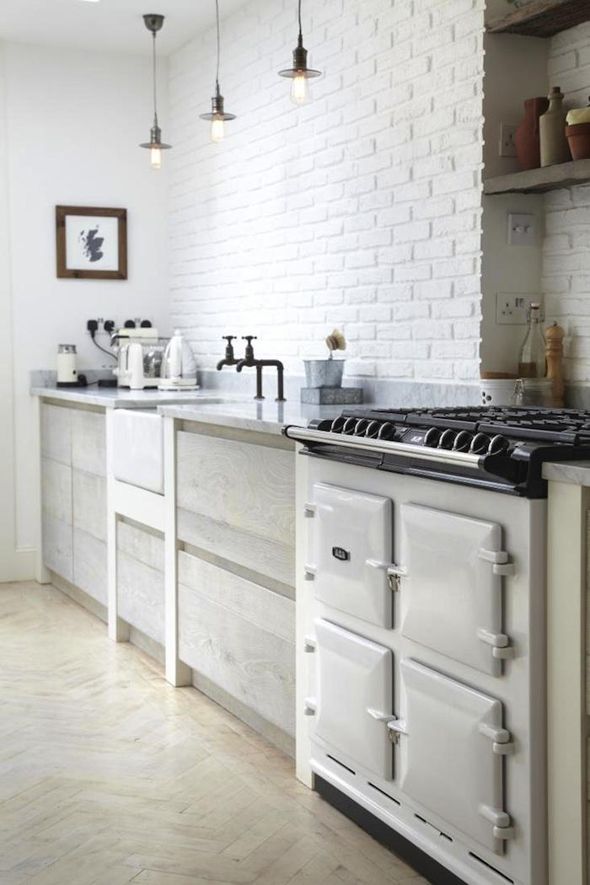
Or if you're on a super-tight budget, I bet you could use the sheets in your kitchen even (painted flat black or white like the IKEA room above, but seamed better, of course!). Have you ever tried the faux brick hardboards? I'm dying to use them somewhere now!

 photo 700_lambeth-kitchen-aga-1.jpg
(WHOA, FLOORS! ^^^)

Reader DIY: Linen Upholstered Rast

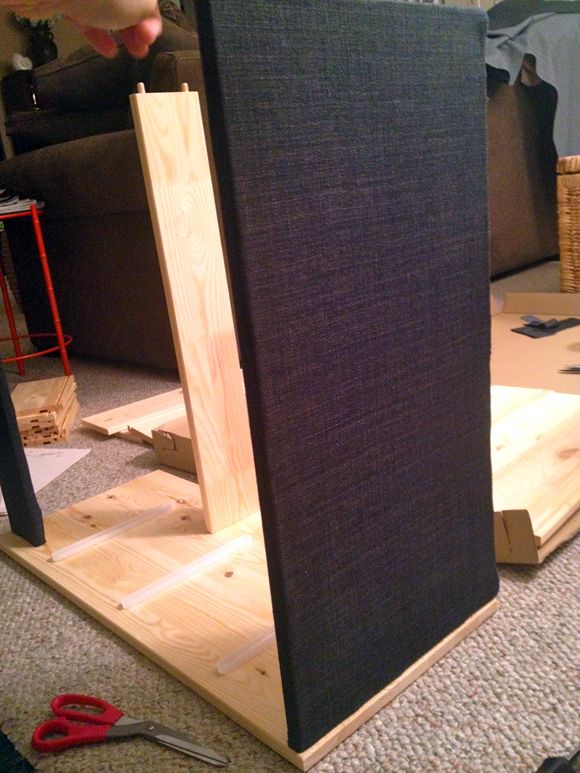
Just try and show me a piece of IKEA furniture that's been hacked more than the $35 Rast dresser and I'd say you were lying. :) There are SO SO MANY hacks and I think for good reason - it's a cheap and super versatile piece! And the Rast is the perfect small-bedroom-bedside-table size.


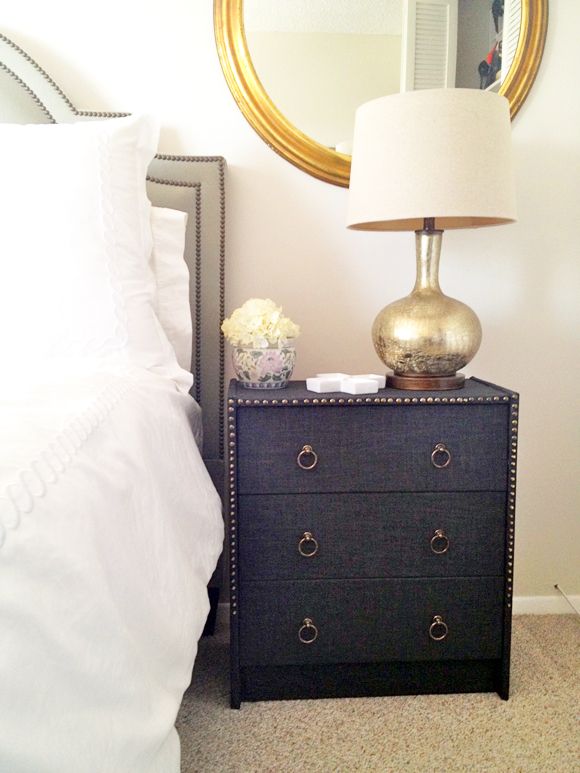
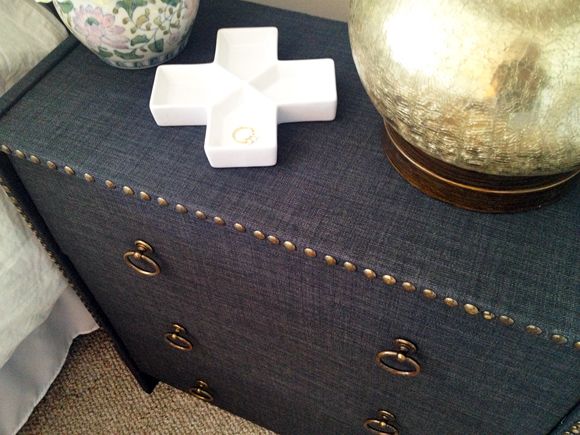
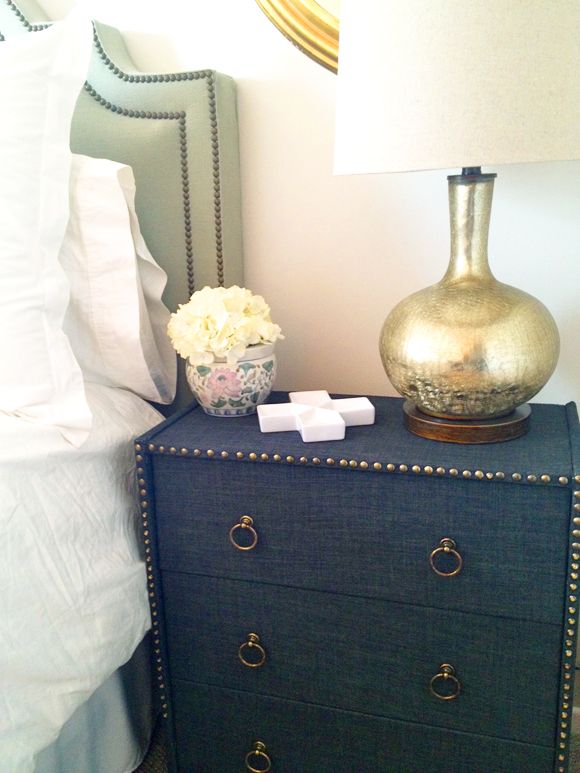
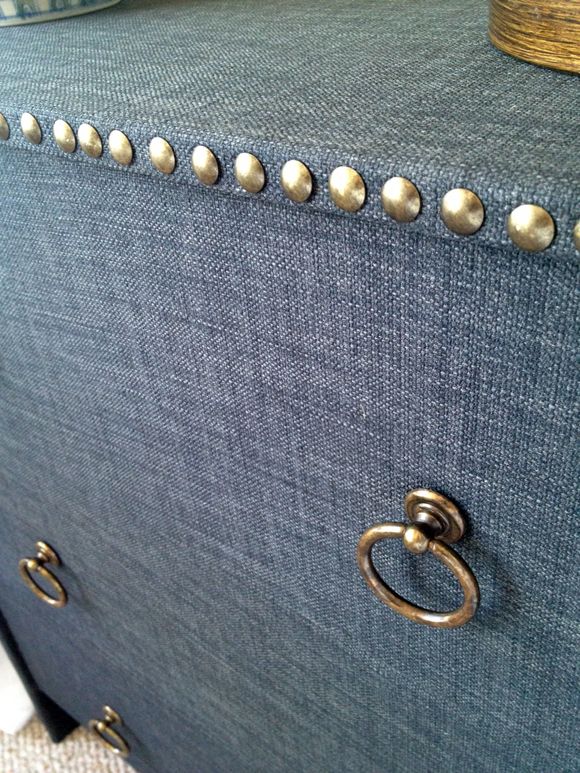
Kelly from Hello Boudreux was inspired by this Martha Stewart tutorial and wrapped her Rast dresser in a lovely charcoal gray linen.


Kelly gives a great step by step here. And I'm crazy for the results:


Have you done any Rast hacks of your own? We're in need of some smallish nightstands with storage, so I'm thinking of coming up with another Rast project myself.

Thanks for sharing, Kelly!

If you have a project you'd like to see on LGN, feel free to email your submission here. Thanks!

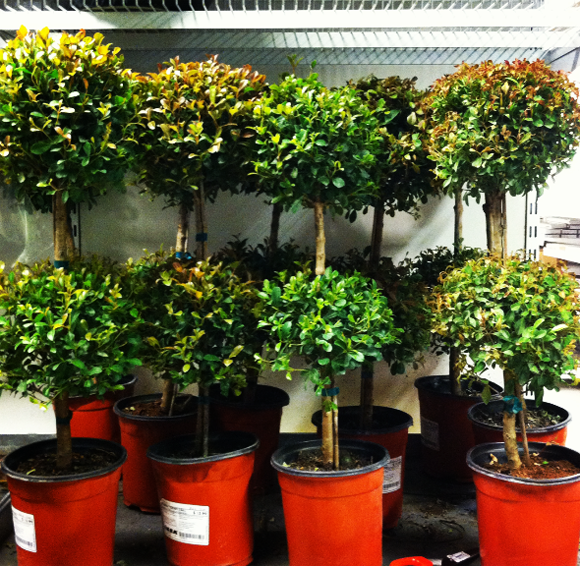
Topiaries at IKEA

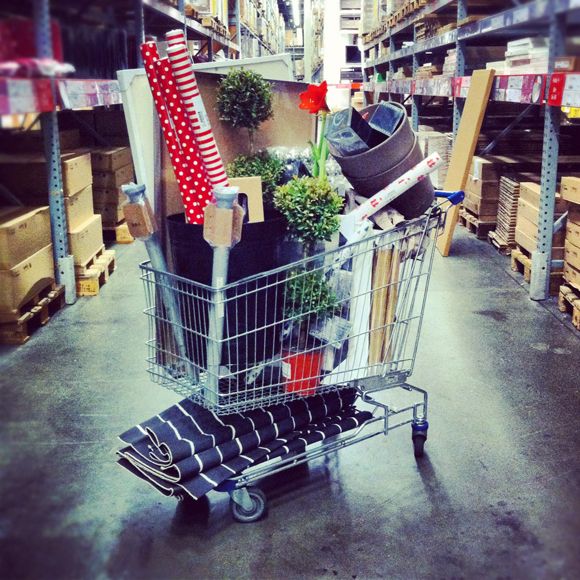
I just got back from a marathon shopping trip to the trifecta: IKEA, Home Depot and Target. I may never walk again! :)


While I am hundreds of dollars poorer, today's outings were successful. I found everything on my shopping lists (and more! two full carts at IKEA!), including these adorable little topiaries. I will be considering the addition of some festive bows just like this.


Run to IKEA before the topiaries are gone! No fewer than five ladies and one gent asked where I found them while I was checking out. (The garden section. $15.99 ea.) Now run!

Brass Etagere IKEA Hack

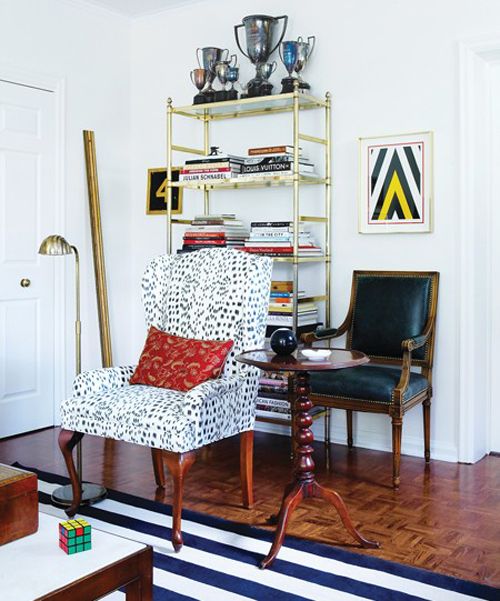
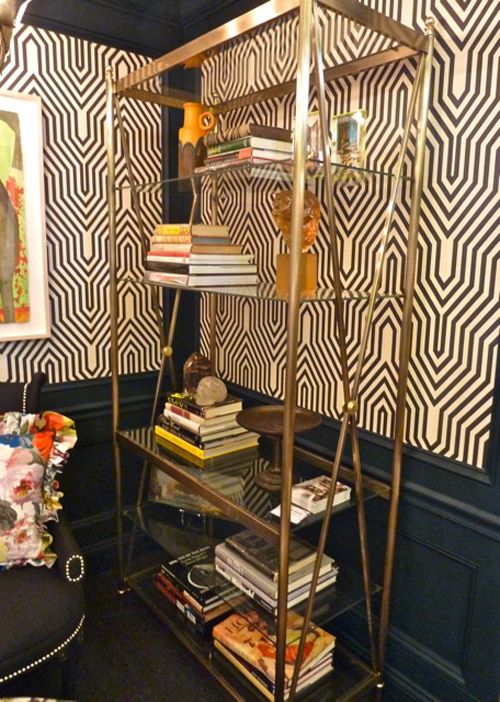
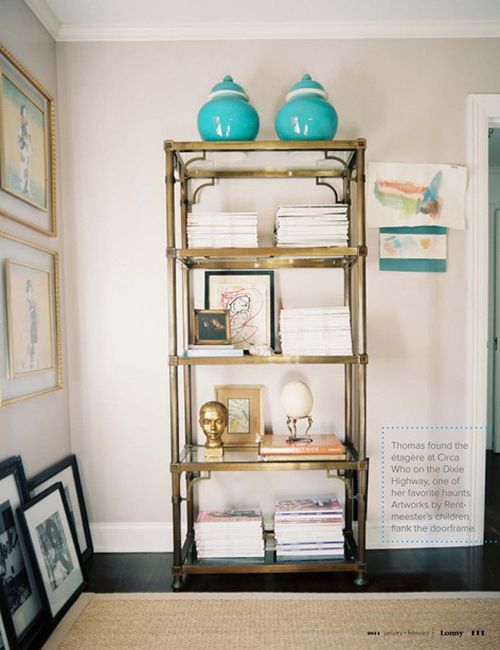
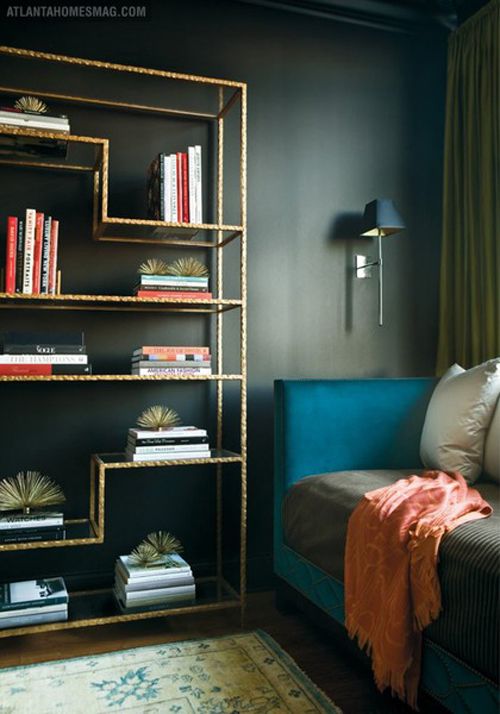
I love good, clean-lined etageres for displaying just a few pretty things. They're not the most functional pieces of furniture (I wouldn't want to overload these with piles of books), but they are perfect for picture frames, a few horizontal stacks of pretty design books, little boxes and baubles that tell your story and that you want to display, but never know where to put out.

House and Home (Tommy Smythe's apartment)


Lonny


Atlanta Homes

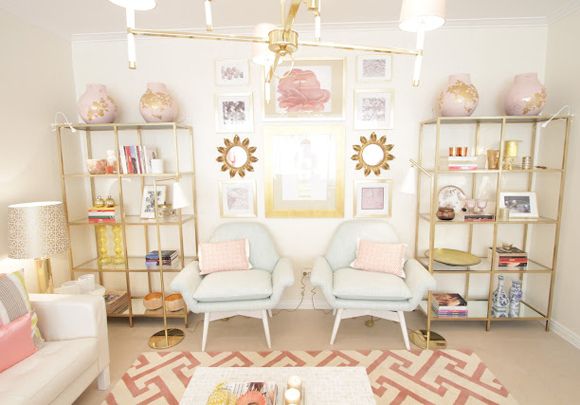
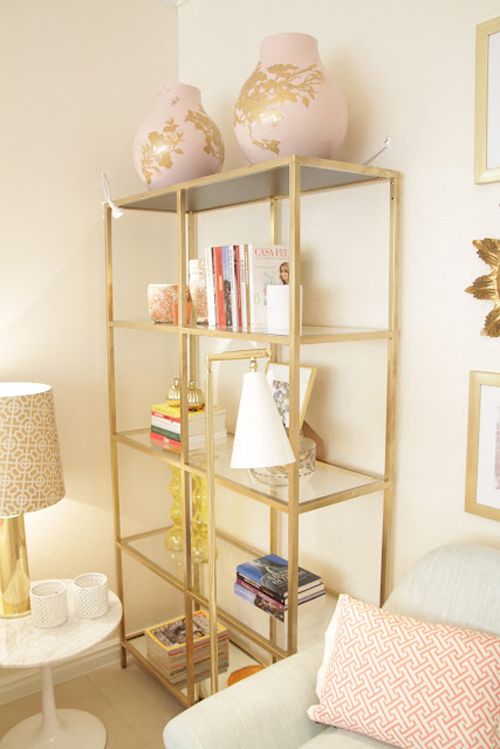
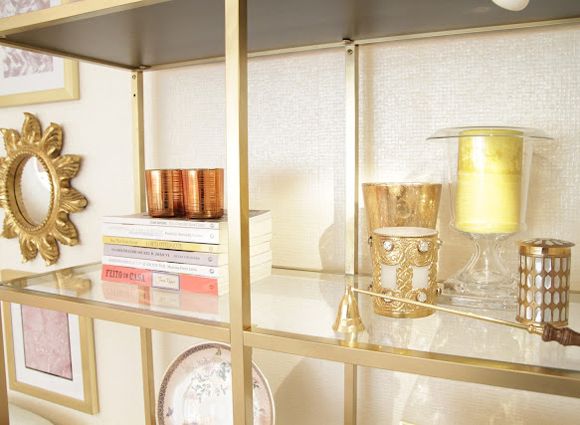
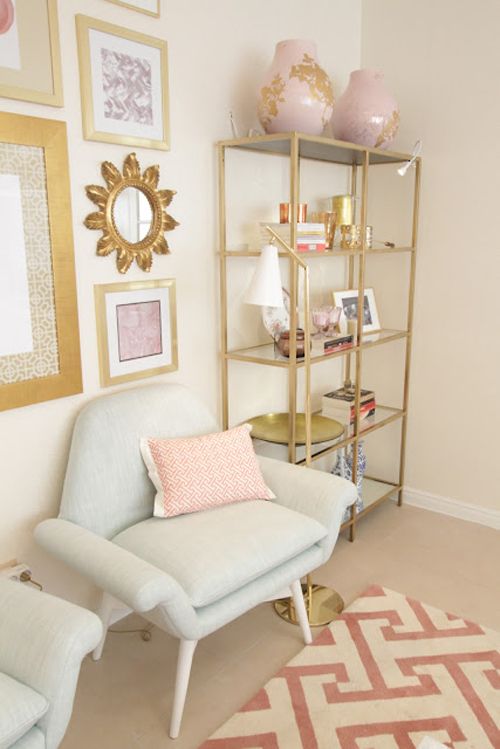
If you're lucky, you can find vintage etageres in thrift stores or on craigslist. Sometimes eBay comes through. But buying new will set you back at the very least $1200 and up into the thousands. That's when I was surprised to see in this pretty room by Ana Antunes (via VT Interiors) that these pretty brass-looking etageres were actually IKEA shelves painted gold!


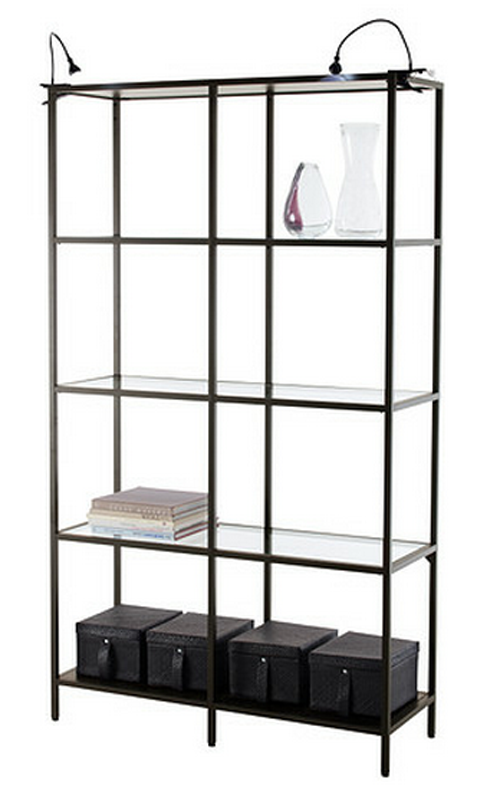
Each of these Vittsjo units was only $70, which is a steal!


While I sort of like the original black version, I'm sure the finish is less nice in person. And I'm really loving the brassy tone Ana painted the frame. You could try gold leafing for a really natural, mottled look, but Rustoleum's Metallic spray paint in brass would work really well too (and would save you about 10 hours of labor).


And can you even handle those chairs? So pretty! Wishing they shipped to the states. :)

DIY Campaign Style Side Tables

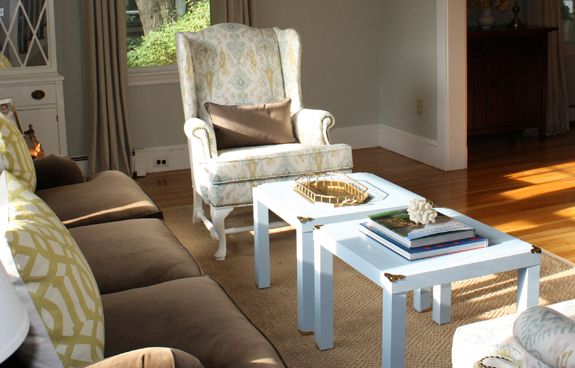
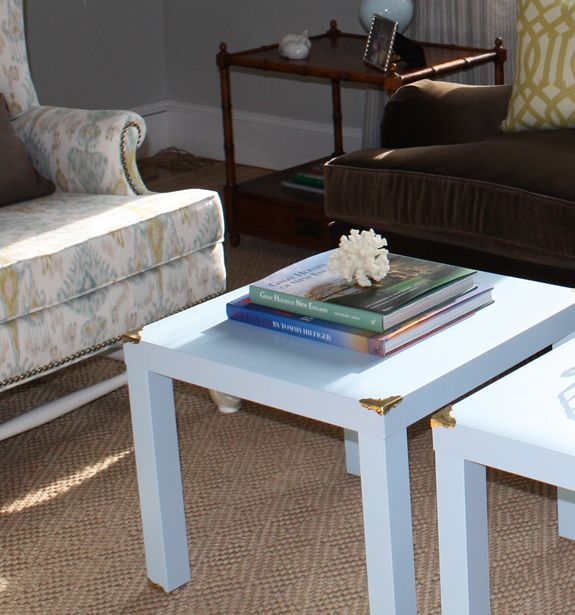
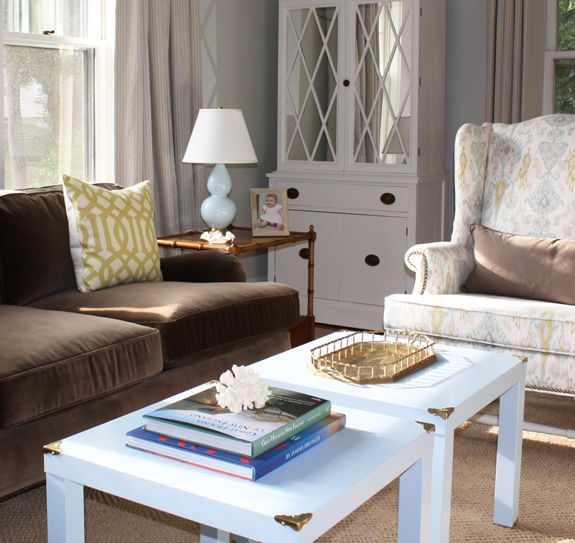
Yesterday's post on campaign furniture in the kitchen reminded me that I hadn't shared this easy DIY yet. These photos are old in-progress shots from an eDecorating client.


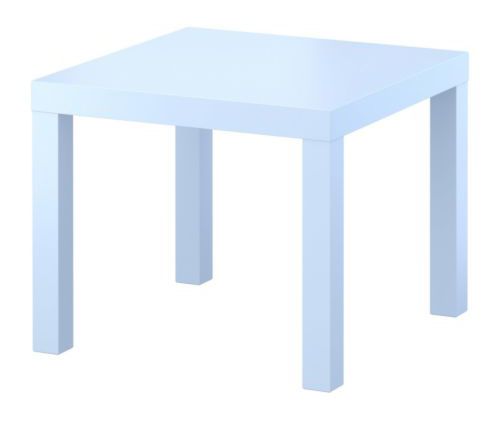
We bought two of these Lack tables in the sky blue color:


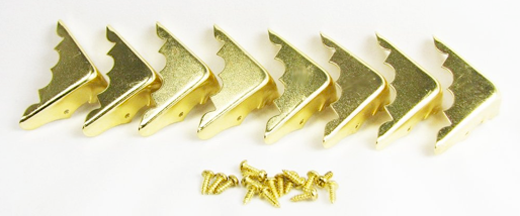
And 16 of these brass corners (they're about $5 for a set of eight) and just tapped them into the very outside corners of the tables (tops and feet).


So easy and very inexpensive!


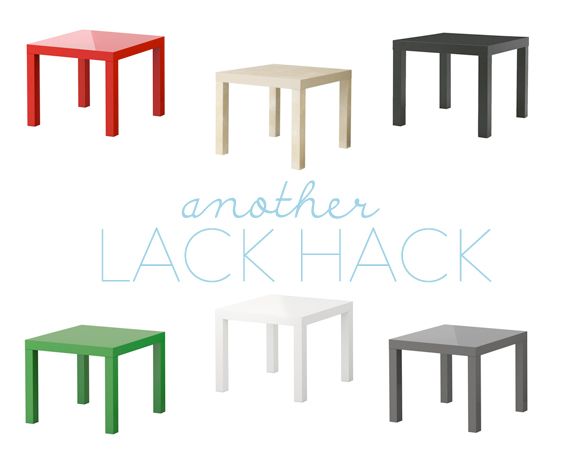
It looks like the light blue Lack table is not available any more, but there are some very pretty high gloss versions at IKEA now. (Wouldn't the birch be just gorgeous with the brass? Or that glossy gray!) Prices range between $7.99 and $12.99 each, which is about the cost of a sandwich here in NYC. Not too bad for a pretty and unique version of a classic Parsons style side table.