Tampilkan postingan dengan label Painting Furniture. Tampilkan semua postingan

How to Paint (and Even Wallpaper!) IKEA Furniture

Thank you so much for your kind feedback on the Domino article! I'm so excited to start sharing the behind-the-scenes projects and ideas today!

 photo DSC_0765.jpg

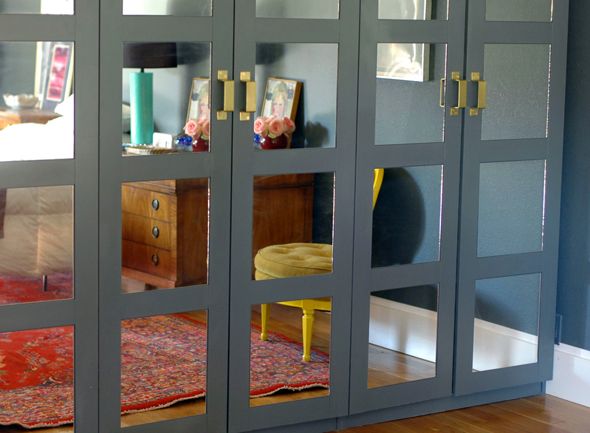
Pax wardrobes are incredibly versatile - they're really the perfect blank canvas when it comes to organizational furniture. Not only are the affordable shells are so basic and easy to customize, but then you also have all the handy shelves, drawers, baskets and other storage accessories made to fit the Pax at your finger tips.
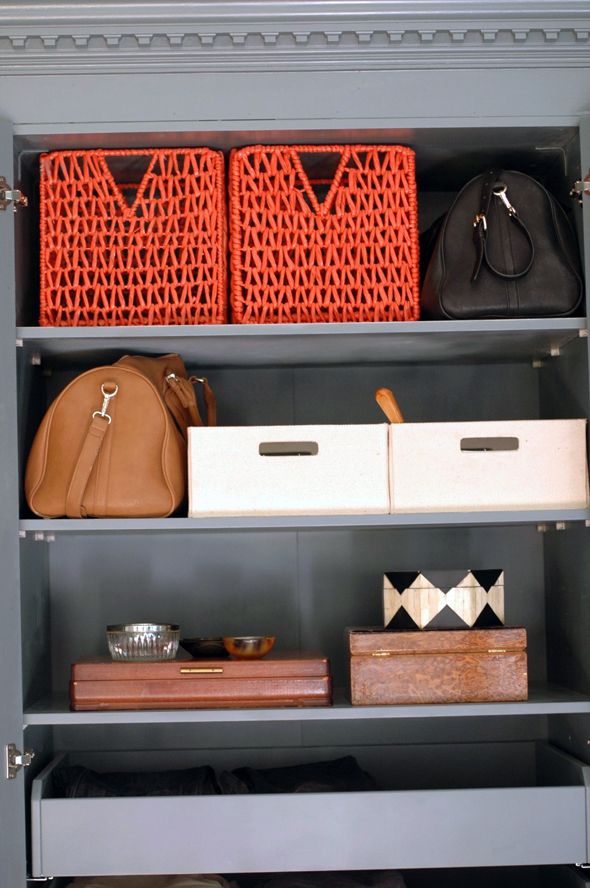
 photo aDSC_0685.jpg

I am crazy over these shoe trees. Each pull-out shelf holds 16 pairs of shoes, which is nowhere near enough for this shoe-lover, but a couple of the shelves comes close to fitting my seasonal shoe needs! :)
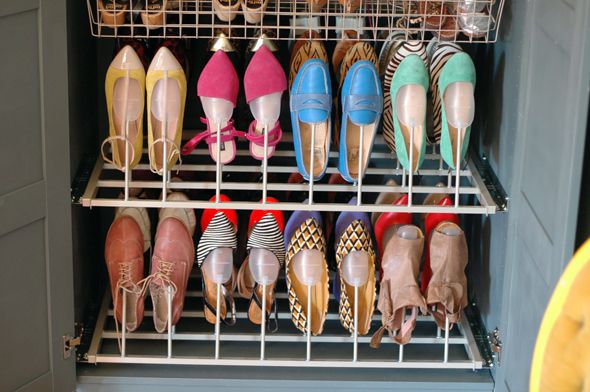
 photo aDSC_0678.jpg

I love how much our Pax wardrobes store, and I'm thrilled that we were able to get a more custom look with just a few changes to the Pax frames. Painting probably took the most time and labor, but I think changing the color to match the walls was a key part of making these wardrobes look less IKEA and more custom.

I've painted a lot of IKEA furniture in the past. Spray paint usually at least sticks and covers, but the paint will almost always chip off eventually without the right primer, which I didn't know about until recently. With a coat or two of this miracle primer, you can layer on sprayed, rolled or brushed paint for the top coat, and it will stick - and stay - on your IKEA furniture!
The brand is Zinsser, but make sure you get the shellac-based version. It is formulated for use on laminate furniture, which most primers aren't.
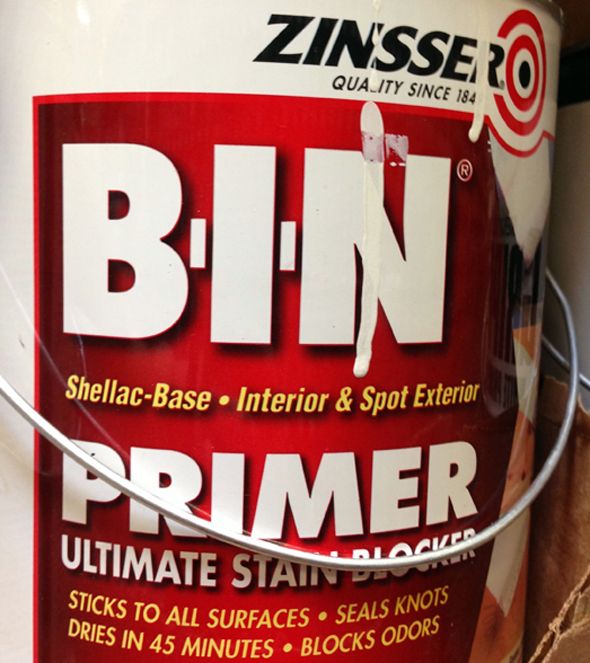
 photo IMG_7606.jpg

Whenever I'm priming a piece of furniture for a dark paint color, I ask the paint mixer to tint my primer. Usually it just ends up being a bluey-gray color, but it seems to help get a darker, truer color in the end when you're not having to work to cover up the white primer.
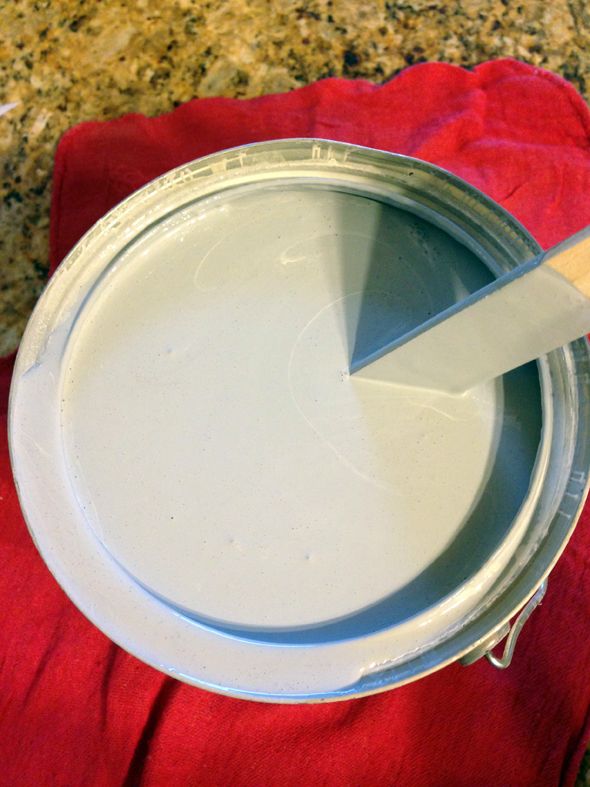
 photo IMG_7631.jpg

I recommend either rolling or spraying on the primer coat (to minimize brush marks and the need for heavy sanding). I still really recommend the Critter spray gun, but spraying primer with this gun doesn't work as well as spraying regular paint. The finish gets almost a little dusty. I found that if I lightly sanded after spraying the dust practically fell off and left a smooth finish. It might have been quicker to roll on the primer here though.
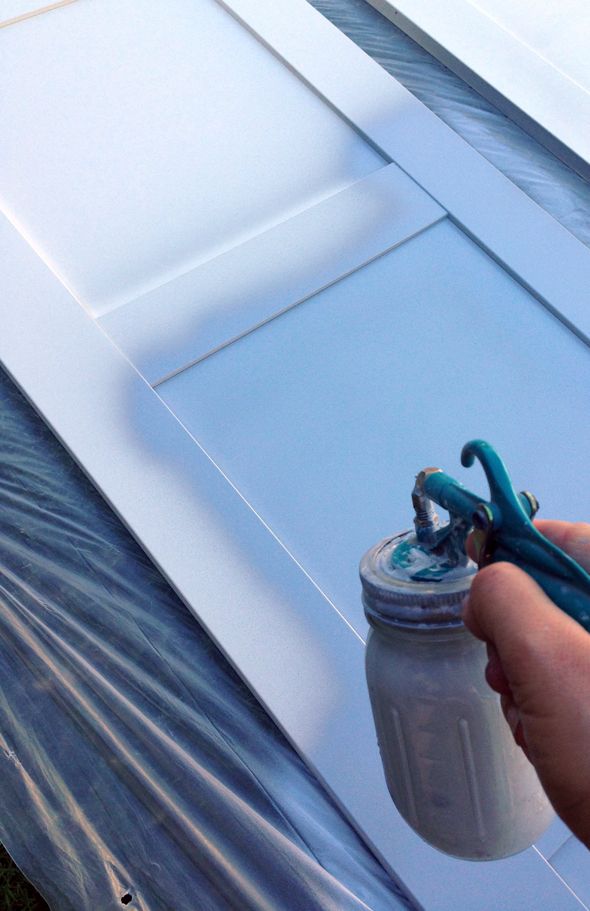
 photo IMG_7771.jpg

I think, whether rolling or spraying, it's easiest to paint the furniture before it is completely assembled. You can get in all the nooks and crannies and to reach all the edges better when all the pieces are separate.
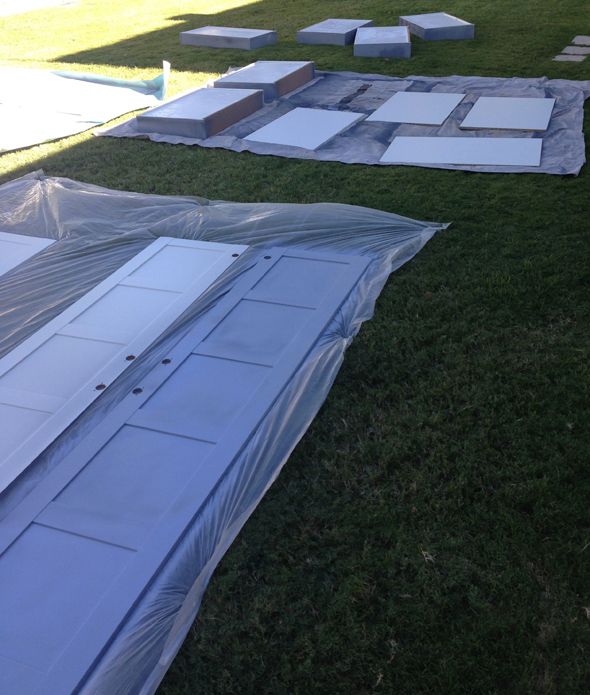
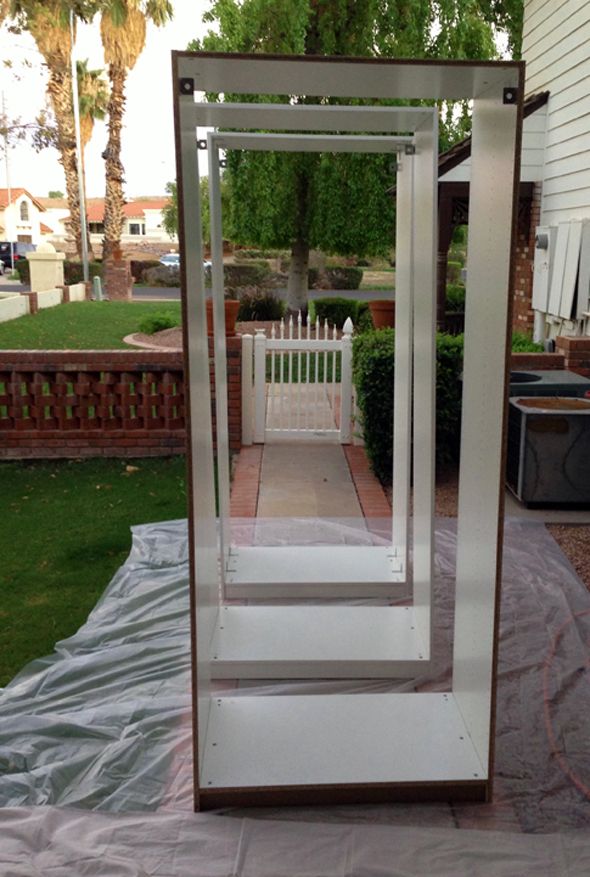
 photo IMG_7773.jpg

 photo IMG_7636.jpg

Once the frame was sprayed and it had a good sanding (why it looks so patchy here below), we screwed the units together and to the walls and then built up the top with a little box frame. Then we added crown moulding to the box (similar to what we did here). This simple step added about 12" of height the to Pax frames and instantly made the separate wardrobes look a lot more like a single piece of (giant) furniture.
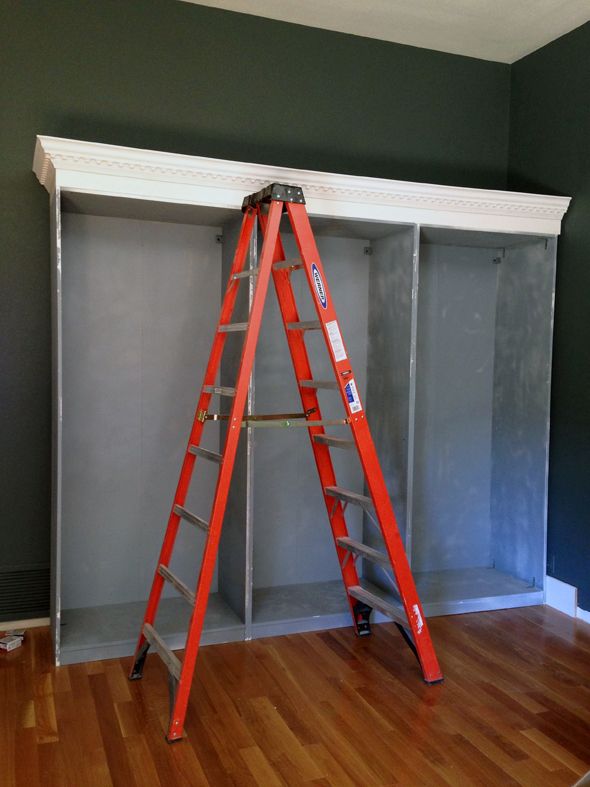
 photo IMG_7907.jpg

For the sake of time and ease, I sprayed all the doors and drawers and shelves outside with my Critter sprayer and I rolled the wardrobe frames inside. I was interesting to see if there would be any huge differences in the rolled vs the sprayed finish.
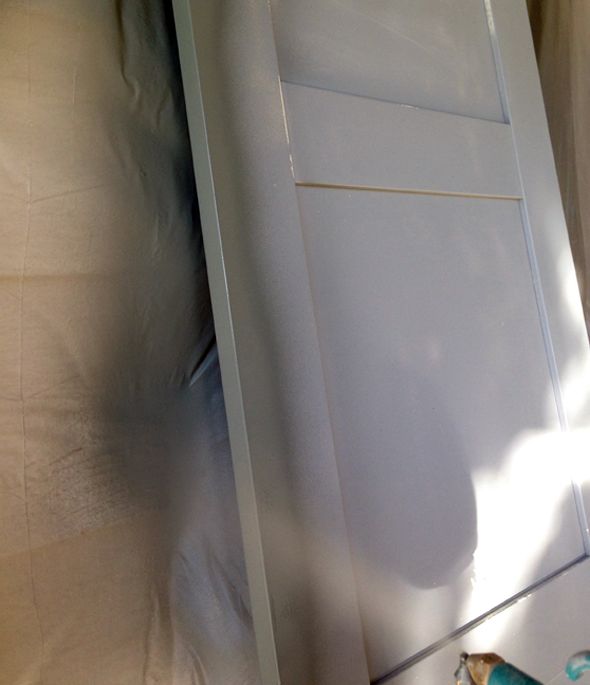
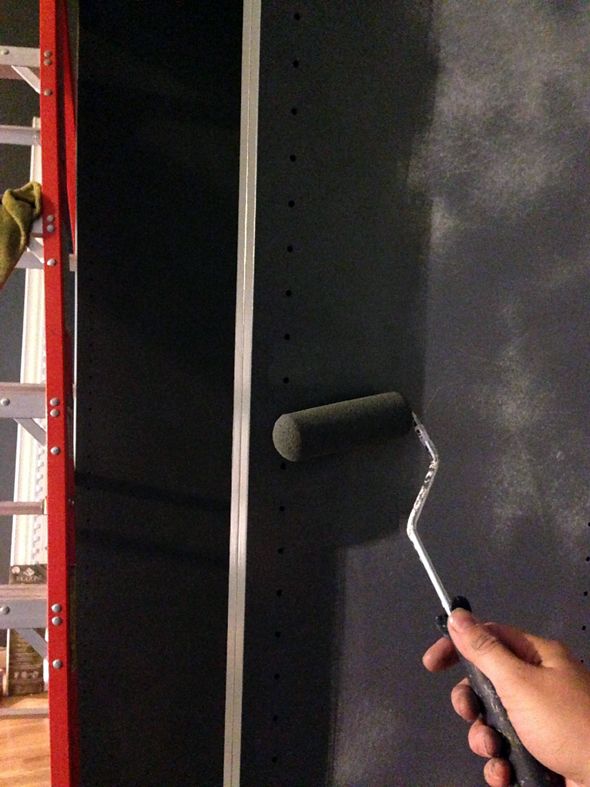
 photo IMG_7986.jpg

 photo IMG_7920.jpg

I had to go back a do a little more hand sanding on the rolled paint and the sprayed paint looked a little more original and like a factory-finish, but honestly, both looked fine. So if you don't have an air compressor and a spray gun, foam mini-rollers are a great option for you. Just make sure you do several coats to blur out any roller lines.
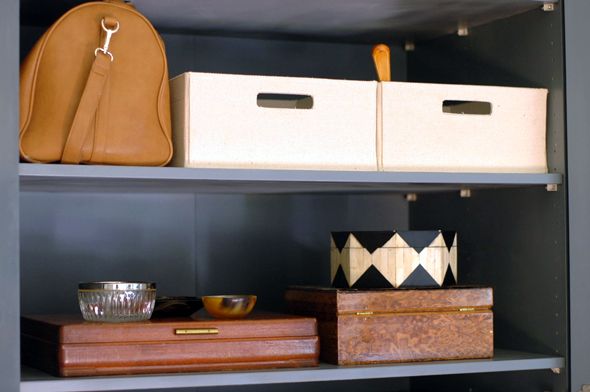
 photo DSC_0689.jpg

In my little vanity area in the center wardrobe, I wanted to add wallpaper to cover up the adjustable shelf holes, but I didn't want any extra pattern or color (I knew my jewelry would be color enough!). I found this little roll of pre-pasted grasscloth look-alike at Lowes for about $20 and it seemed like an easy option.
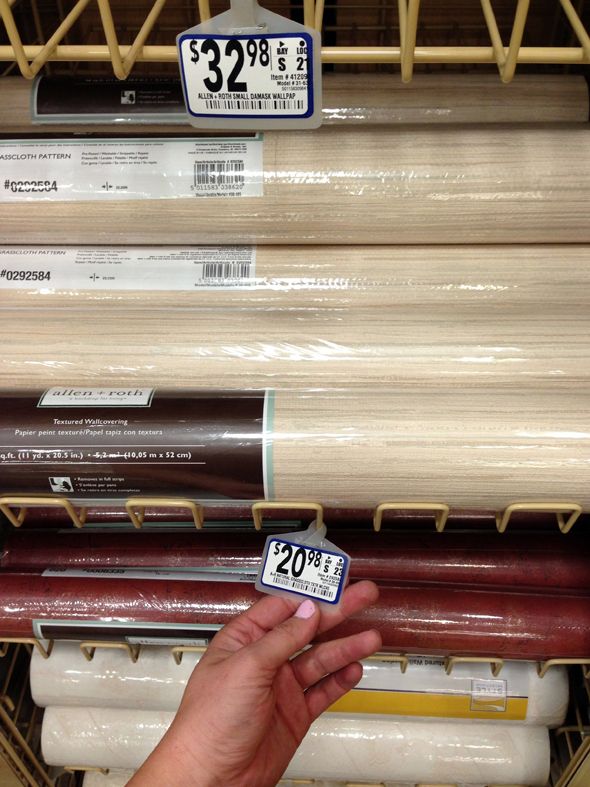
 photo IMG_7749.jpg

Most of the wallpapering I've done in the past has not been with pre-pasted paper. And wow, let me tell you - it is SO easy to wallpaper with this stuff. A million times easier than the paper that's unpasted. For a smaller application like this, you can just mark all your pieces and cut them to size all at once.
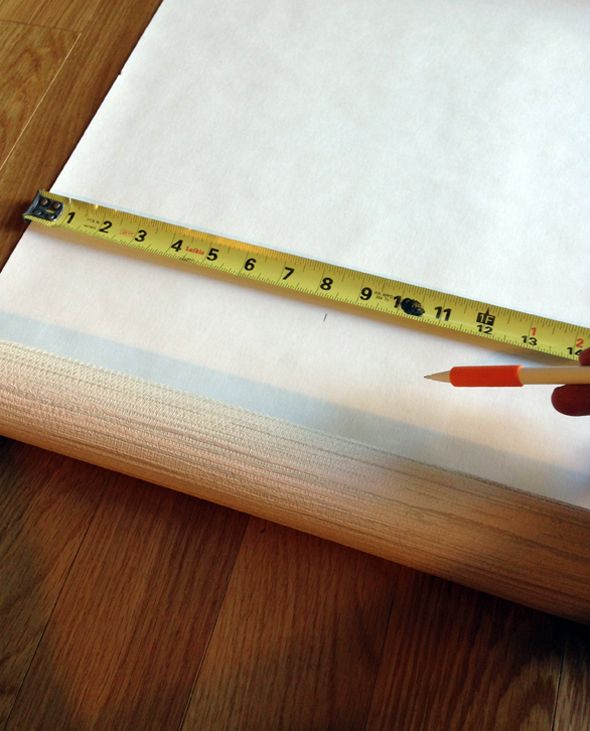
 photo IMG_8291.jpg

Then you get the paper wet and fold it in half for a few minutes while the paste softens. No need to get the paper too wet or you'll have a huge mess on your floors and walls.
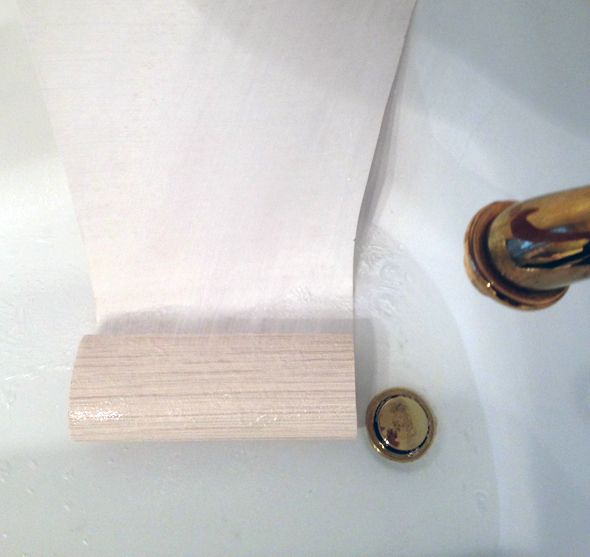
 photo aIMG_8295.jpg

After you put the wallpaper up on the wall, use a large, flat spatula to pull out all of the air bubbles and extra paste (which you'll need to wipe off with a wet rag as you go). If the spatula is large and if you work from the same edge and pull down and out with every swipe, you'll have perfectly installed wallpaper in just a minute or two per sheet. It goes really fast with this pre-pasted stuff!
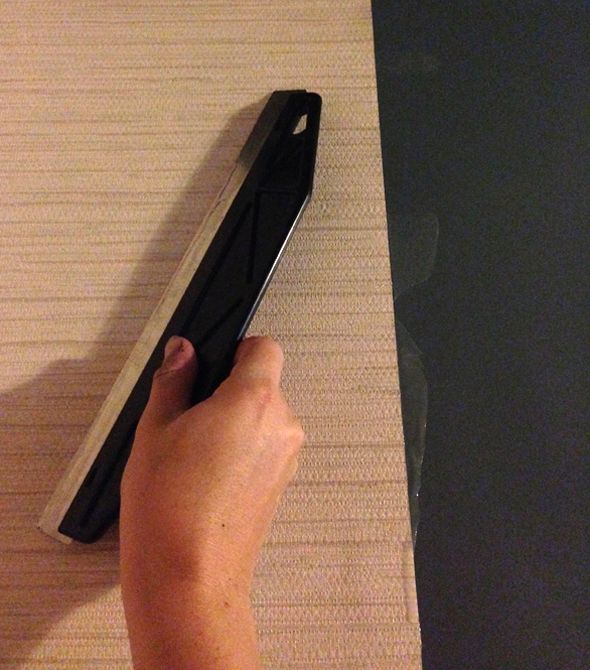
 photo IMG_8305.jpg

I used about half a roll for the vanity nook area and had more than enough to do the ceiling of the wardrobe too. 
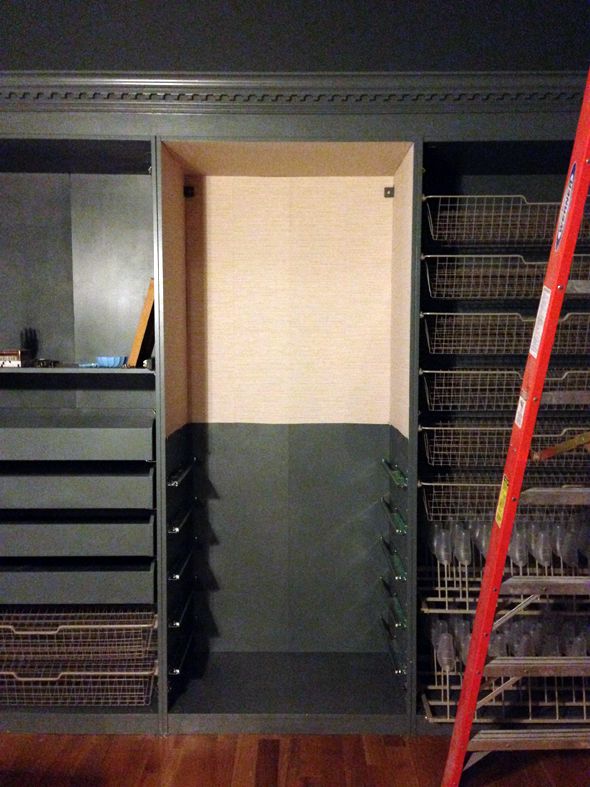
 photo IMG_8333.jpg

I rolled on the same paint (Benjamin Moore's Advance line, tinted to Knoxville Gray) once the paper and paste had dried. I wish the finish look more like real grasscloth, but the texture is beautiful and subtle. I think it was worth the extra few steps to make the vanity look special.
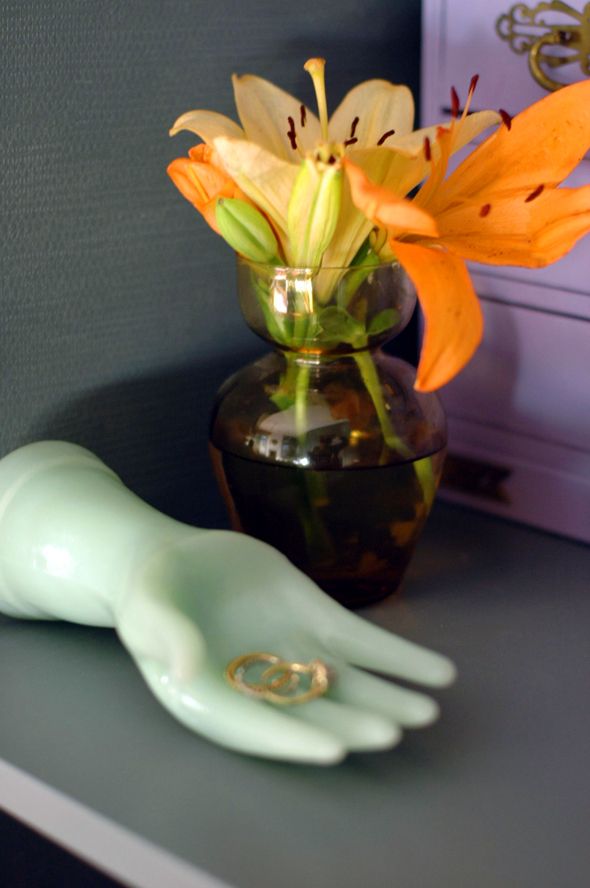
 photo aDSC_0567.jpg

 photo aDSC_0539.jpg

So, I'll be honest, while the steps of priming and painting all the surfaces in these three wardrobes were pretty easy on their own, it ended up being a lot of labor and it took several hours over the course of a few days to get everything covered and smooth. I love the finish and the color though, so I think it was worth it.
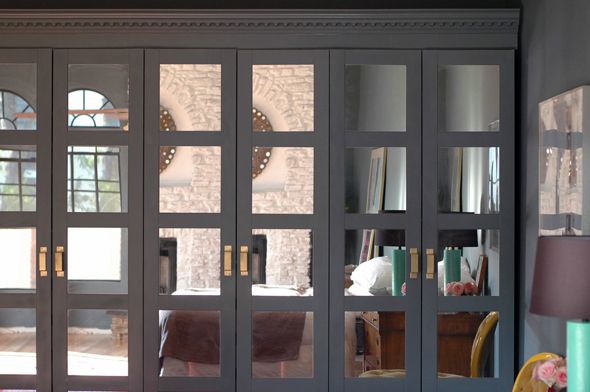
 photo aDSC_0706.jpg

More behind-the-scenes projects coming up!
Serpentine Secretary

I can't stop/won't stop with the Craigslist shopping lately. There are so many great finds here and most everything is so incredibly affordable that it's hard to pass a lot of it by. Some things need more work than others though and part of me wonders if it's worth it in those cases.

 photo qqDSC_0550.jpg

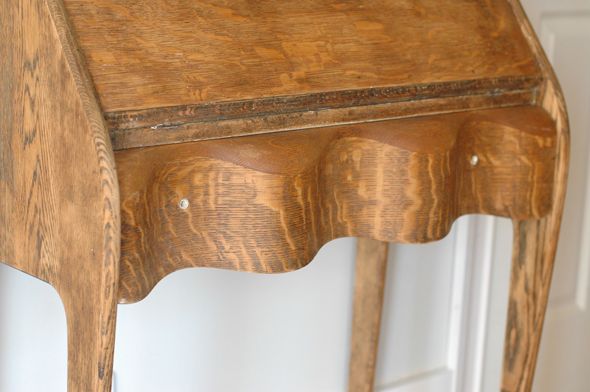
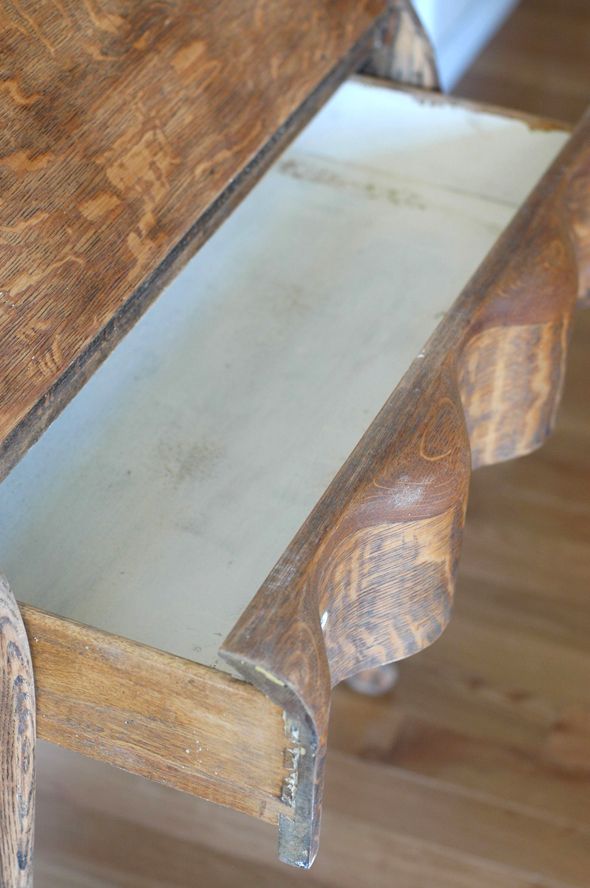
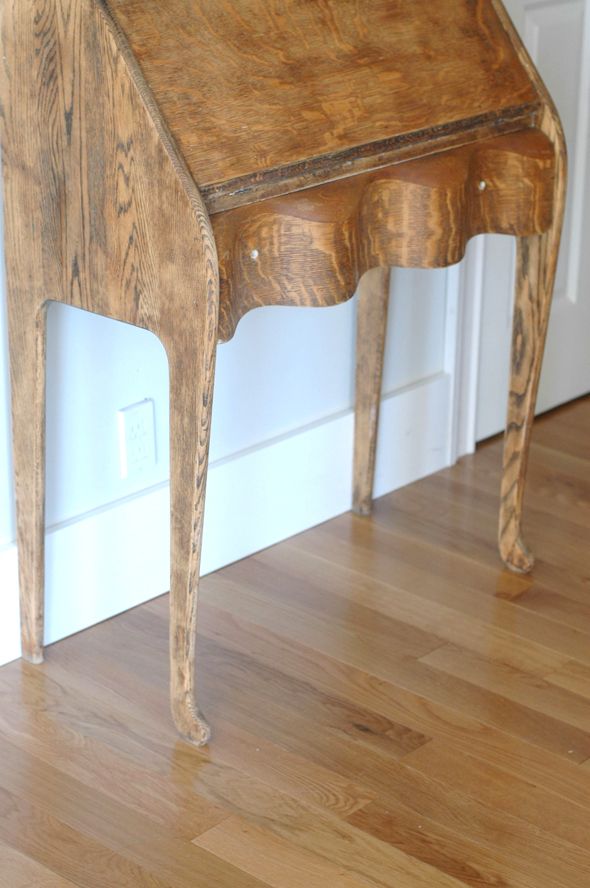
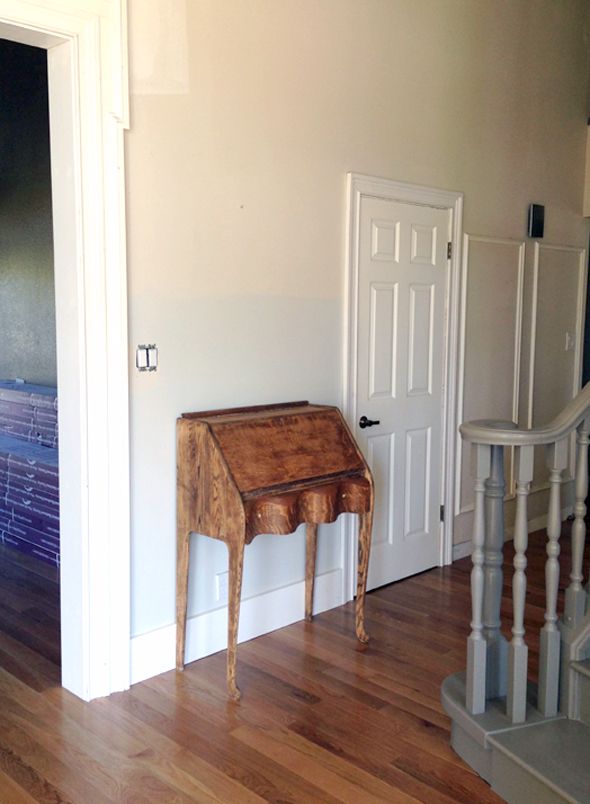
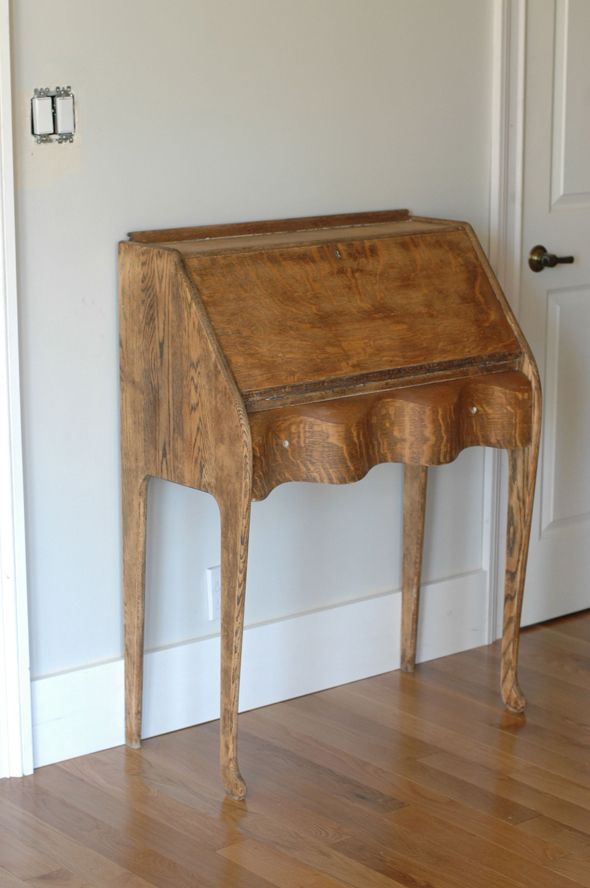
Like this secretary I recently picked up from a Craigslist seller. I am so in love with the scalloped, serpentine drawer, but man, does it need some work!

 photo qDSC_0561.jpg


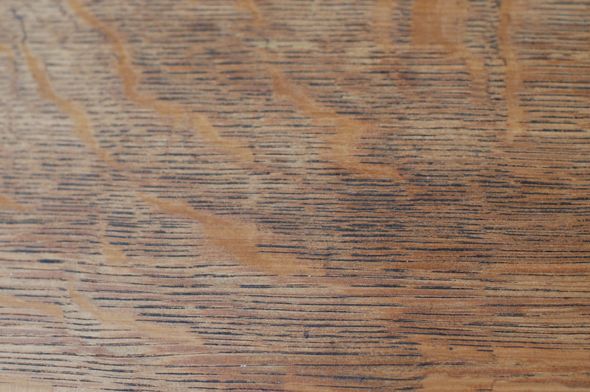
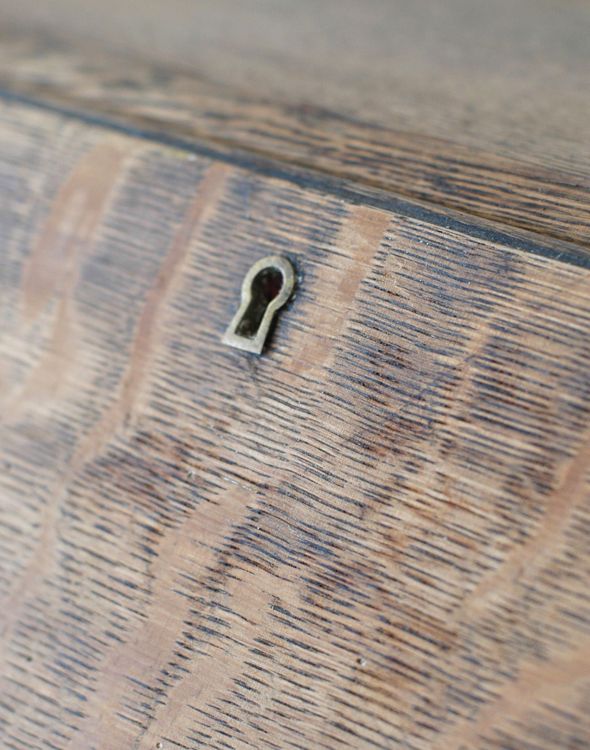
When I came by the seller's house to look at it, I was a little disappointed with the condition of the wood. From the photos, it looked like it was in original condition, but I could see right away in person that it had been painted and then (mostly) stripped and that it needed some love. The wood is pretty dry. The seller gave me really great deal on it though and it was hard to pass by since the shape is so unique.

 photo qDSC_0566.jpg

 photo qDSC_0531.jpg

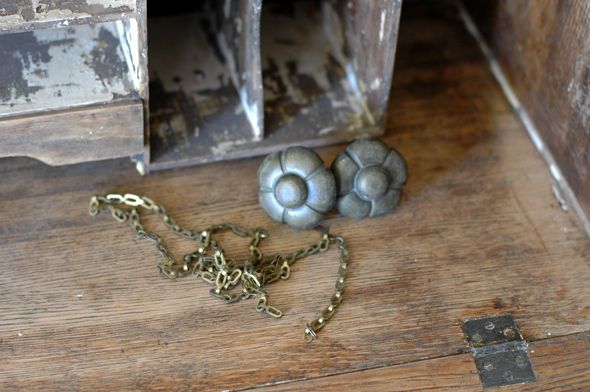
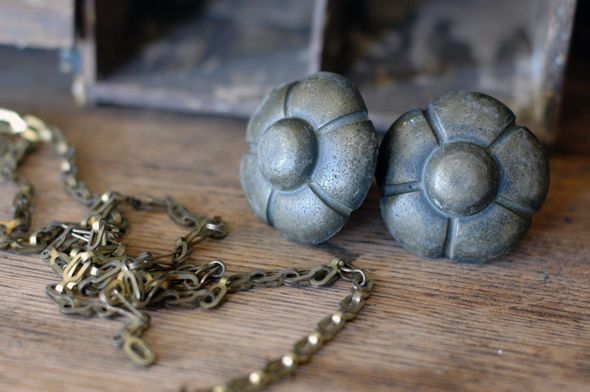
I think with some cleaning the solid brass flower pulls could be cute. Though maybe on a different piece?

 photo aDSC_0534.jpg

Check out the carved curve of the drawer

 photo qDSC_0573.jpg

 photo qDSC_0570.jpg

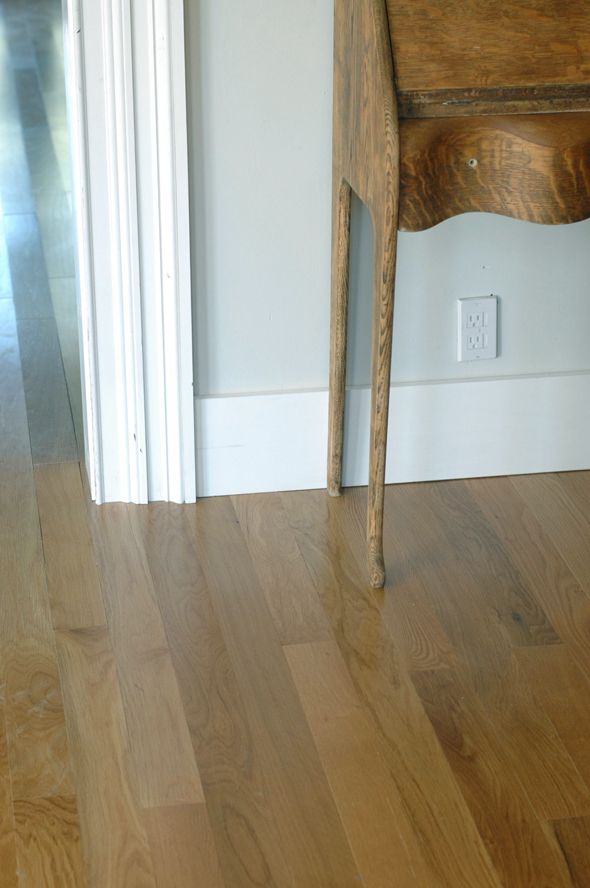
I also love the unique leg shape that's so slim from the front and much wider from the side view.

 photo wDSC_0557.jpg

 photo qDSC_0559.jpg

I love tiger oak, but I think this piece would look better painted. If the wood was in better shape, I'd totally fix it up more and keep the wood stain (you know I'm all for wood furniture), but I think this would look better in a painted finish - either a gloss or a chalk paint.

 photo aaaDSC_0548.jpg

I thought I would like it here in the entry, but the curve of the stairs sticks out too much. There's still several feet of clearance, but I think I'll keep my eye out for something with a slimmer profile for here - maybe wall-mounted.

 photo zIMG_8679.jpg

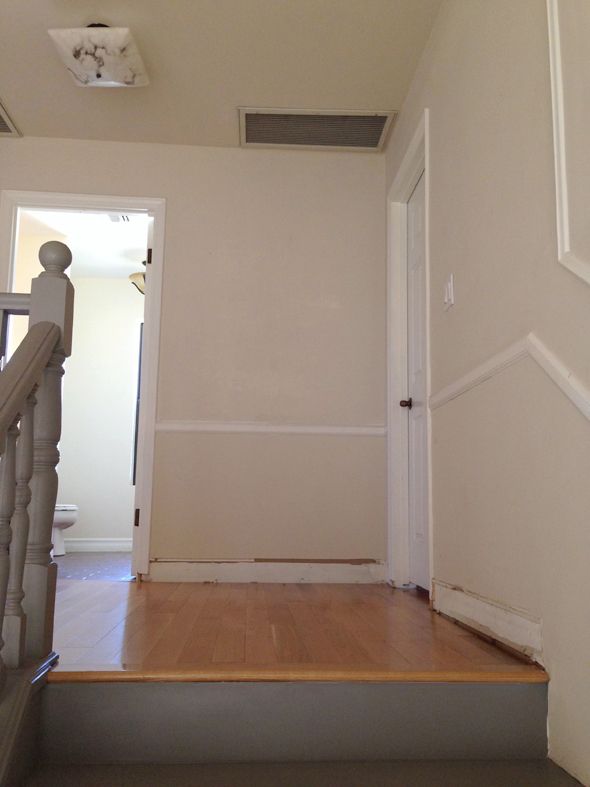
I've actually been thinking it would look really cool in the landing upstairs by the girls rooms, especially if it was painted.

 photo qIMG_8695.jpg

 photo IMG_8699.jpg

I imagine the girls leaving each other fun little notes inside and storing their treasures in the drawers. We've been collecting seashells for a few years now from our different travels (and my parents have been bringing some to the girls too - they went to Ireland and Scotland this month and they brought back some beauties for us) and this little secretary seems like a perfect place to keep the shells.

I know I'll be glad I bought it when I do get around to refinishing the secretary. My threshold lately has been "will I regret not buying this a year from now?" and if I can honestly say yes, I go for it (and then cram it into the garage! ha!). What is your rule?

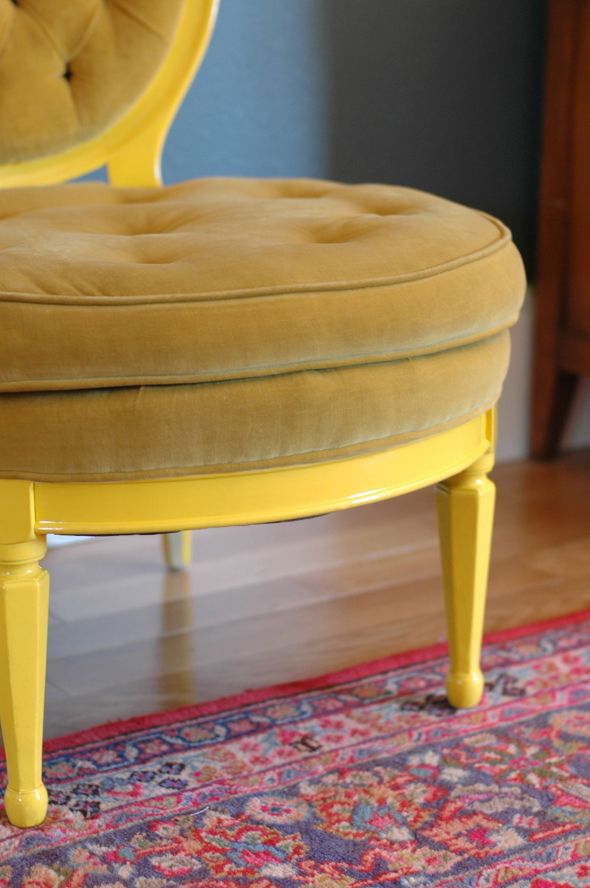
My Little Yellow Slipper Chair

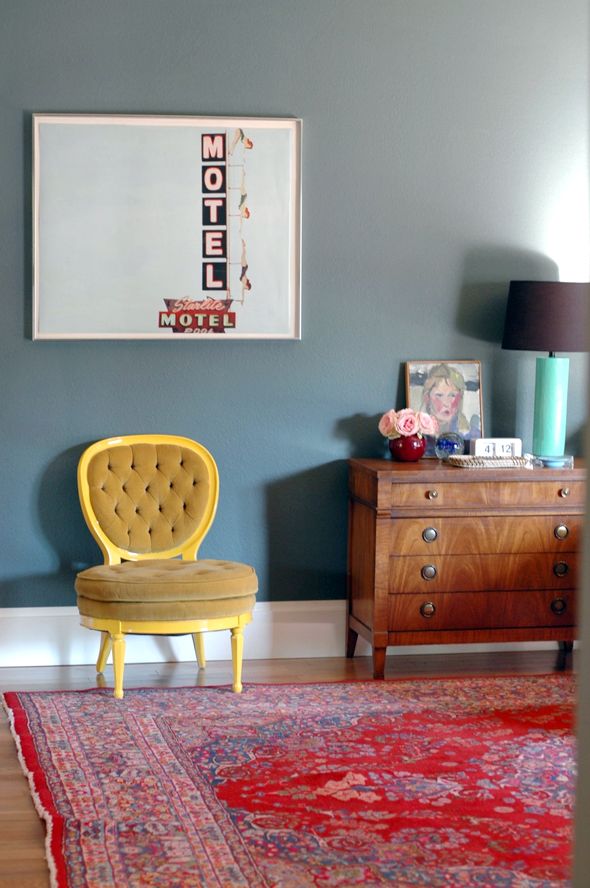
I'm sharing part of my room redo for my first work as a contributing editor for Domino (the piece will go live next week - yay!). I'm so happy with the way this space is coming together. The Knoxville Gray wall color is moody and cozy, and I love the way it looks with the color of the new floors.

 photo xDSC_0722.jpg

I'm also liking the red rug with the wall color. The rug is just a hair too small for the space, but I think it works great for now.

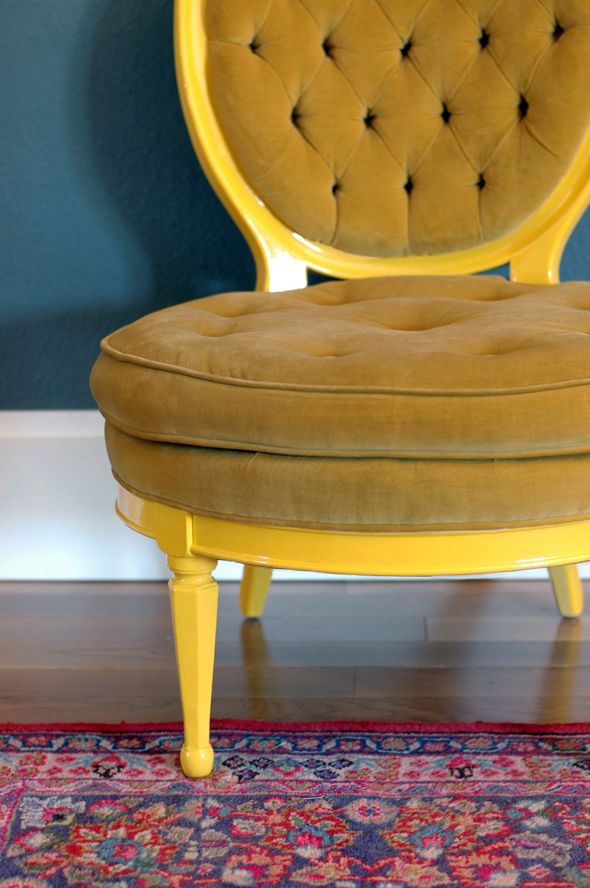
There was a spot next to my nightstand that was just begging for a cute little chair. I thought to myself that if I could find an interesting yellow chair that was bright, but not too obnoxiously bright, that would be perfect. Since I knew I wanted that specific color, I poked around a little online and in my catalogs, but kept feeling like I didn't want to spend that kind of money on just a little chair in my bedroom.

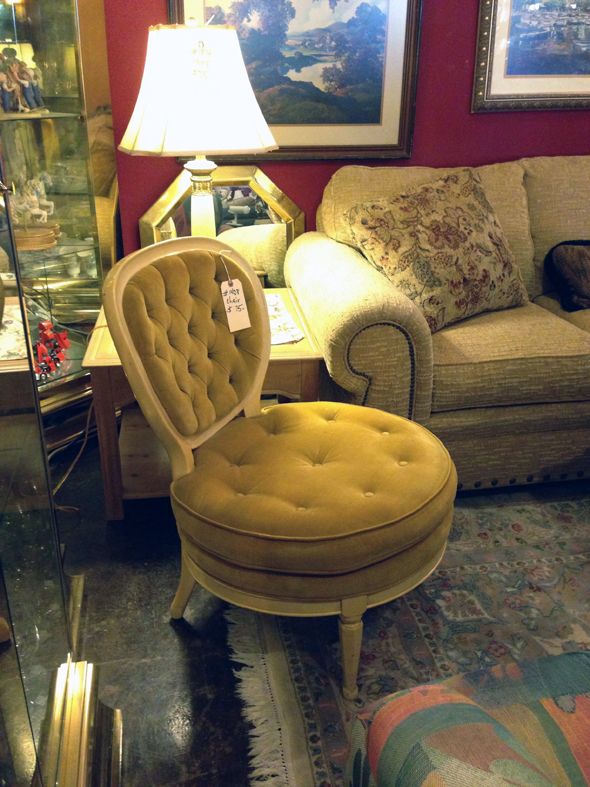
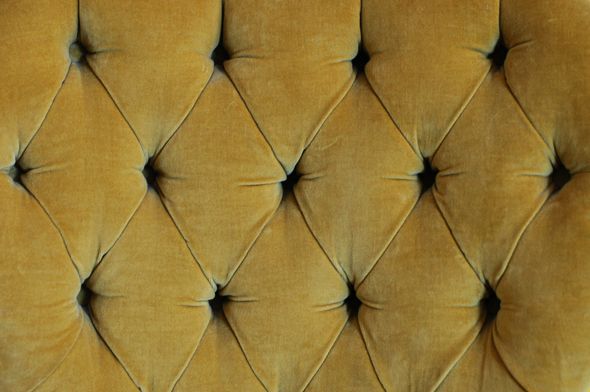
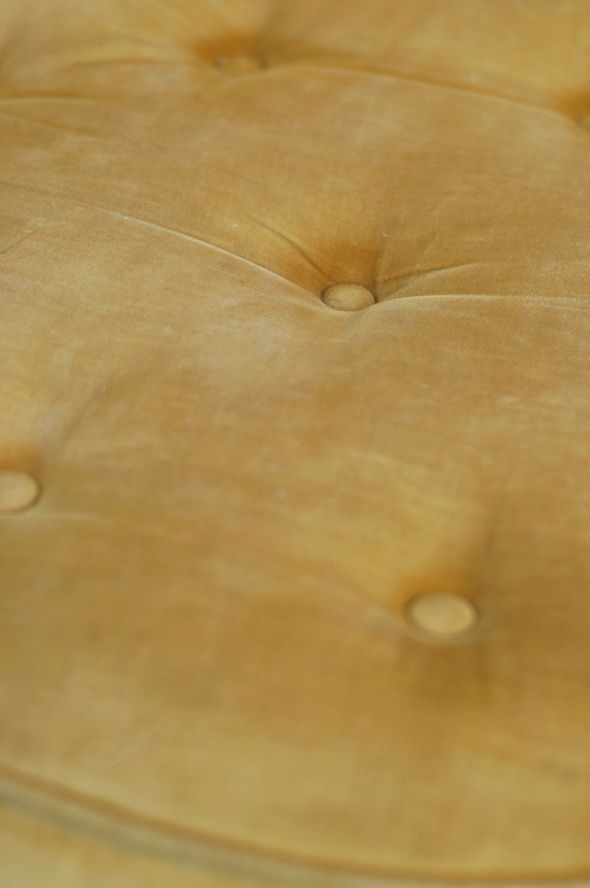
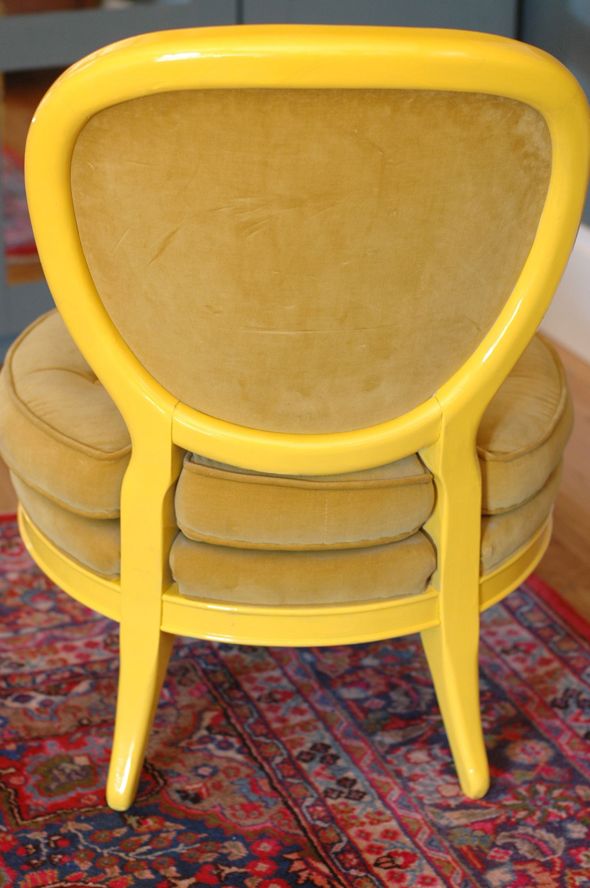
Then a lightbulb went off and I remembered a little vintage slipper chair in the garage that I bought right after we moved here from a consignment store in Scottsdale. I loved the shape of the chair, but the mustard velvet and the ecru-colored frame looked bad-vintage instead of good-vintage.

 photo aIMG_5606.jpg

In the end I was won over by the cool combo of small, deep tufts and wider-spaced shallow tufts and thought it was worth having/hoarding.

 photo aDSC_0489.jpg

 photo aDSC_0493.jpg

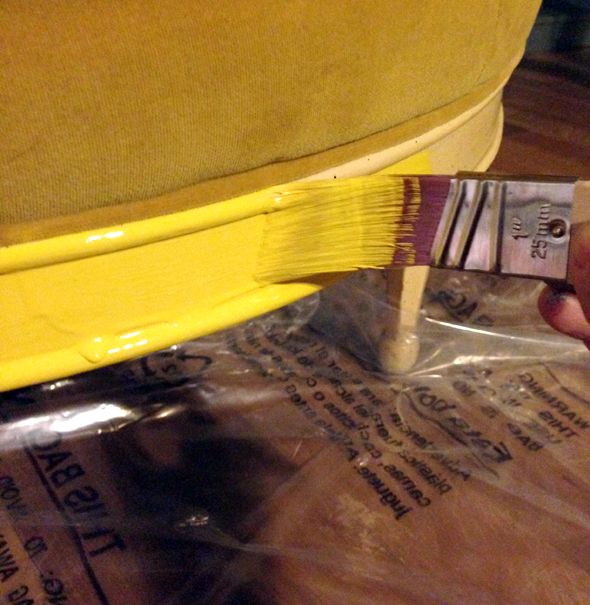
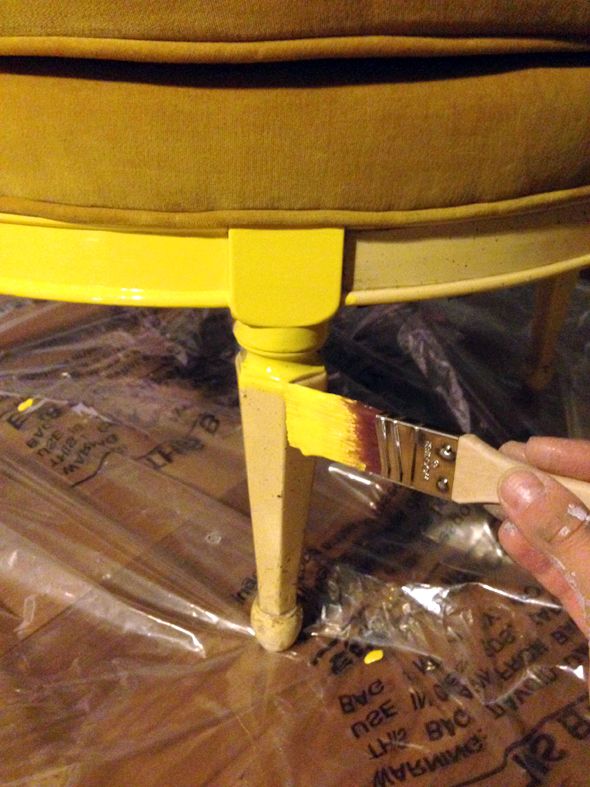
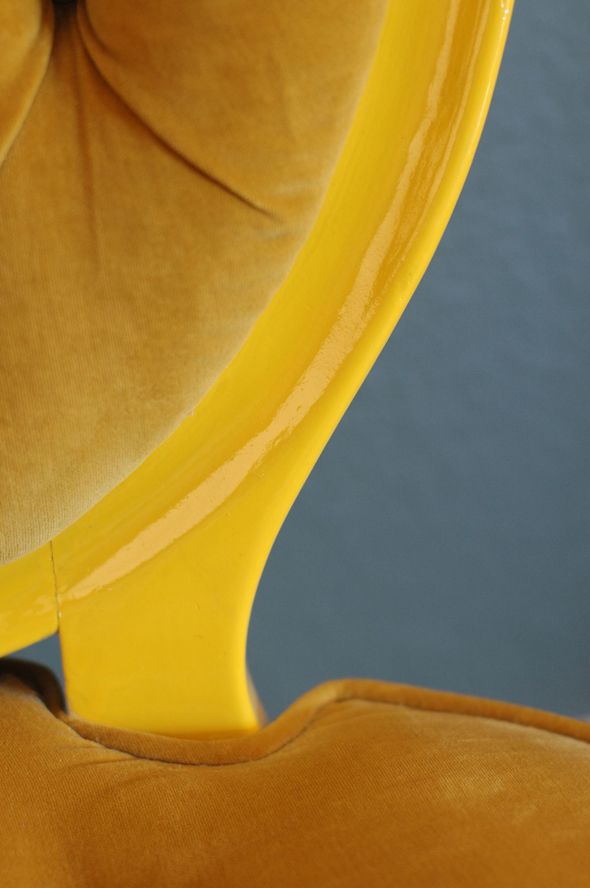
To make the colors work for my room, I pulled out a quart of Rustoleum's Sunshine Yellow oil-based paint and a small 1" angled brush. I carefully worked around the velvet and brushed on the bright yellow paint. You can tape off the fabric if you don't have a steady hand, but the nice thing (also the annoying thing) about oil-based paint is it takes forever to dry. I had one or two small brush-ups against the velvet and I just quickly wiped them away. No biggie.

 photo IMG_7932.jpg

I still use this approach for painting oil-based paints with a brush, except on side or vertical applications it takes a little more finesse to figure out how much paint to use. With practice you get a sense of this better. I usually do a good one or two inch dip into the paint and then wipe off one whole side of the brush and use the paint-side to brush on the piece.  There will be some drips (like shown above) but you can usually move the paint around fast enough to get an even distribution while everything is still very wet. Don't mess with it too much though. It's better to go back and sand the drips down after everything is dry then to ruin the whole finish of an entire section.

 photo IMG_7935.jpg

I let the paint dry overnight outside (oil-based paint is pretty fume-y) and in the morning I had the perfect chair for our room! It was exactly what I wanted - a muted yellow with a small punch of bright color. I'm so glad I bought that chair on a whim. :)

 photo aDSC_0473.jpg

 photo aDSC_0501.jpg

 photo dDSC_0484.jpg

 photo aDSC_0468.jpg

DIY: Spraying Painting Vinyl

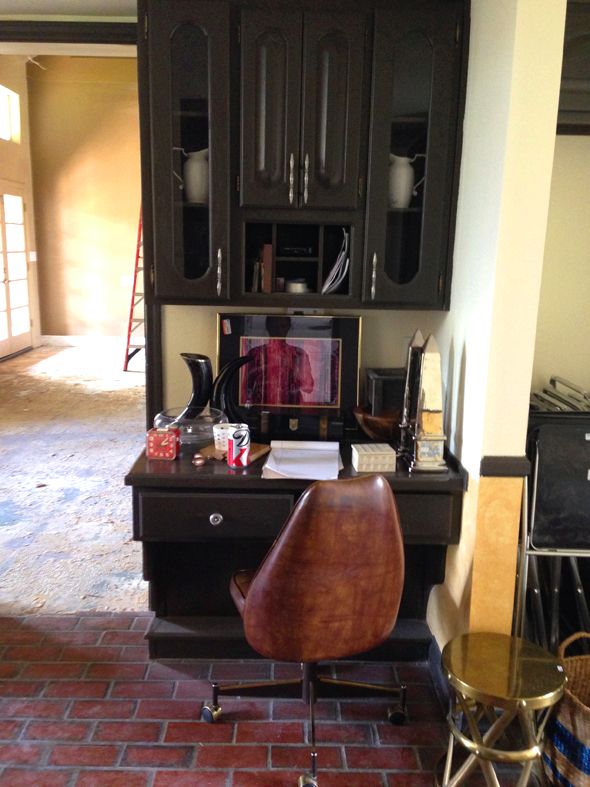
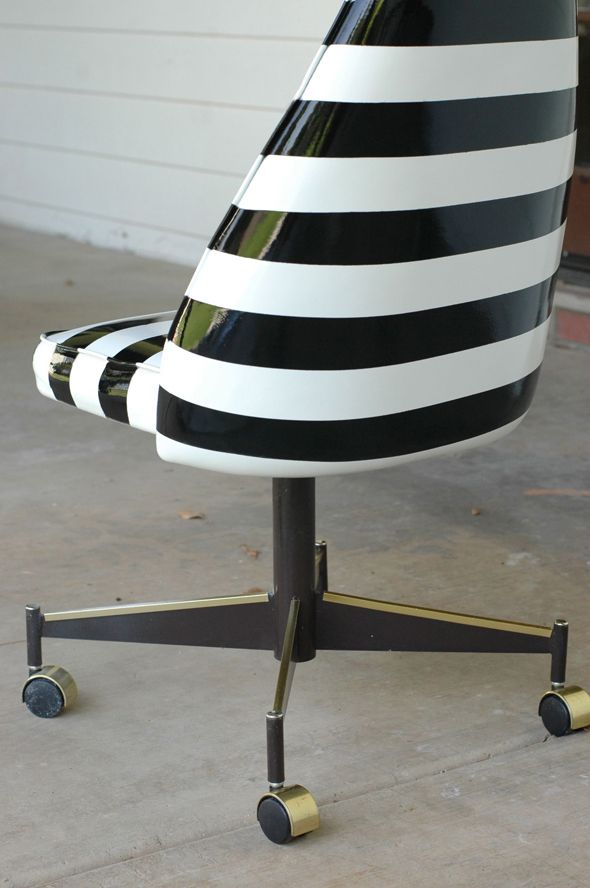
There are so many old and sad vinyl chairs in thrift stores all around the world, just waiting for a can of spray paint to come to the rescue.

 photo IMG_5920.jpg

Let's join together and give them a second life!

 photo DSC_0602copy.jpg

Here's the how-to:
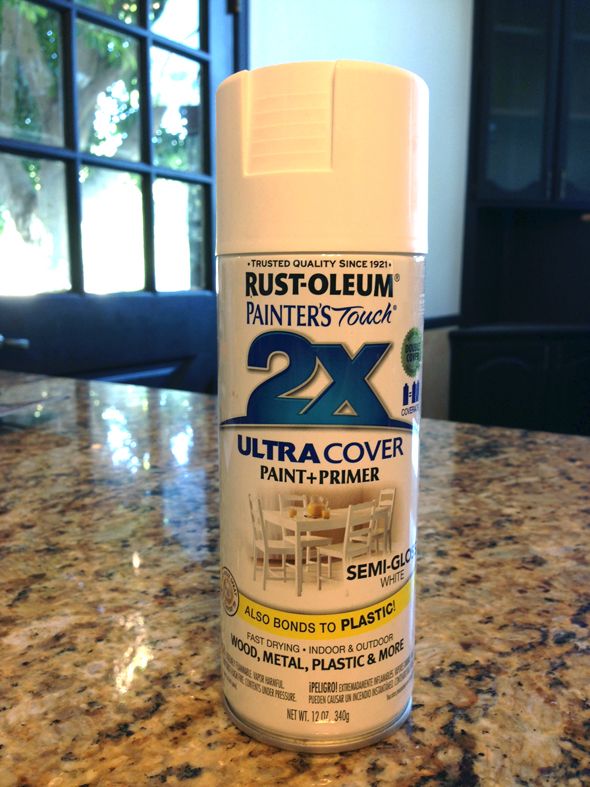
This is the third or fourth time that I've spray painted an old vinyl office chair. In the past, I've used a spray paint specially formulated for vinyl called Dupli-Color at Autozone. It worked really great, but the bottles were a little on the pricey side, if I remember right. Now Rustoleum makes a vinyl spray paint too that you can often find in hardware stores. This time though, I used a less expensive and easier to find paint from Rustoleum that has primer built in and is (most importantly) formulated for bonding to plastics.

 photo photo.jpg

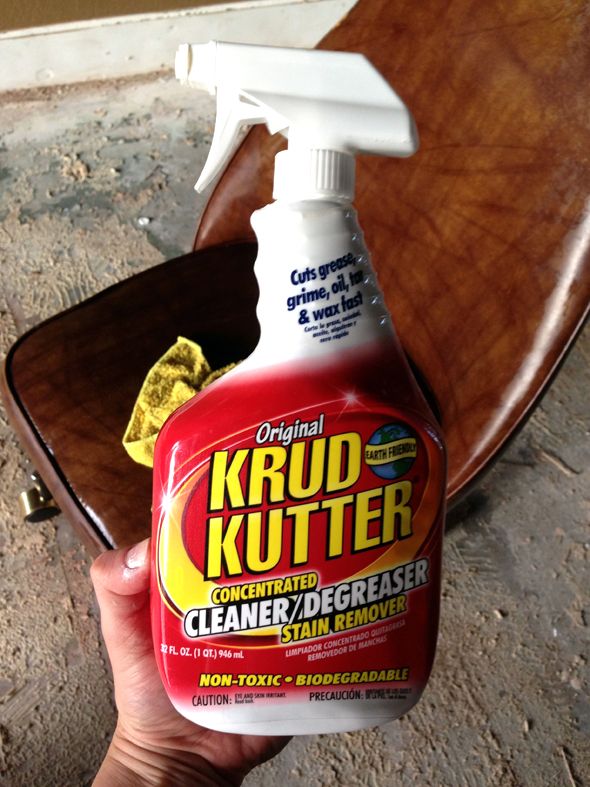
Before I spray-painted the chair though, I cleaned the vinyl really well. It gives me the creepy crawlies to think about the decades of germs and gunk potentially living on that chair. I like to use a hardcore degreaser called Krud Kutter that really helps to get the vinyl to ground zero. I wiped it down with water and wet cloth after the Krud Kutter too though, just to make sure all the cleaner was off the vinyl before painting.

 photo aIMG_5974.jpg

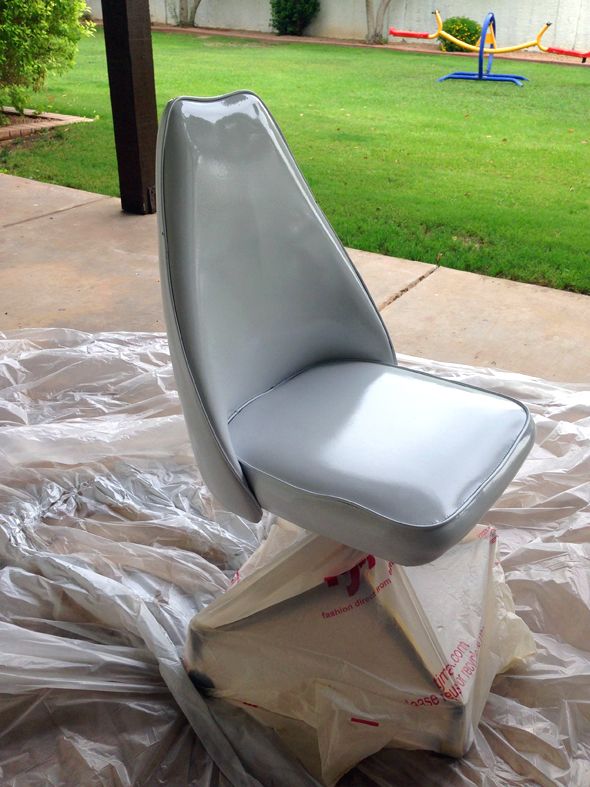
Anytime I'm spray painting a chair, I put the legs in a garbage bag and tape around the base of the seat, rather than wasting practically a whole roll of tape on tricky legs.

 photo IMG_6026.jpg

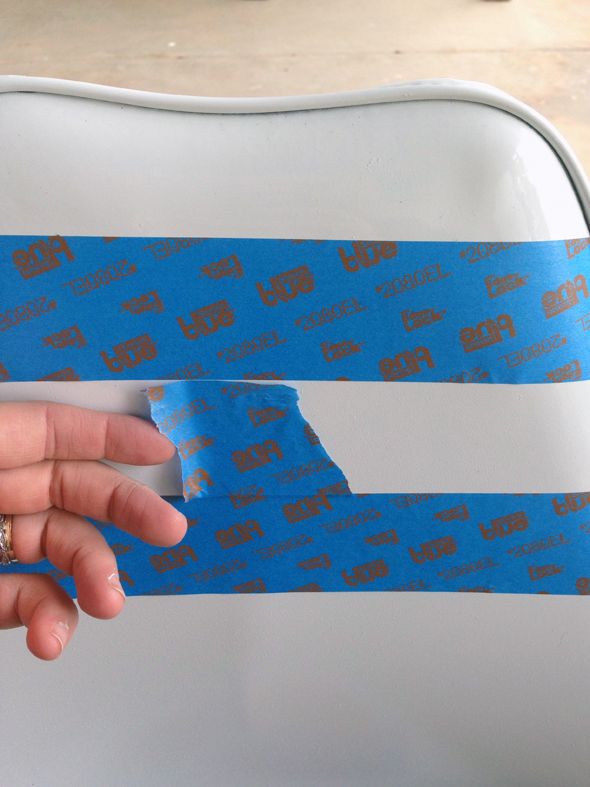
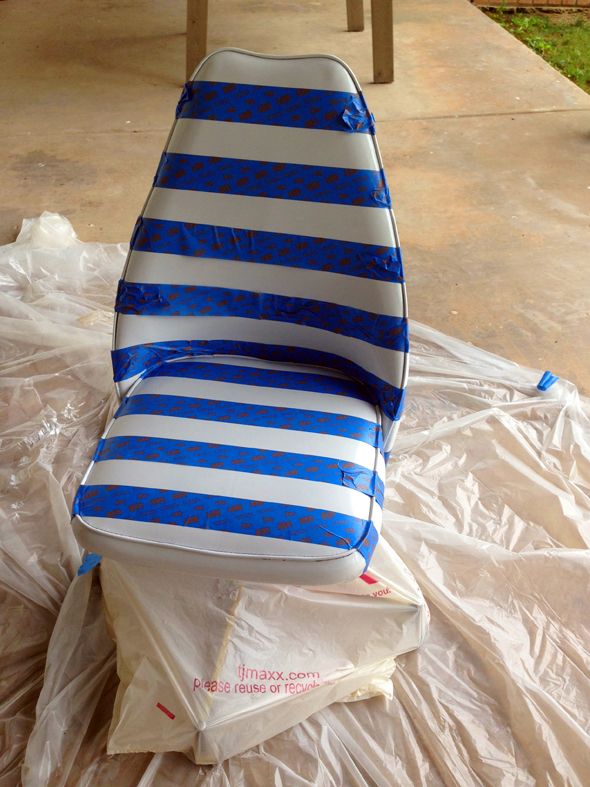
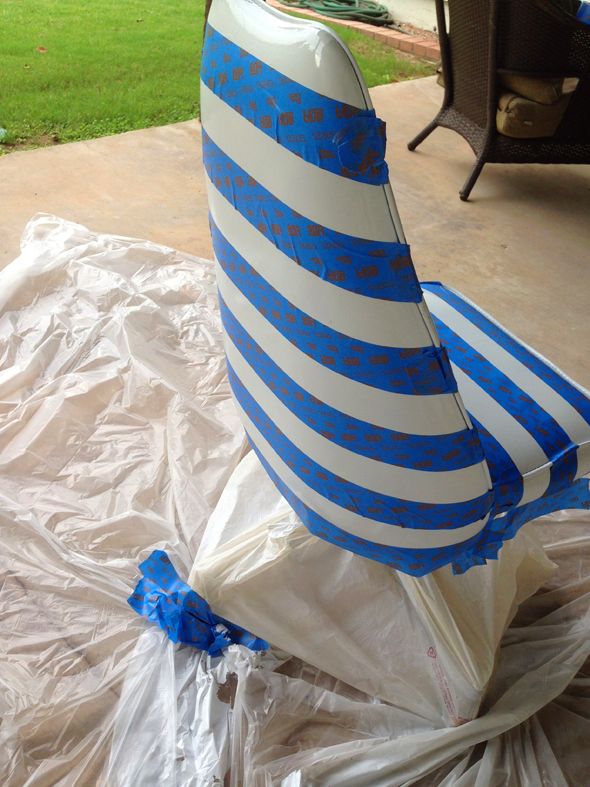
After two coats of white paint on the whole chair, it was time to tape out the stripes. I used a thick 2 1/2" wide tape for this. To make the spacing even, I just ripped off a small piece of tape to put down as a place holder for the empty space. Easy to do and makes this a no-measuring project.

 photo IMG_6033.jpg

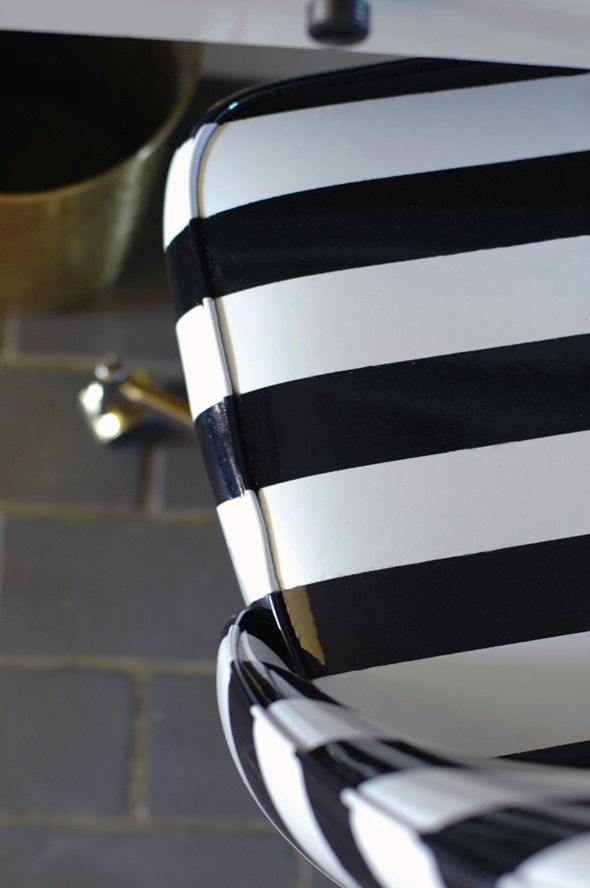
The only tricky part is getting the curves right, but just try hard to keep your spacing even and the tape should be flexible enough to handle the curves and slopes.

 photo IMG_6039.jpg

 photo IMG_6042.jpg

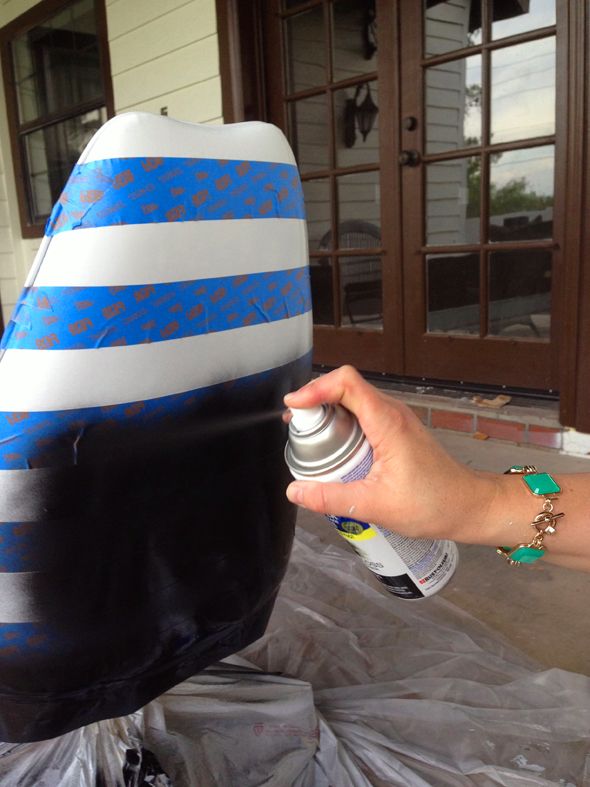
Here's where I should have sprayed the whole thing with the white spray paint again. Remember my trick for perfect stripes? This would have been perfect here, but I spaced it and skipped that step (too many spray paint fumes?). Dumb move - I had to go back and do touch ups later. It wasn't too bad though. I just sprayed a little paint into a plastic cup and touched up the bleed-throughs with a small brush.

 photo IMG_6047.jpg

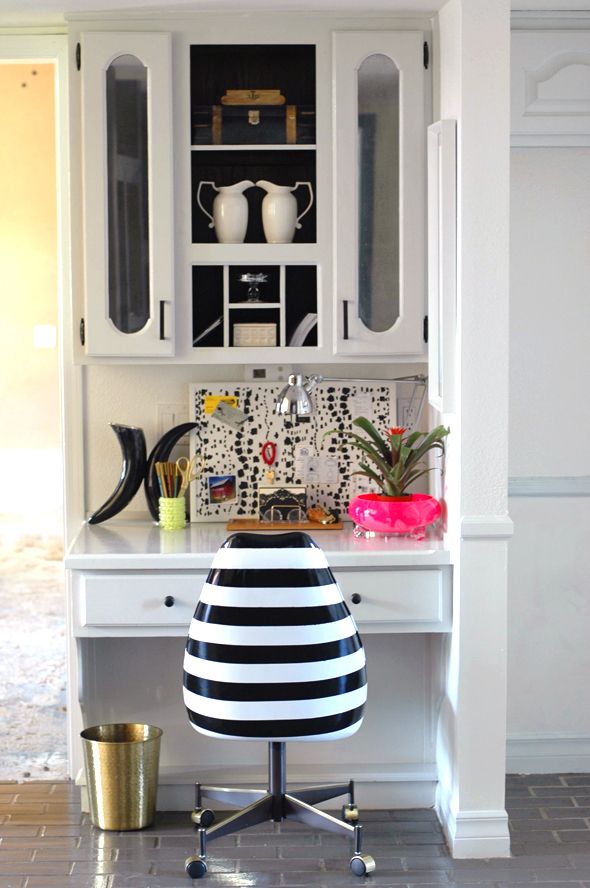
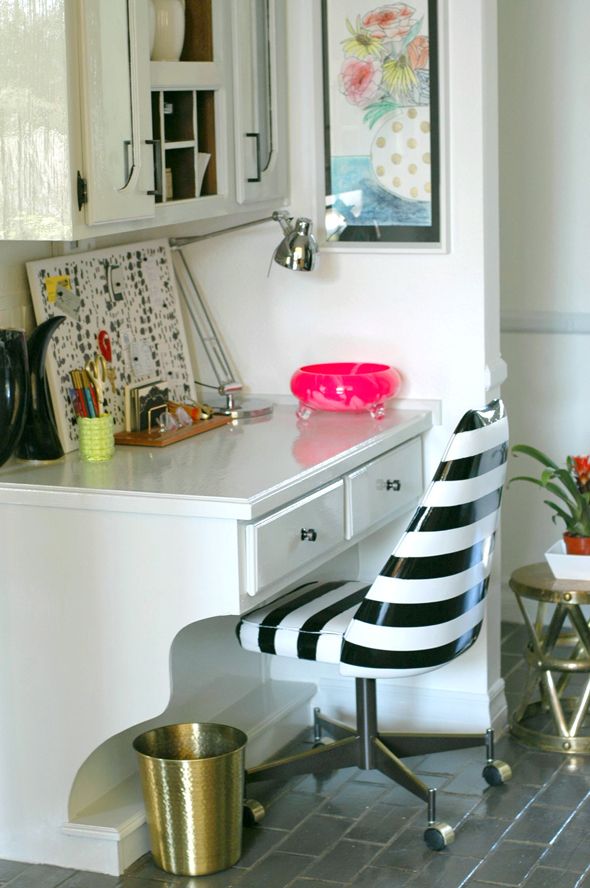
After the touch ups (which I wouldn't have had with my extra step), I had a pretty perfectly striped chair.

 photo zDSC_0553.jpg

I left it outside for a day or so to fully dry and after about three weeks of daily use, I think this plastic spray paint works and feels just like the vinyl spray paint. I think it was a fine short cut.

 photo xDSC_0648.jpg

Everyone who's been over the house has asked about the chair. It's a bit of a statement piece, which is fun for a kitchen space. Best of all, the chair is crazy-comfortable! And I was so glad to get to reuse a chair that probably would never have been bought at the thrift store. 

 photo sDSC_0614copy.jpg

In fact, I made my thrift store rounds yesterday, looking for something for a project, and I saw no fewer than five of this exact chair or something very similar. They're everywhere!

 photo IMG_5920.jpg

Grace needs a desk chair in her bedroom, so I might go pick up another one and see what we can come up with. Maybe a big, huge-scale buffalo check? Or ombre? Block printed? Think of all the color and pattern possibilities! 

 photo sDSC_0598copy.jpg