Tampilkan postingan dengan label Laundry Room. Tampilkan semua postingan

Reader Laundry Room Re-Design

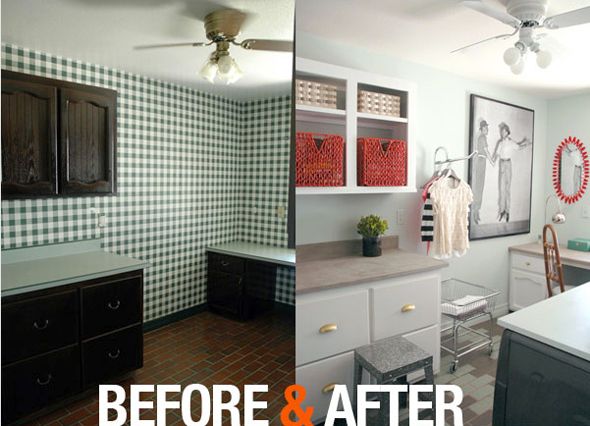
Remember the giant laundry room give away I did with The Home Depot, Tide and Maytag a while back? I redid my own laundry room on a budget and shared my six best tips here.

 photo BampALGNLaundryRoom.jpg

Well a few days ago the winner was chosen and was asked to email me photos of her space. She is a busy mom and food blogger named Jamie. Her laundry room is tucked away in her home and is definitely used as more of a utility space, but that doesn't mean it can be pretty!


In the space there needs to be room for a foldable treadmill, prop and holiday decor storage, and storage for Jamie's cleaning supplies.
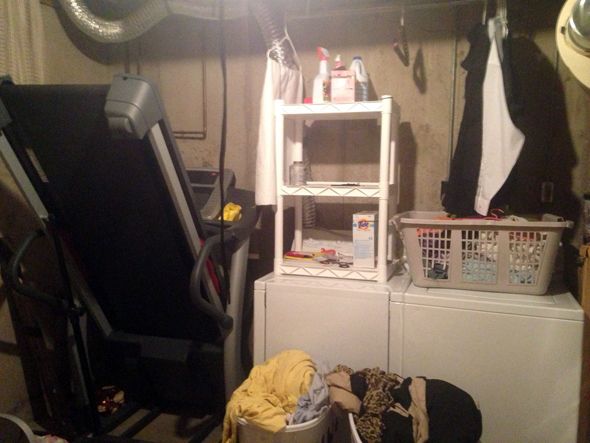
 photo image18.jpeg

The rest of Jamie's home has a cool, eclectic mid-century vibe and I think her laundry room is begging for some of that look.
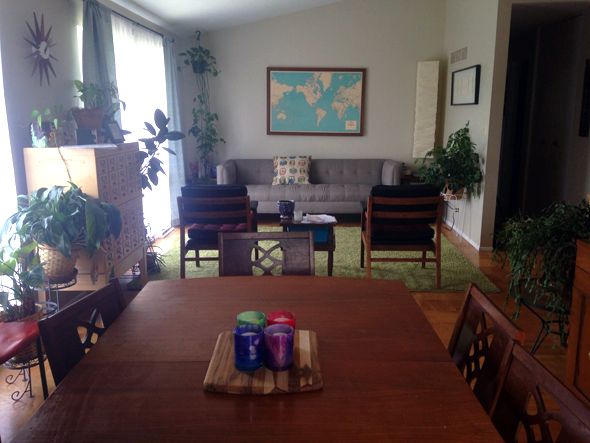
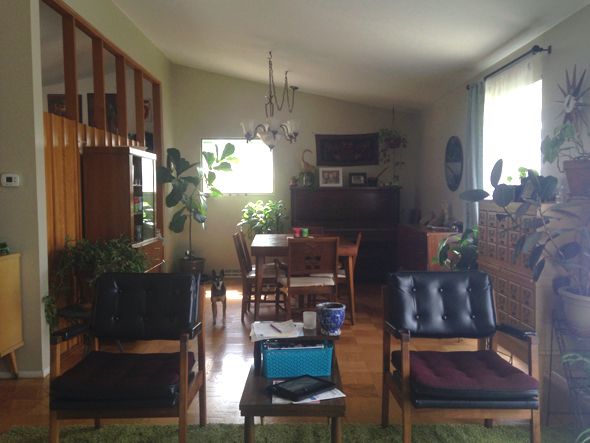
 photo photo30.jpg

 photo photo29.jpg

She and I will be working together to come up with a cohesive plan for her space, but here are my initial thoughts:
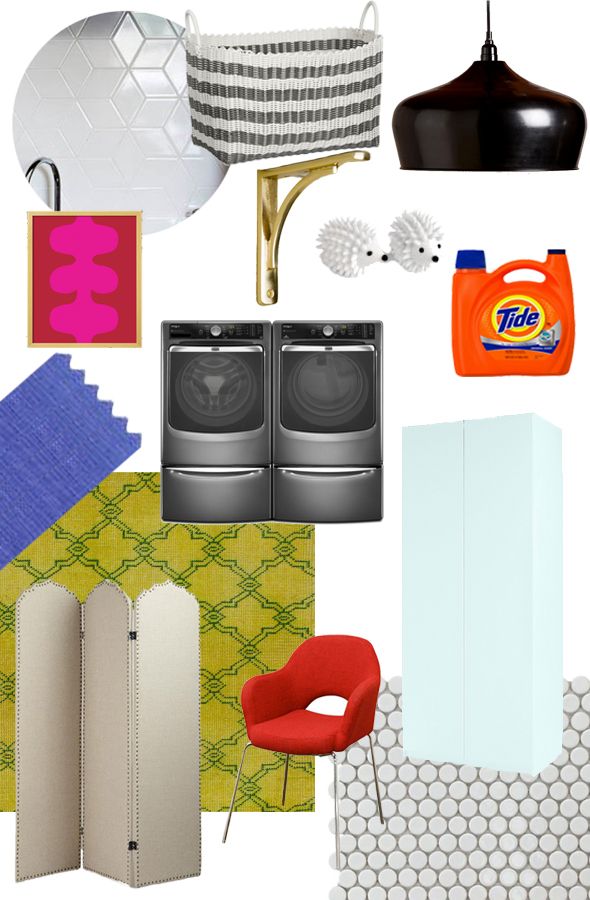

 photo JAMIELAUNDRYROOM.jpg

The room is a good size, so there's definitely space to put everything away once the storage organization is worked out a little better. I think the general layout she has right now works as well. The furnace and water heater and the washer/dryer areas can't be moved obviously, so it makes sense to have her closed storage on the opposite side of the room, near the hallway door. Her folding treadmill can stay next to the washer/dryer units.
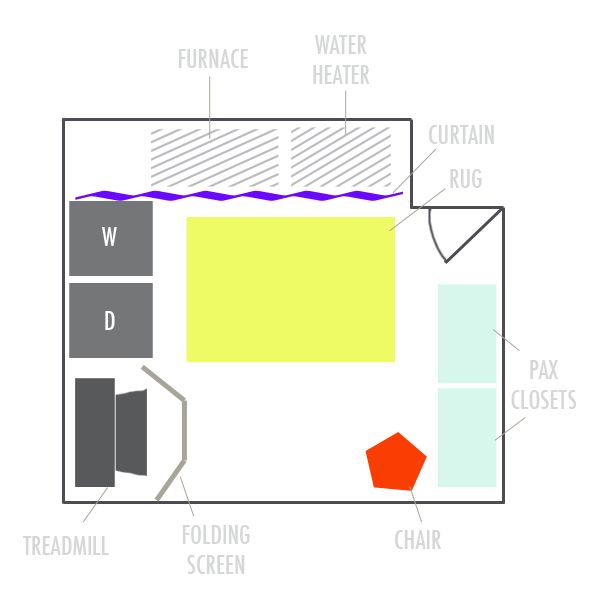
 photo JAMIELAUNDRY.jpg

I think it makes sense to hire a framer and a drywall company to come out and finish the walls. I'd have all the walls painted a bright white, which will help with the darkness factor and make it easier to get tasks done in the space. Depending on how much Jamie wants to spend, I'd have at least the washer/dryer wall tiled, if not also the treadmill wall. I'd love to see subway tile in an interesting pattern. Herringbone is always nice, but how about this tumbling block pattern?
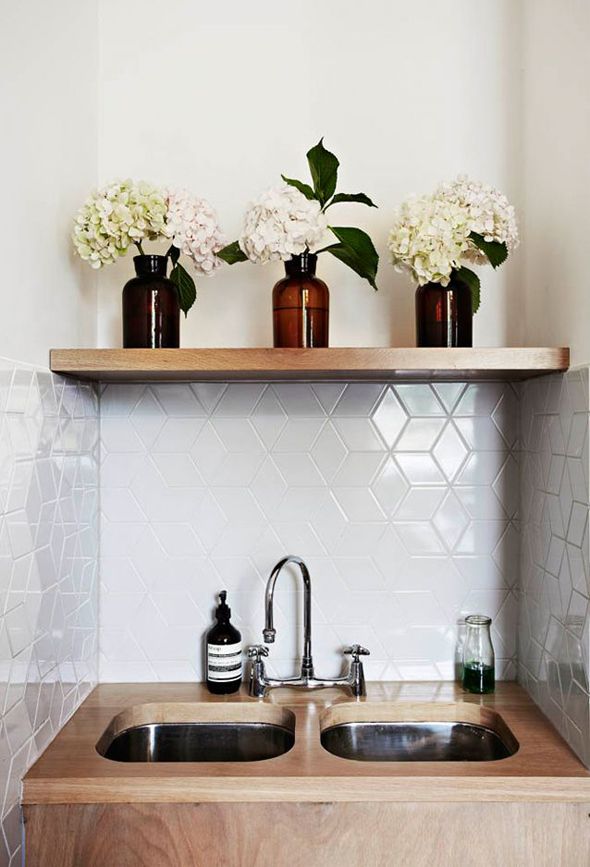
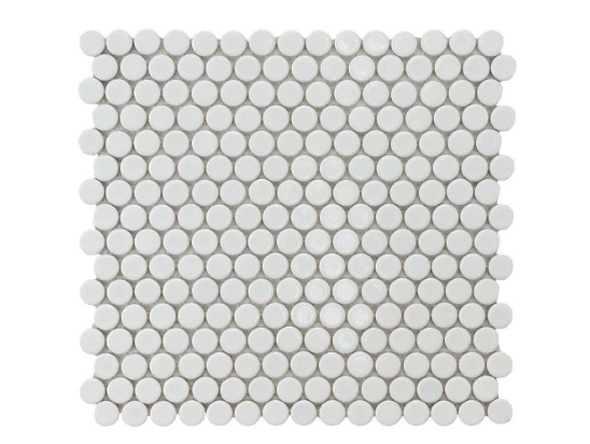
 photo e5c00263652986534c3c00532a5de90b.jpg
design sponge

I'd also have the floors tiled in a white penny tile and I'd used dark grout on both the walls and the floors.
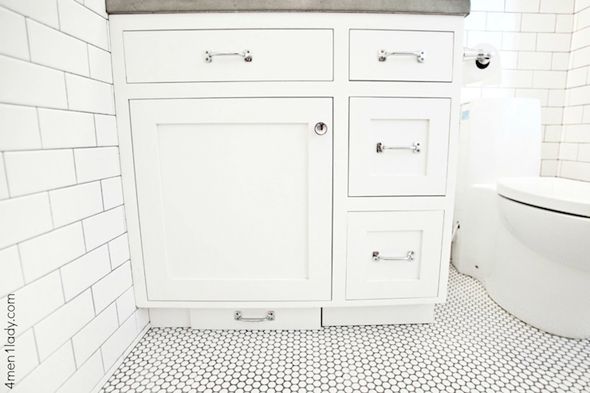
 photo ScreenShot2013-09-22at111853PM.png

 photo 4men1ladyf537489c6a6c.jpg
4men1lady.com

On top of the penny tile and in front of the washer/dryer, I'd love to see a bright rug, like this chartreuse one.
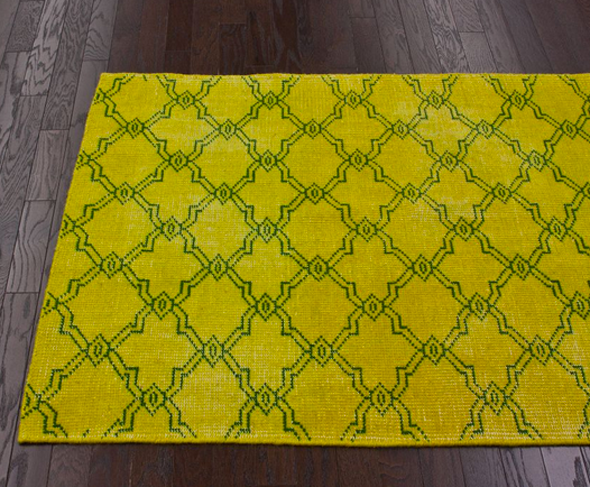
 photo ScreenShot2013-09-20at92022PM.png

The furnace and water heater need to be easily accessible, so I'd install a simple curtain panel to cover that whole side of the room.
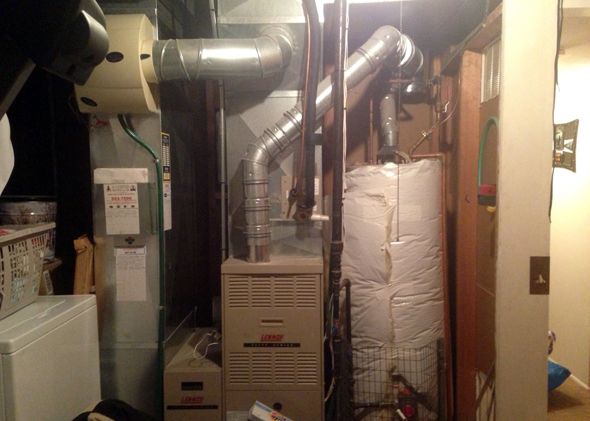
 photo image17.jpeg

Since the walls and the floors will be a bright white, I think it would be fun to really go for it on the curtain fabric with a bright color like cobalt blue or electric violet. Wouldn't that be pretty with the chartreuse rug? Gray line linens is always my go-to source for beautiful linen in interesting colors at less than $10 a yard. While they also have an upholstery fabric line with less color options, the colorful Barry line is good for drapery and pillows and the Warsa line works well for lighter weight upholstery (like headboards and light use armchairs).
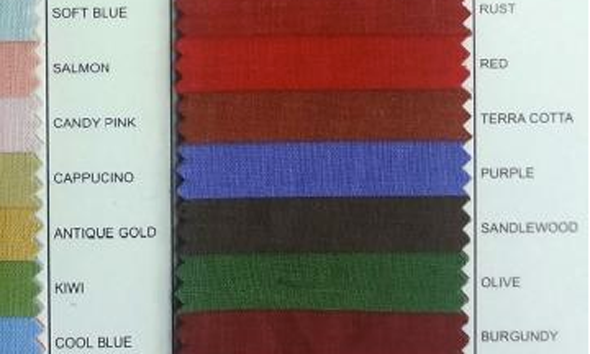
 photo ScreenShot2013-09-22at101837PM.png

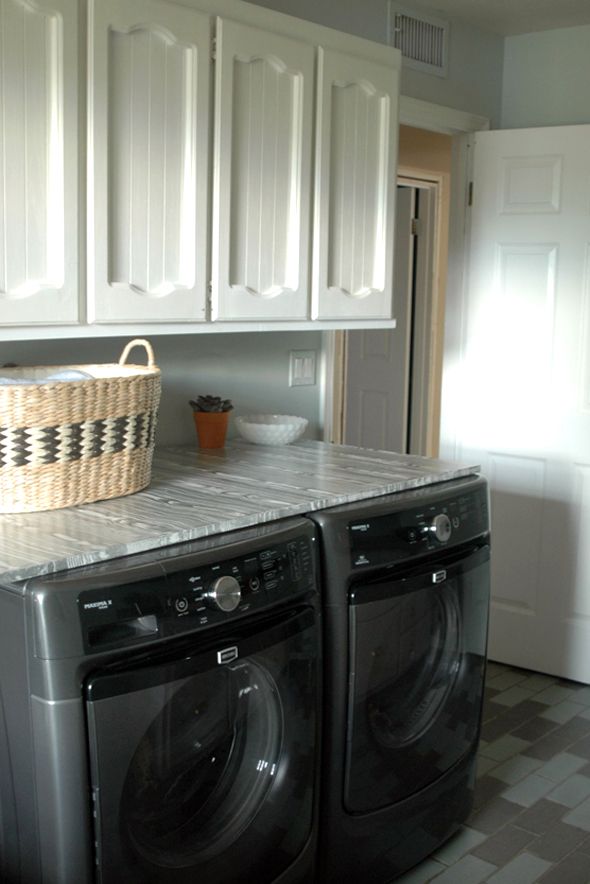
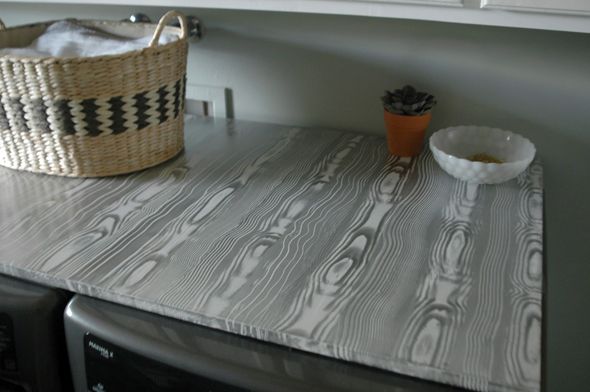
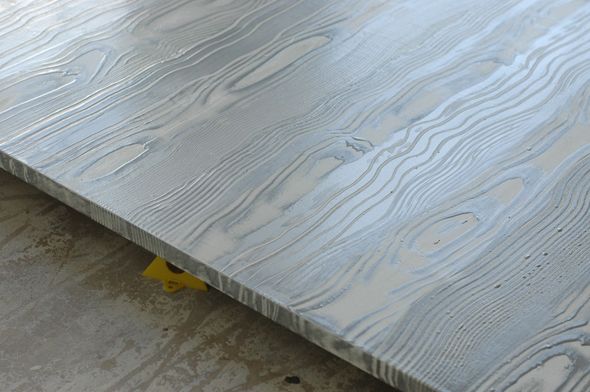
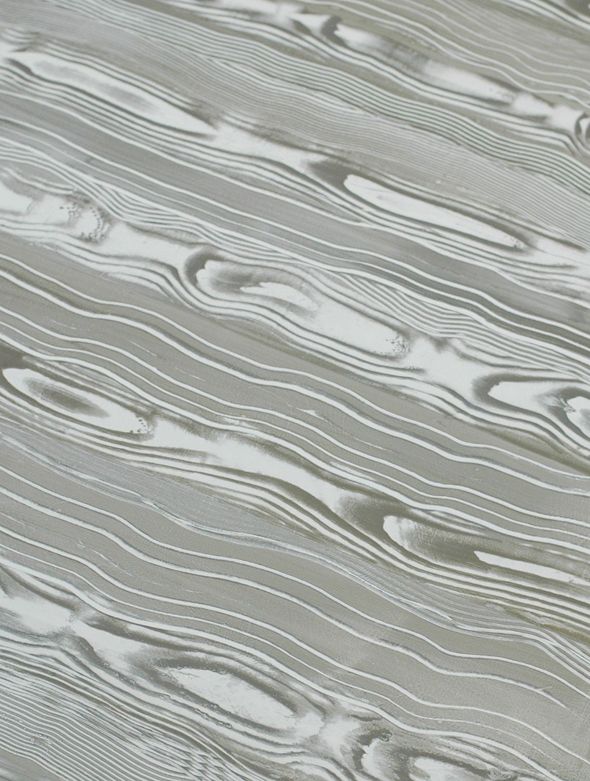
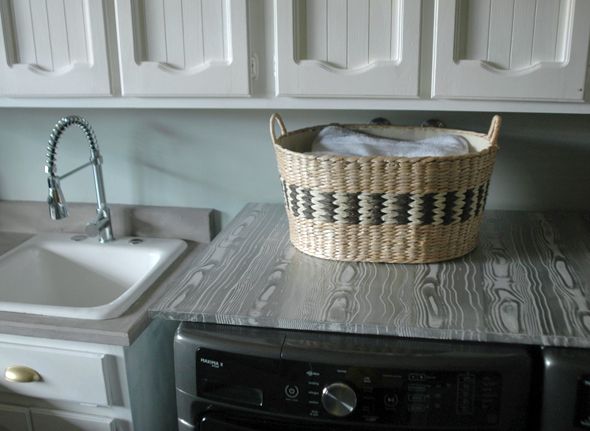
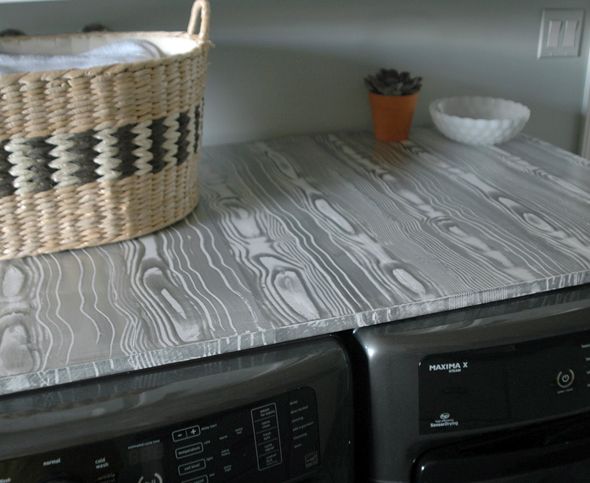
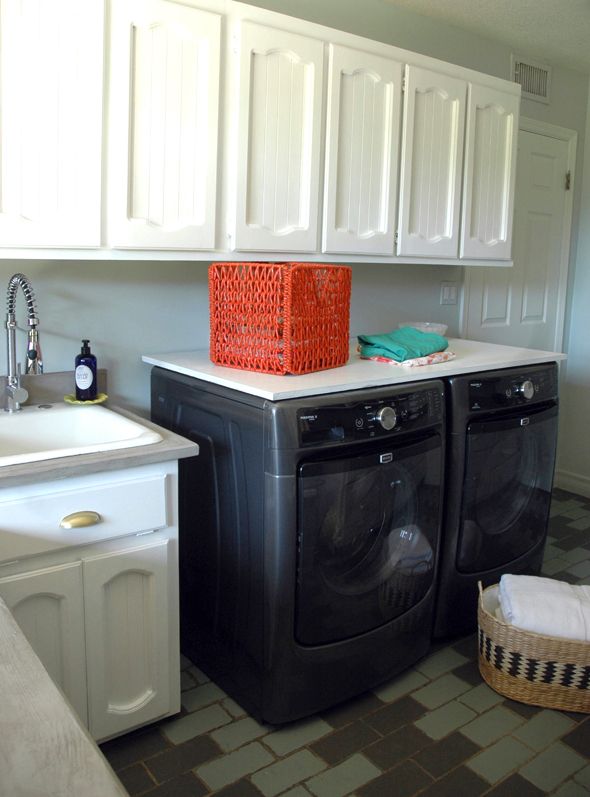
I can't recommend a folding station enough. I had a piece of MDF cut to fit the top of my washer and dryer so that no socks fall behind or between the appliances while I fold. We didn't have this in the brownstone and I found about a dozen little socks behind our dryer when we were packing. :)  By the way, the faux bois treatment I did on the MDF is turning out to be one of my favorite things in the laundry room. I love it and think something similar would be really fun for Jamie's laundry room. If she's not feeling creative, she could decoupage some marbled paper and seal it good with polycrylic, like what I did with this waste bin.
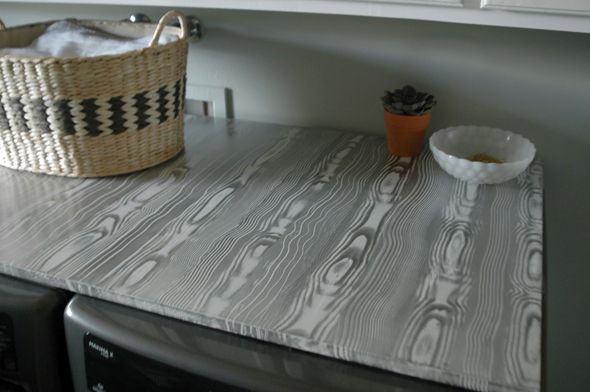
 photo cDSC_0542.jpg

One of my big tips is to hang art in your laundry space, which might seem a little silly. But I always think it's a good idea to put art in every space - even and maybe especially rooms that are usually only seen by homeowners. Putting up something cheap and cheerful, like this bright pink and red print will help to finish the room. When there's art on the walls, it's a room, not a storage closet. And rooms stay tidier than storage closets. :)

 photo ARTFORLAUNDRY.jpg
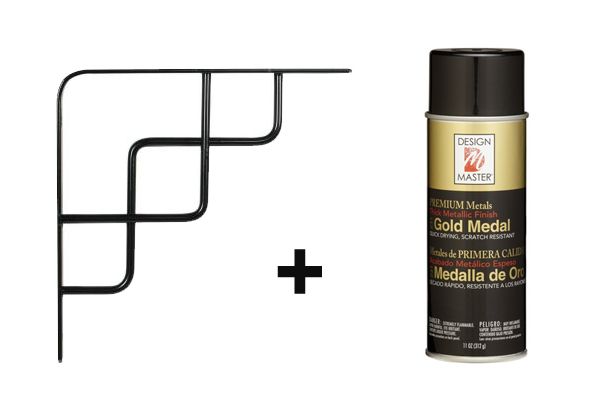
Above the art leaning on the folding station, I'd hang a series of 12" deep shelves for open storage. I like these heavy-duty brackets with their interesting curves, but wouldn't they look better in a bright brass? I'd use my favorite gold spray paint here.

 photo brackets.jpg

I'd just use primed pine boards (they're perfectly smooth and much lighter than MDF - check them out the next time you're at The Home Depot) for the shelves. 12" would be plenty deep enough for detergent and dryer balls/sheets, and a row or two of baskets. I like these baskets from Crate and Barrel's great housekeeping line, called Clean Slate:

 photo ScreenShot2013-09-22at112409PM.png

It's nice that Jamie's treadmill folds up. I'd buy (or make!) an upholstered folding screen to hide the eye sore when it's not in use.
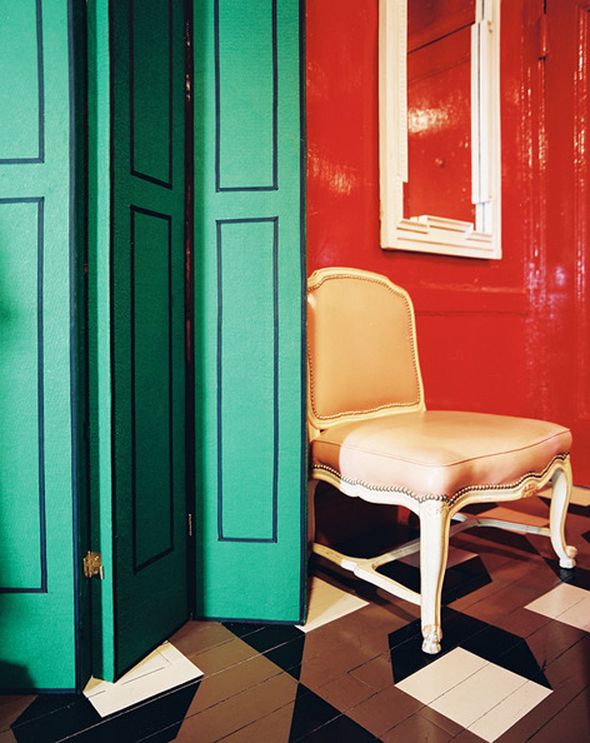
 photo nickolsenWallMirrorgreenfoldingscreenroomreduEoJ205PT9Xl.jpg
Nick Olsen via Lonny

This one from World Market is simple and pretty affordable.
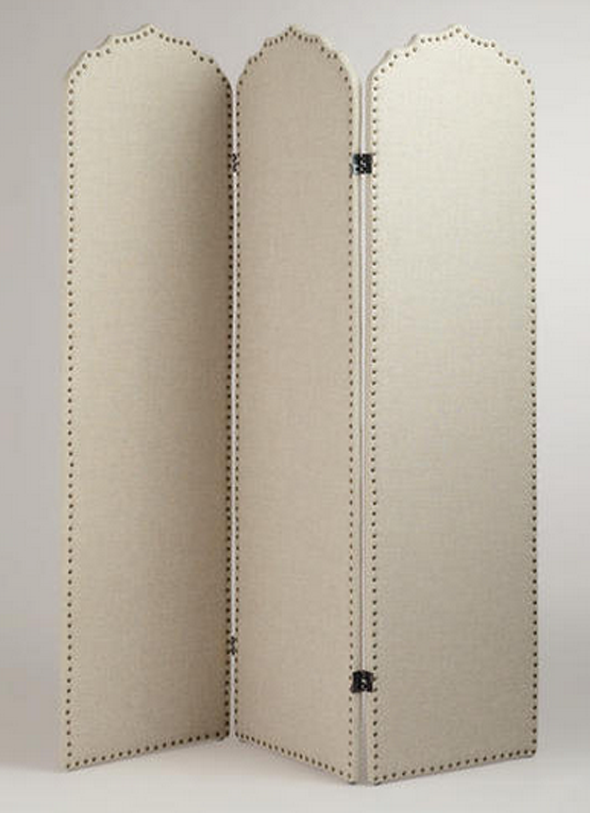
 photo ScreenShot2013-09-22at111751PM.png

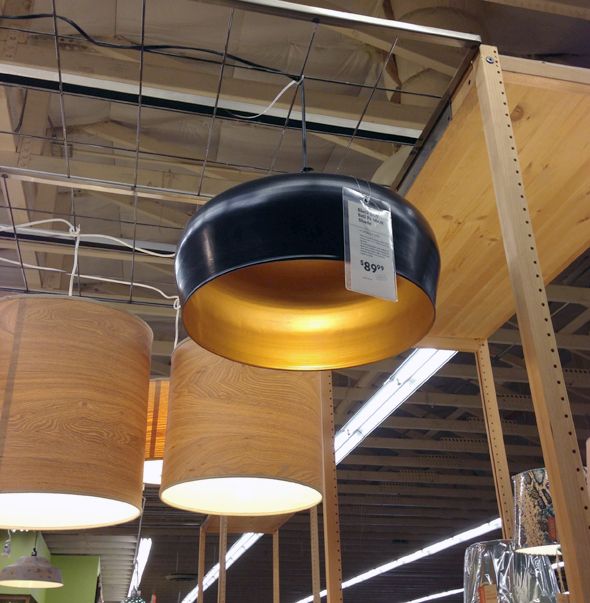
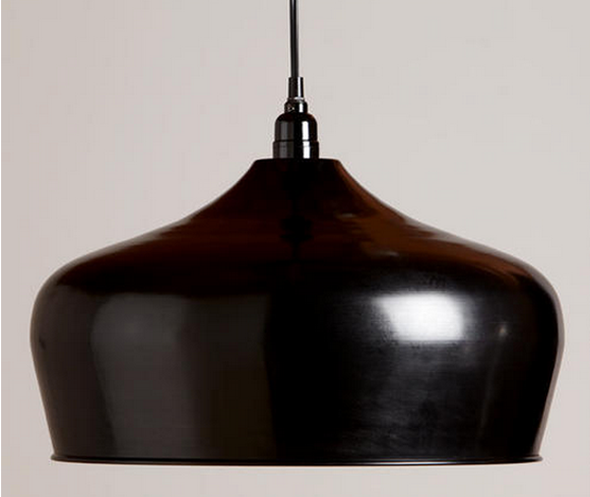
Another fab World Market find is this black iron pendant light. I've actually been eying this one for my own home. The gold on the inside is such a great touch! I think two or even four of these pendants would be perfect for Jamie's laundry room.

 photo IMG_6769.jpg

 photo ScreenShot2013-09-22at111922PM.png

Jamie has a ton of prop and holiday decor to store.

 photo photo26.jpg

I'm obviously a huge fan of IKEA's Pax units - you just can't beat the price for the amount of closed storage and the tons of organizational options. I'm working on a post right now where I share my tips for painting IKEA's notoriously finicky laminate finish. I'd paint Jamie's two 40" wide units a glossy, light mint (this is my favorite shade). If she's really wanting to go all-out, I'd add these O'verlays to the door fronts before painting. Then no one would ever guess these were from IKEA.
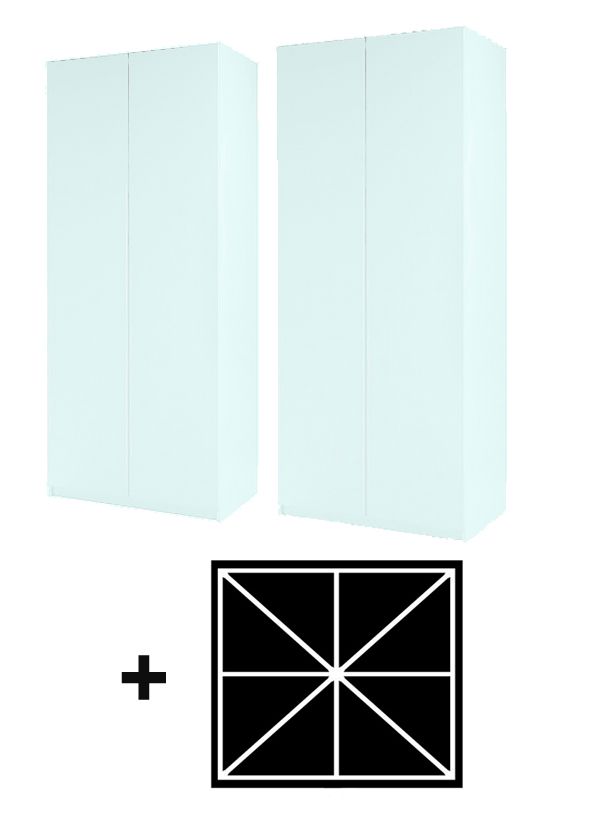
 photo paxplusoverlays.jpg

And since mint looks so pretty with orange-red, I'd put this gorgeous Saarinen style chair next to the Pax units, seen below in the room board. I'm so excited to keep working with Jamie on this laundry room. I think it's going to turn out to be a fun, fresh space. Peace out, dark storage closet!

 photo JAMIELAUNDRYROOM.jpg

This post was a part of a collaborative series brought to you by The Home Depot, Tide HE and Maytag. Check out my laundry room makeover tips here.
DIY: Faux Bois Paint Technique

We've talked about it here before, but I could use the reminder myself: It's always best to decorate in layers. Not everything in a room has to get done right away. And usually I like a room that's been decorated slowly, over the course of many years, much more than a room that was done in a week. Ideas and pieces for a space will emerge over time because you'll have the chance to actually live in and use the room.

 photo Foldingstation.jpg

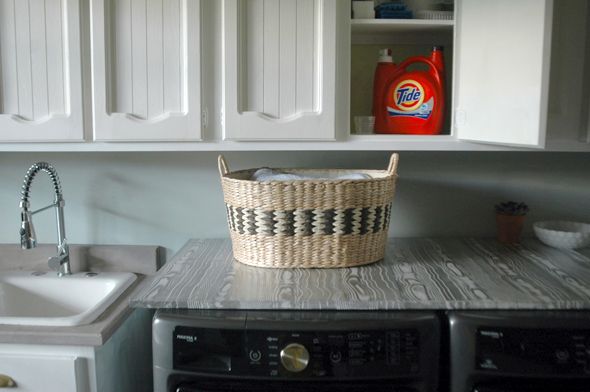
When I redid our laundry room, I wasn't sure what I wanted to do with the laundry folding tabletop. I went to a stone yard and looked at marble and granite remnants, which were still too expensive for me to get right with, so I bought a piece of MDF and had it cut to fit the top of our new washer/dryer. I thought about painting it a bright color. Then I thought about painting it to match the appliances. Then I thought about doing a faux marbled/malachite pattern with white and gray paint (just like this), but I never got around to doing it. Then I stumbled across this post from my archives and I remembered how badly I've been wanting to do a faux bois paint treatment. There's not any wood in our laundry room, except for the bamboo chair, so I thought it would be great to have something with an organic element and with lots of movement in the pattern.

 photo xDSC_0547.jpg

 photo DSC_0563.jpg

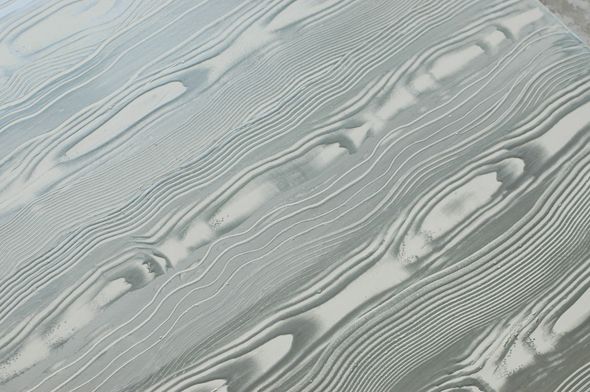
It's crazy how the faux bois pattern addition makes the room feel so much more finished. And I know I always say this, but truly, painting a faux bois pattern is as easy as can be. If you can paint a straight line, you can do this project. Actually, scratch that! If your lines are a bit crooked or wavy - this project is totally perfect for you!

 photo cDSC_0542.jpg

Here's how...
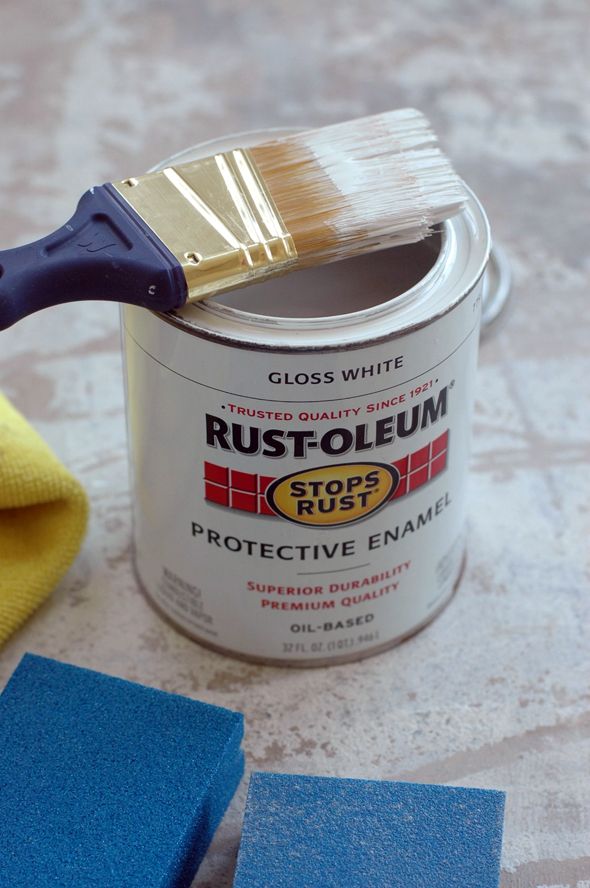
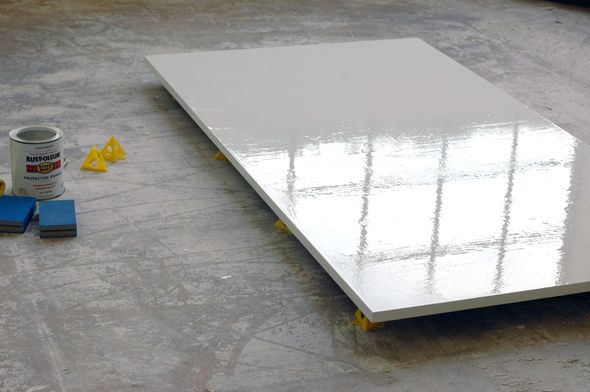
The first step is to paint your base color. I used a glossy oil-based paint, but you can do any type of finish as long as there are no bumps in the surface.

 photo zDSC_0436.jpg

 photo DSC_0425.jpg

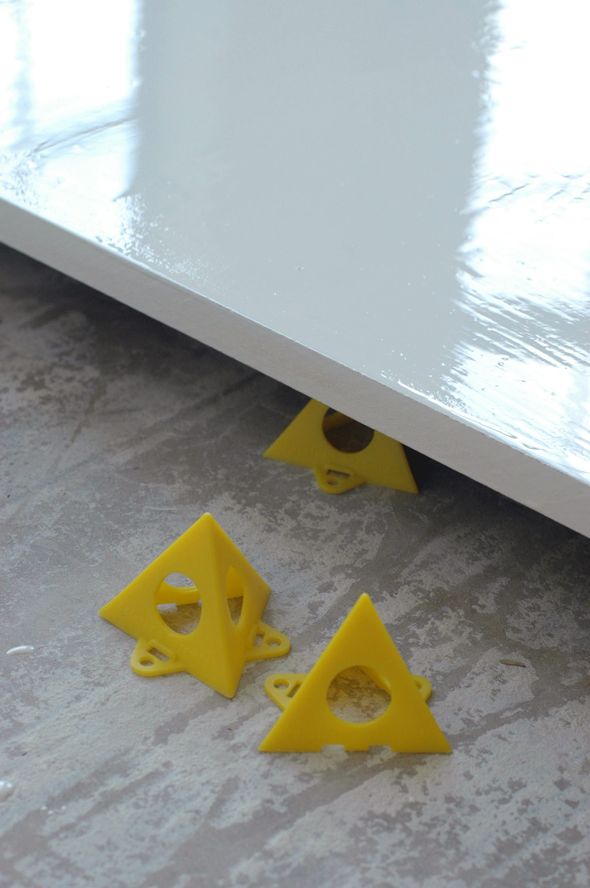
Did you notice my handy new Painter's Pyramids here? They are so genius and help avoid that painted-edges-sticking-to-the-drop-cloth situation. And the best part is they make it so you can paint one side and immediately flip over to paint the other side. The pointy tops don't really leave marks on the surface (they do however hurt, like, SO BAD if you step on them barefoot. Ouch.)

 photo zDSC_0434.jpg

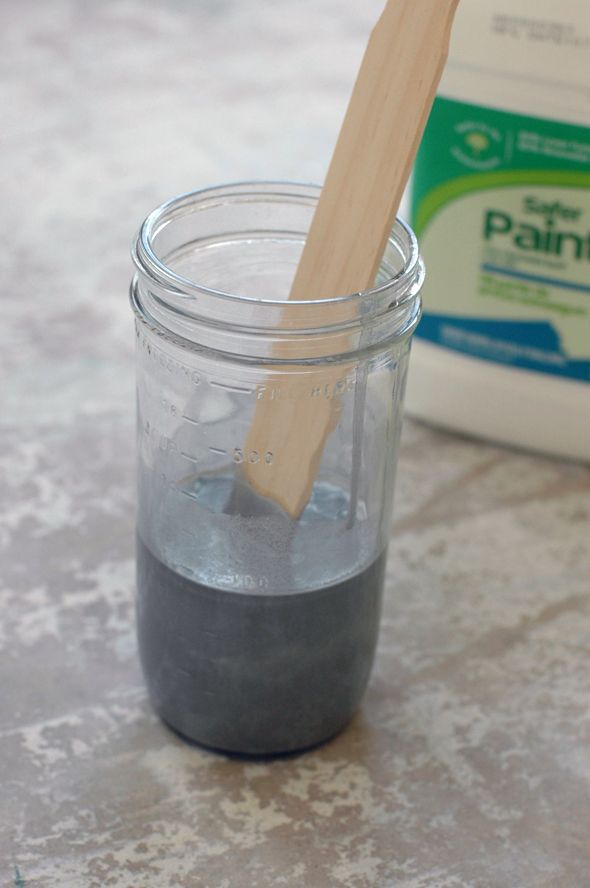
Once the base coat is fully dry, you mix the paint color you want to use for the "grain" part. If you're using latex paint, you'll want to mix one part paint with one part glaze and one part water. If you're using oil-based paint like I did, you can use a mixture of one part paint with one part paint thinner or Penetrol. It should be very watery.

 photo zDSC_0455.jpg

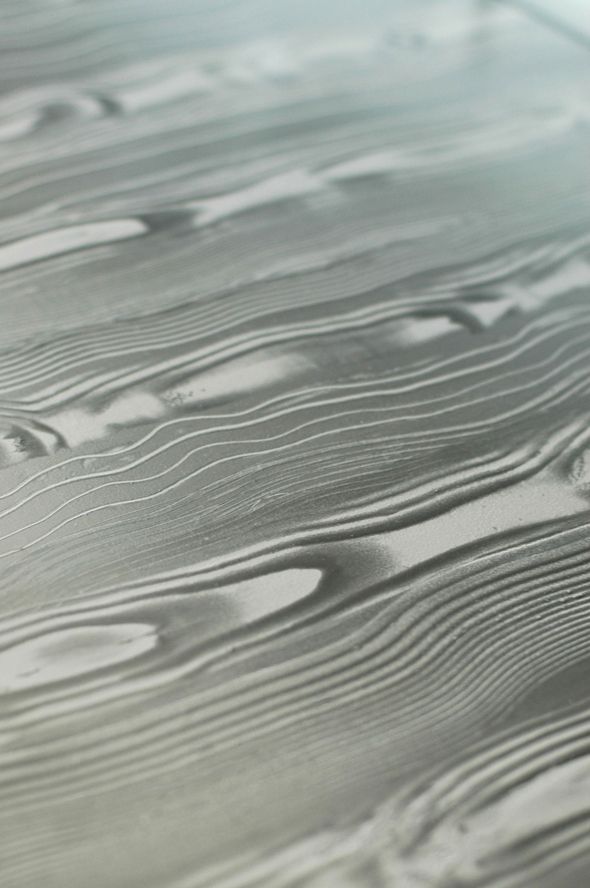
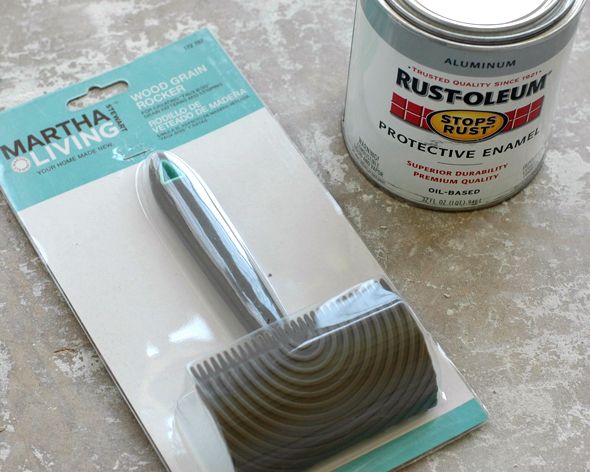
I used this slightly metallic Aluminum color by Rustoleum and I really liked it. I think it actually looked a little like mercury glass or liquid chrome and might be really cool for other applications where it hadn't been thinned down. I'm excited to experiment more with the color.

 photo zDSC_0443.jpg

Then the most important thing you'll need for this project is a wood grain rocker. You can buy them lots of places online, but Martha Stewart makes a good and affordable one that's sold at The Home Depot. I don't have a photo of the package here, but I also picked up one of her strie combs.

 photo DSC_0490.jpg

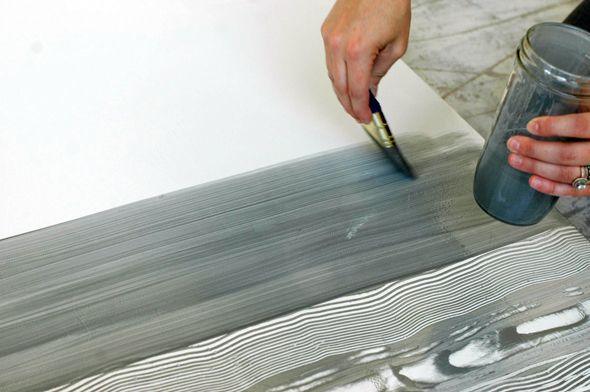
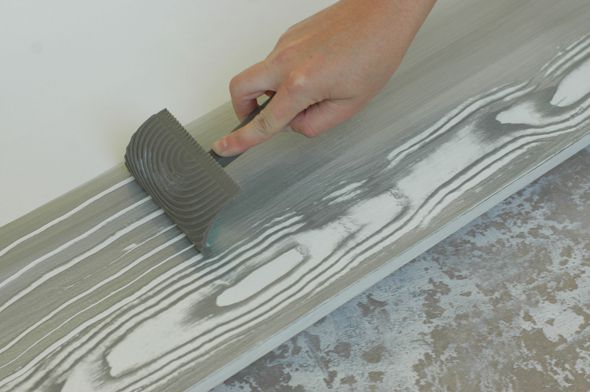
The approach is very simple. I used a 2" angled brush to paint on a section of thinned paint in long strokes, the size of two or three widths of the wood graining tool. You most definitely wouldn't want to paint the entire surface all at once - you want the glazed/thinned paint to be very wet still while you're doing the faux bois technique. It's important to work in sections, and to do the whole surface in one painting session though so that the lines sort of run together and blur into each other. Also, it's nice that if you do a part that you don't like, just brush right over it and try pulling the paint again.

 photo zDSC_0458.jpg

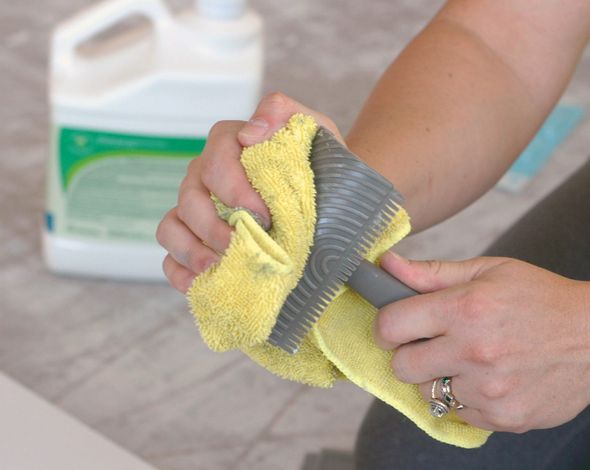
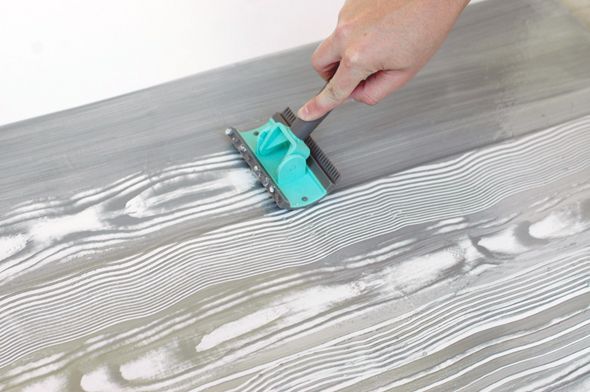
I alternated one row of using the wood graining rocker with a row of straight combing using the back edge of the rocking tool or the strie combs I bought (it looks good to alternate the pattern on the strie comb between the widely spaced comb (above) and the tightly space comb you can see in the photos below). Once you've pulled a row, make sure to wipe down your comb or wood grain rocker.

 photo zDSC_0495.jpg

The technique for using the rocking tool is very easy - you just pull down and rock back and forth.

 photo zDSC_0491.jpg

I tried to mix up the speed of my rocking so there would be some variation in the look of the grain lines with longer and shorter knots.

 photo zDSC_0505.jpg

If you're working on a flat surface like I was here, don't forget to paint and pull the comb or rocker down onto the edges as well. This makes the pattern look a little more authentic to the eye.

 photo zDSC_0509.jpg

I'm such a fan of how this faux bois tool worked! It was an easy and really satisfying project. This technique would work so well on furniture pieces with really squared off and flat surfaces (hello, IKEA Lack series! I'm looking at you!) and it even wouldn't be that hard to do entire walls once you're comfortable with the technique. And now I'm wishing I had a little powder bath to do in the Valley house. :)

 photo zDSC_0514.jpg


 photo xDSC_0540.jpg

 photo zDSC_0549.jpg

Give Away: $500 to The Home Depot!

Today is the very last day to enter to win a laundry room e-design from yours truly which comes with a $5000 Mastercard gift card and a year's supply of Tide. I hope you've entered already (and here's the link in case you haven't!).

In celebration of the laundry room makeover contest, The Home Depot is giving you a second chance to win something special today - a $500 gift card!

 photo cDSC_0522copy.jpg

To enter to win the $500 gift card to The Home Depot (which will arrive with a great box of samples from Tide), just leave a comment on this post. I'd love to hear what projects you'd fund with the gift card. I actually picked up some supplies there this weekend and did a little faux bois treatment to my laundry folding station. I'm working on the tutorial photos now, so look for that post tomorrow probably.

 photo xDSC_0539.jpg

Contest ends Monday, August 26 at midnight. Winner will be contacted via email. Good luck! (And don't forget to enter the EXTRA BIG give away here!)

Thanks to The Home Depot and P&G for sponsoring this post series. And thank you for supporting the companies that collaborate with me on LGN posts. :)

Updating Light Fixtures with Paint

This weekend was pretty amazing in my book. Not only did we get some much-needed R&R and family time, but we also added an air compressor to our collection of DIY tools (big deal!). We bought it to use with our new spray paint gun and I've been spraying basically everything in sight for the last 24 hours. Well, mostly just the doors in the house, but the baseboards are whispering my name. As are all the ceiling fans.

 photo fdDSC_0378.jpg

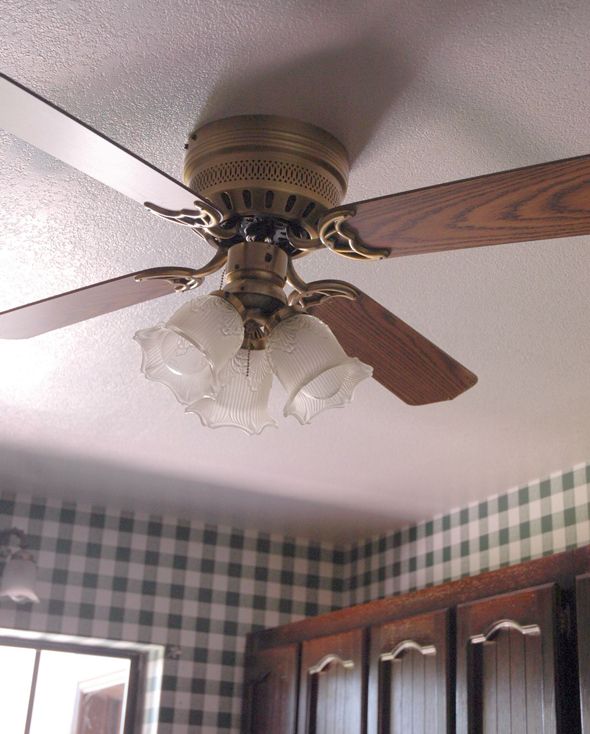
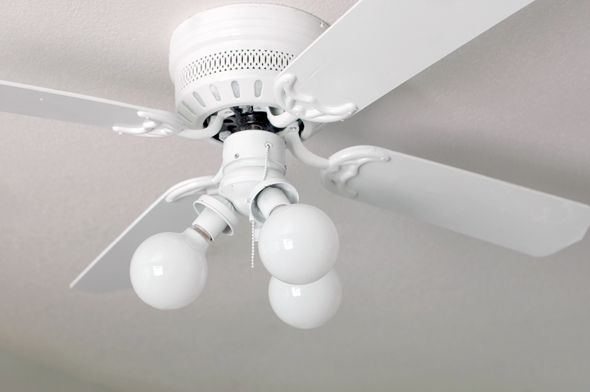
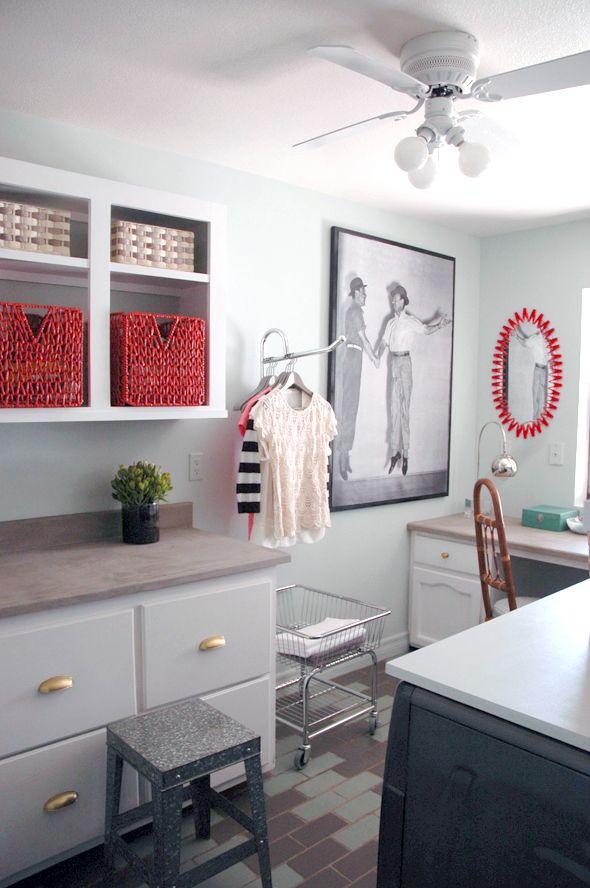
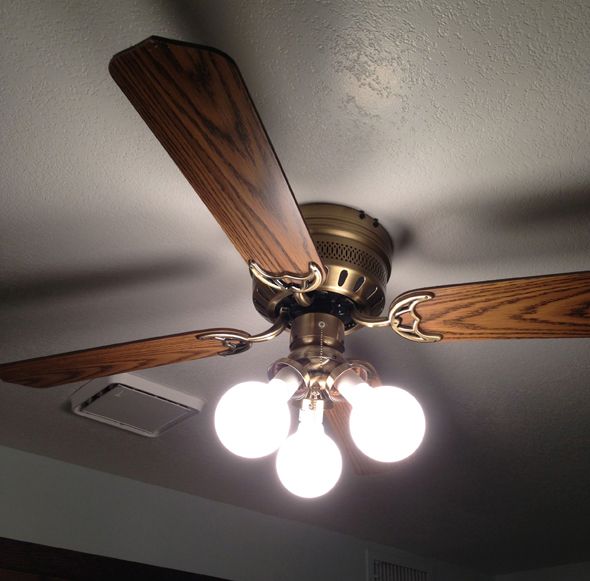
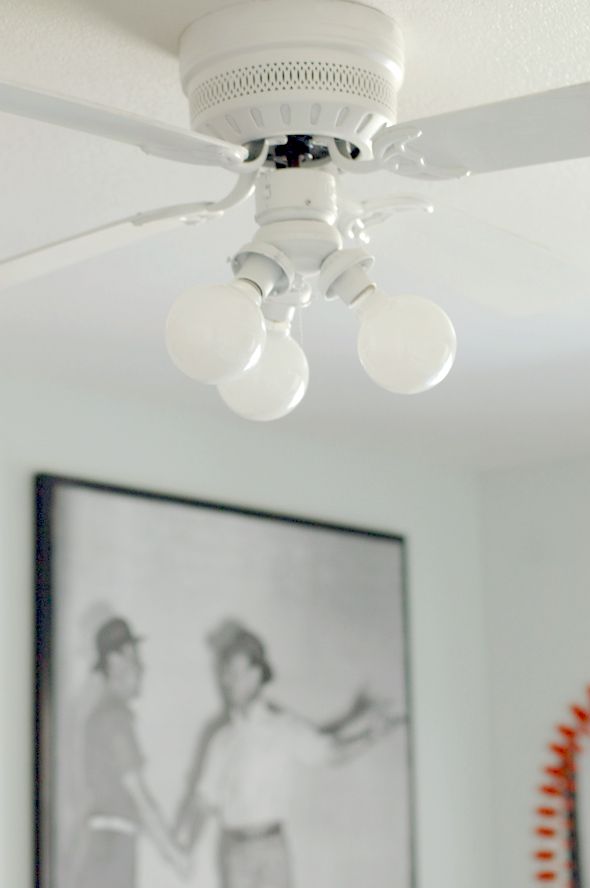
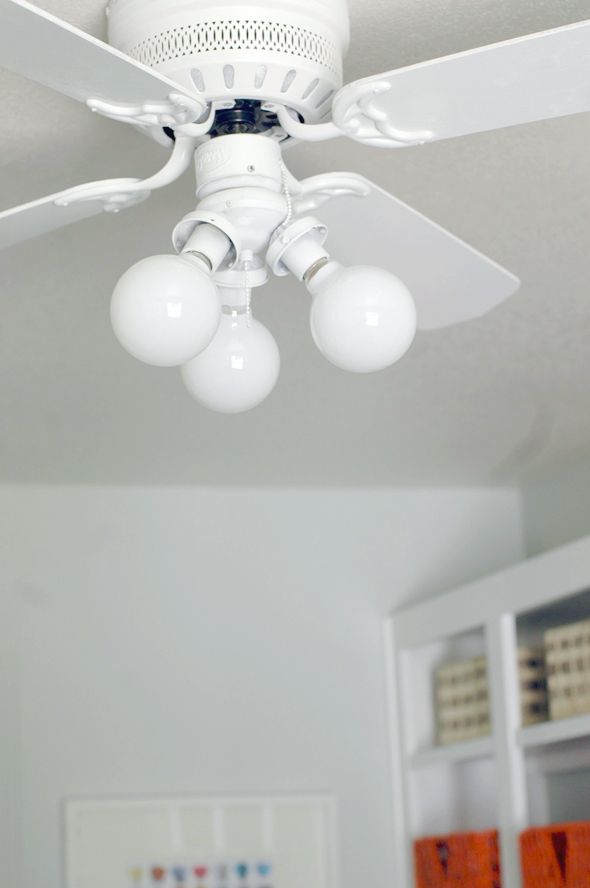
We spray painted the old, outdated fan in the laundry room a bright white in semi-gloss and I love how it turned out.

 photo ddDSC_0522.jpg

 photo gDSC_0573.jpg

I think my new spray gun would do an even better job than the aerosol spray paint though. Good thing we have about 15 other ceiling fans in the house to paint! :)

 photo gDSC_0414.jpg

I think ditching the old glass globe shades and upgrading to big, round sputnik-esque bulbs really helped too. (More after the jump...)
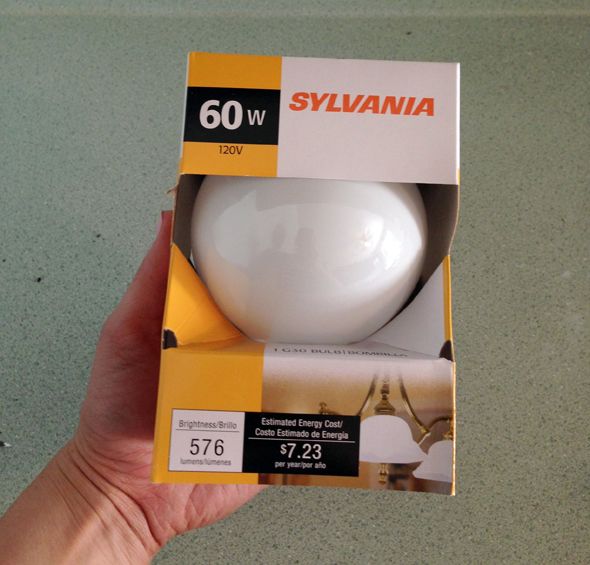
I found these bulbs at the hardware store and thought they could be cool.

 photo IMG_4236.jpg

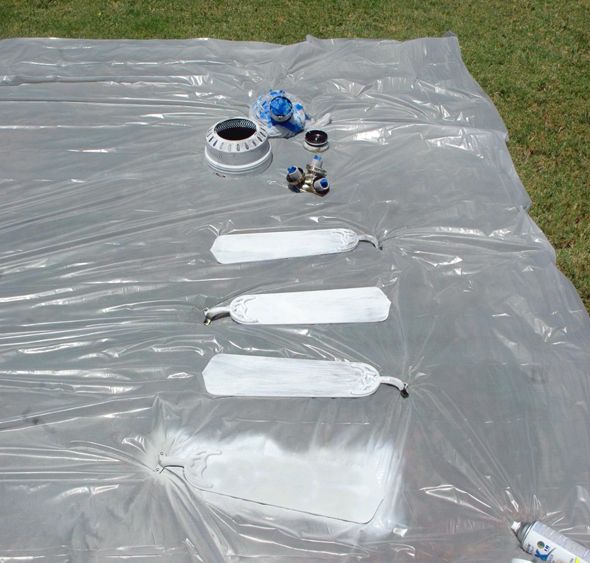
I confirmed they fit in the sockets before taking down the fan, taping off the electrical parts and giving the whole thing two good coats of white spray paint.

 photo IMG_4246.jpg

Ah! So fresh and so clean.

 photo dDSC_0432.jpg

I'm trying hard to rework and salvage as many things in this house as we can now that most of the demo is done. It feels good to save the cash and to be less wasteful. Plus, have you shopped for ceiling fans lately? Not pretty. All-white at least sort of disappears into the ceilings.


 photo fDSC_0524.jpg

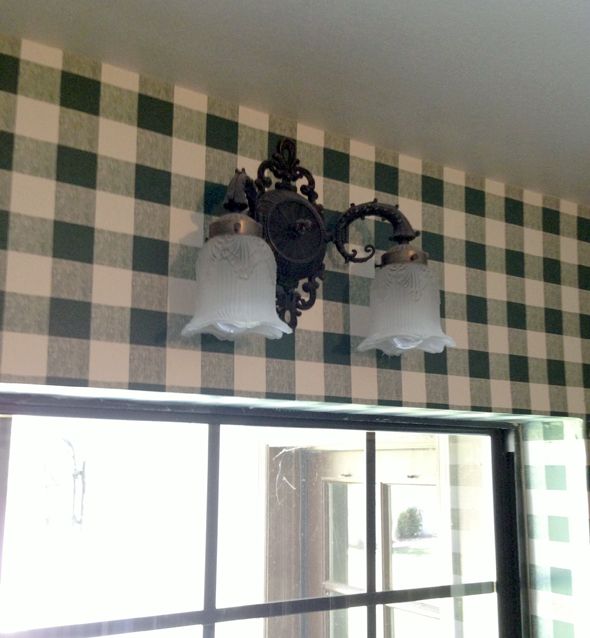
This little light, however, was not salvaged (but chances are he's probably still available at our local ReStore if you'd like to use him in your house?). :)

 photo IMG_4183.jpg

We sort of ran out of time when we were trying to figure out a new over-the-desk light fixture. We went to Home Depot hoping they'd come through for me again in the lighting department. I wanted something vintage feeling though, so I was pretty sure I'd be leaving empty-handed.
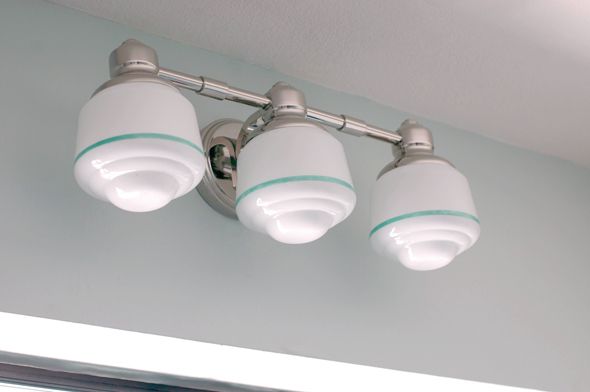
 photo IMG_4205.jpg

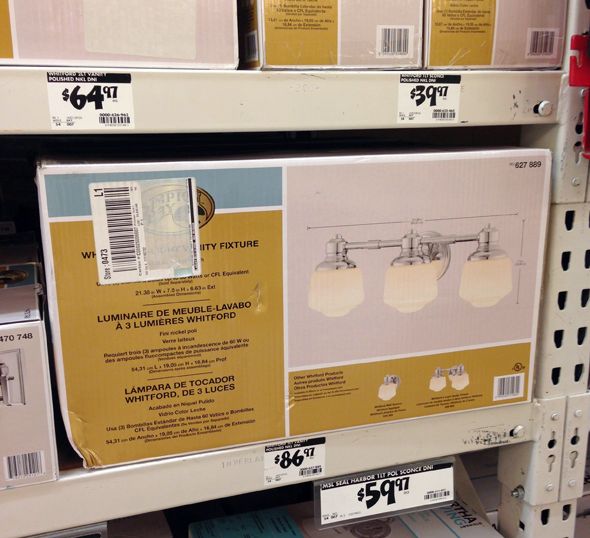
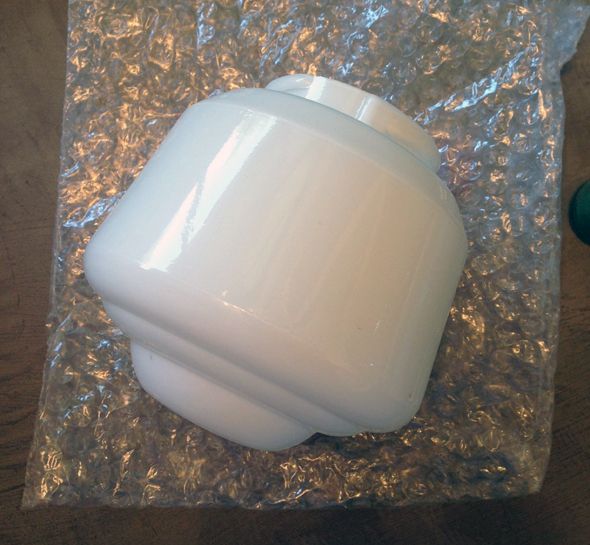
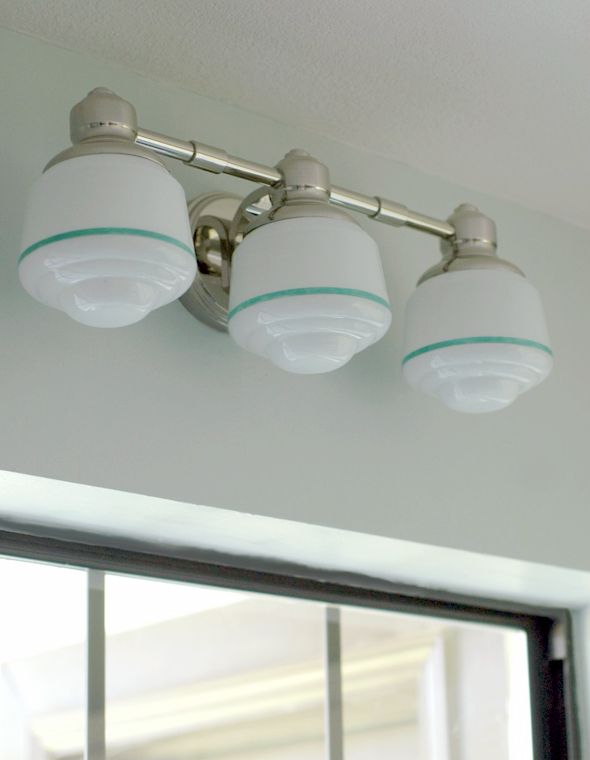
Just as we were getting ready to leave, I spotted this three-bulb light that had globes that reminded me of one of those school-house pendants.

 photo IMG_4485.jpg

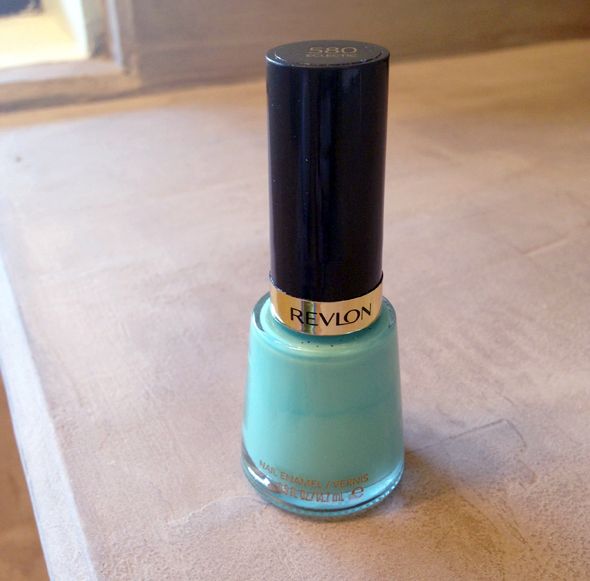
The globes felt a little bare though so I picked up some green nail polish that looked a little like the color of jadeite glass.

 photo IMG_4490.jpg

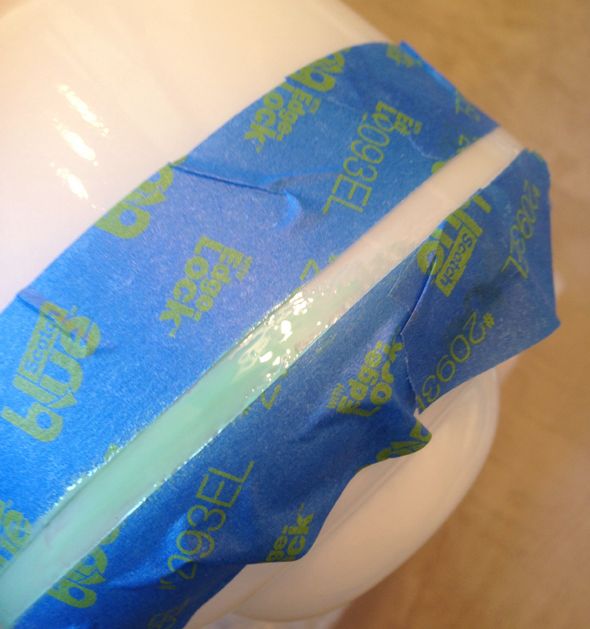
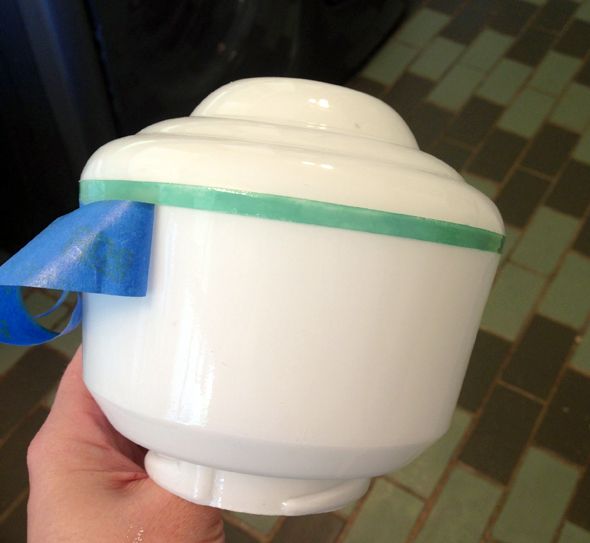
Then I taped off a 1/4" band and got painting.

 photo IMG_4493.jpg

The lines aren't perfectly painted or even super-accurately taped, but I still really like the look. It's character, right? 

 photo IMG_4496.jpg

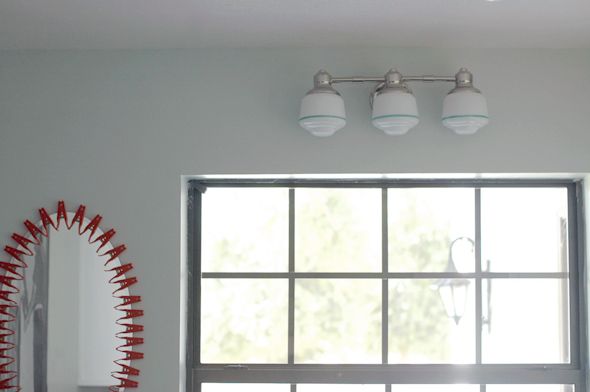
I like that the globes look unique now and the fixture doesn't scream "hardware store find!"

 photo gfDSC_0431.jpg

 photo gDSC_0441.jpg

 photo gDSC_0520.jpg

Back to my new-found love (the spray gun). All weekend long I've been wondering why on earth I took so long to buy one of these things!! Hopefully I'll have some photos to share of the painting process tomorrow.