Tampilkan postingan dengan label Entryways. Tampilkan semua postingan

Serpentine Secretary

I can't stop/won't stop with the Craigslist shopping lately. There are so many great finds here and most everything is so incredibly affordable that it's hard to pass a lot of it by. Some things need more work than others though and part of me wonders if it's worth it in those cases.

 photo qqDSC_0550.jpg

Like this secretary I recently picked up from a Craigslist seller. I am so in love with the scalloped, serpentine drawer, but man, does it need some work!

 photo qDSC_0561.jpg


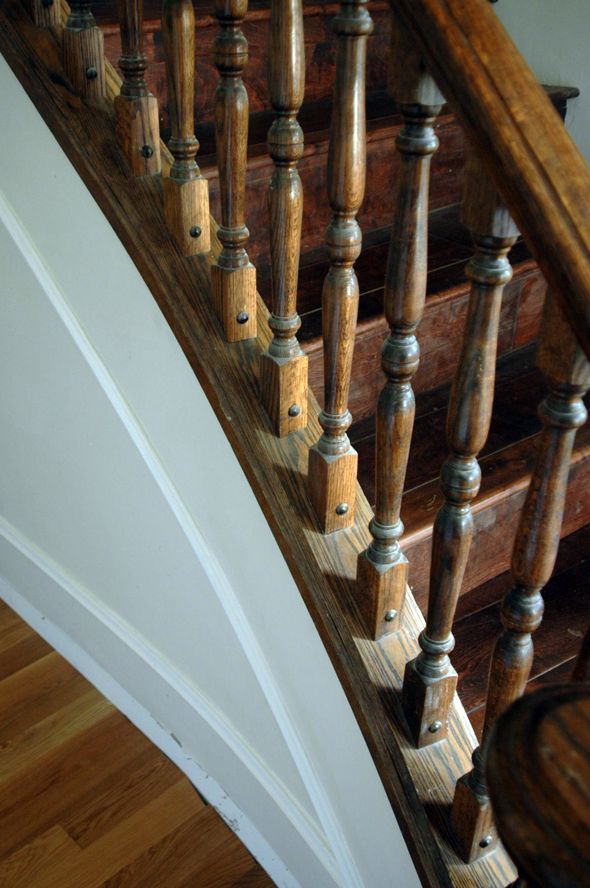
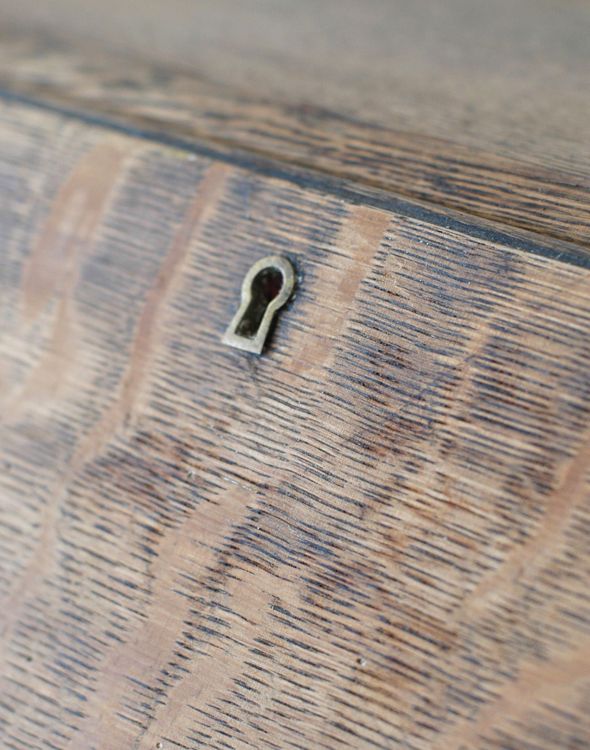
When I came by the seller's house to look at it, I was a little disappointed with the condition of the wood. From the photos, it looked like it was in original condition, but I could see right away in person that it had been painted and then (mostly) stripped and that it needed some love. The wood is pretty dry. The seller gave me really great deal on it though and it was hard to pass by since the shape is so unique.

 photo qDSC_0566.jpg

 photo qDSC_0531.jpg

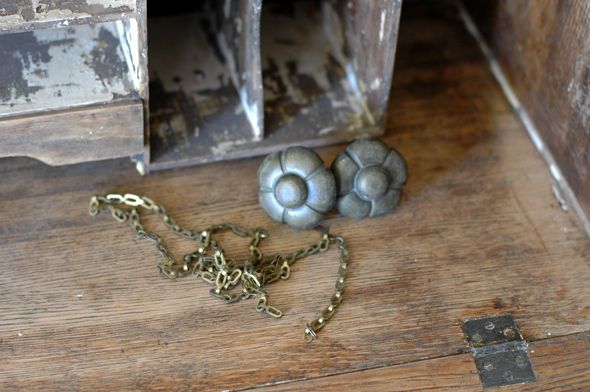
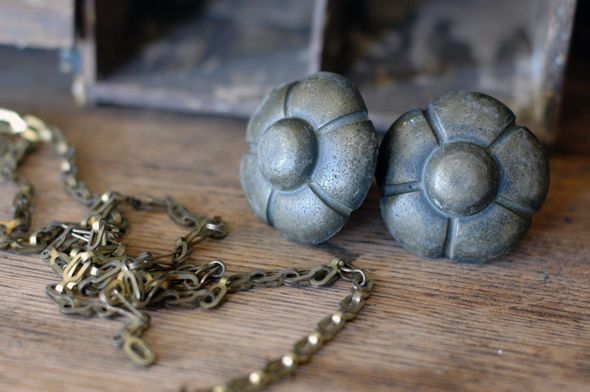
I think with some cleaning the solid brass flower pulls could be cute. Though maybe on a different piece?

 photo aDSC_0534.jpg

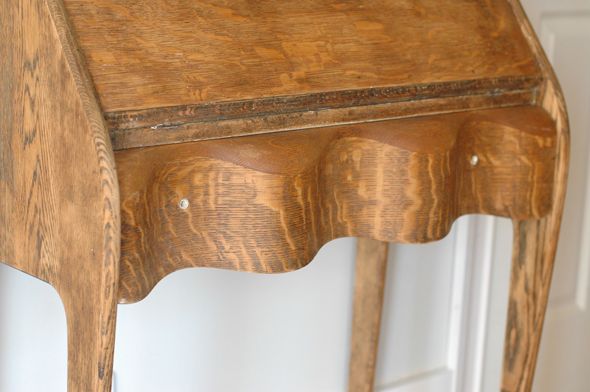
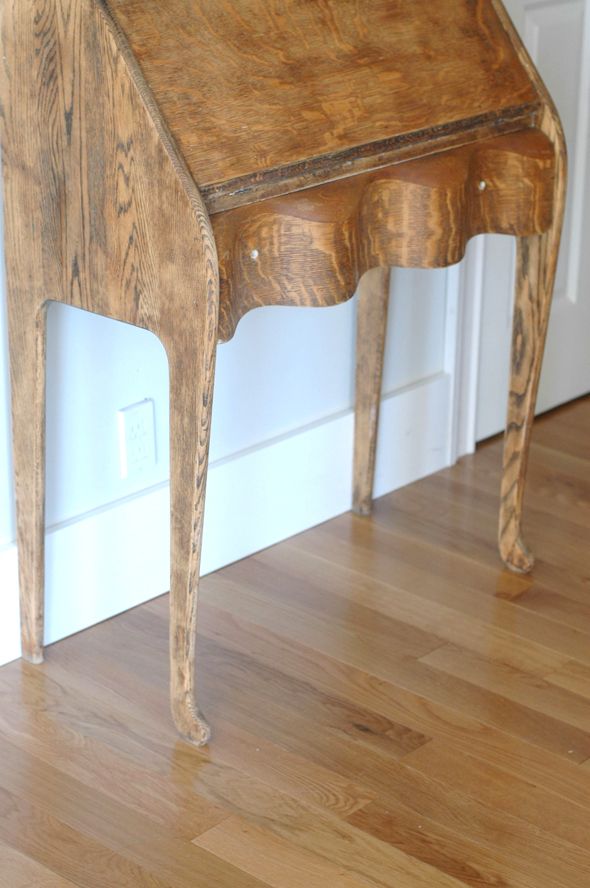
Check out the carved curve of the drawer

 photo qDSC_0573.jpg

 photo qDSC_0570.jpg

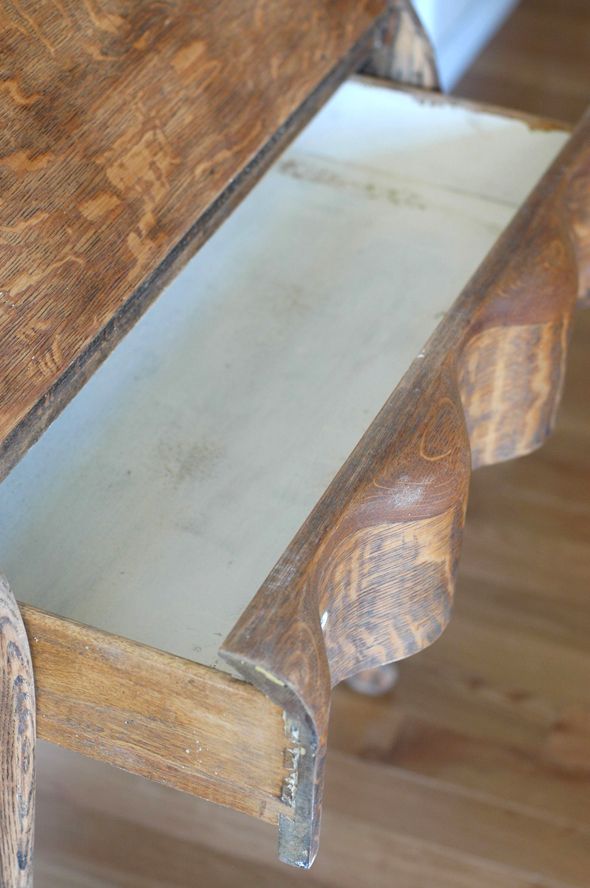
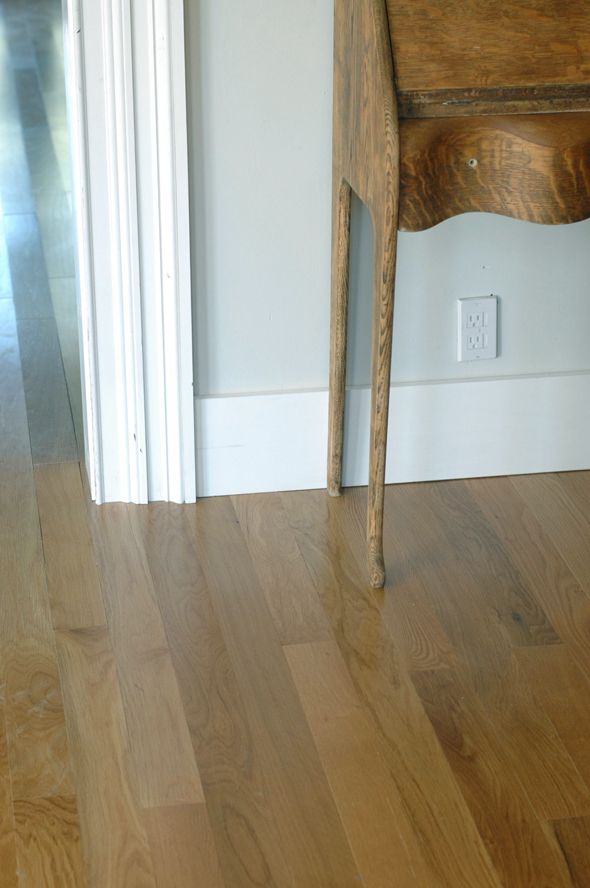
I also love the unique leg shape that's so slim from the front and much wider from the side view.

 photo wDSC_0557.jpg

 photo qDSC_0559.jpg

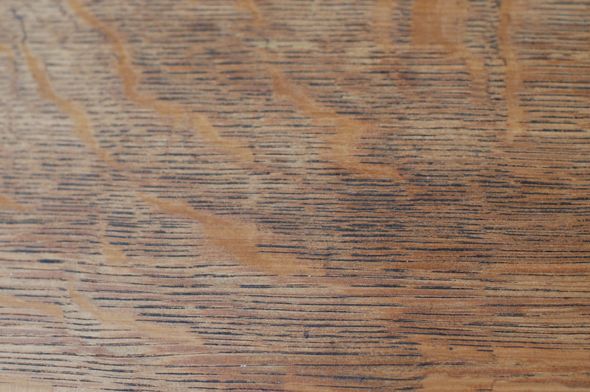
I love tiger oak, but I think this piece would look better painted. If the wood was in better shape, I'd totally fix it up more and keep the wood stain (you know I'm all for wood furniture), but I think this would look better in a painted finish - either a gloss or a chalk paint.

 photo aaaDSC_0548.jpg

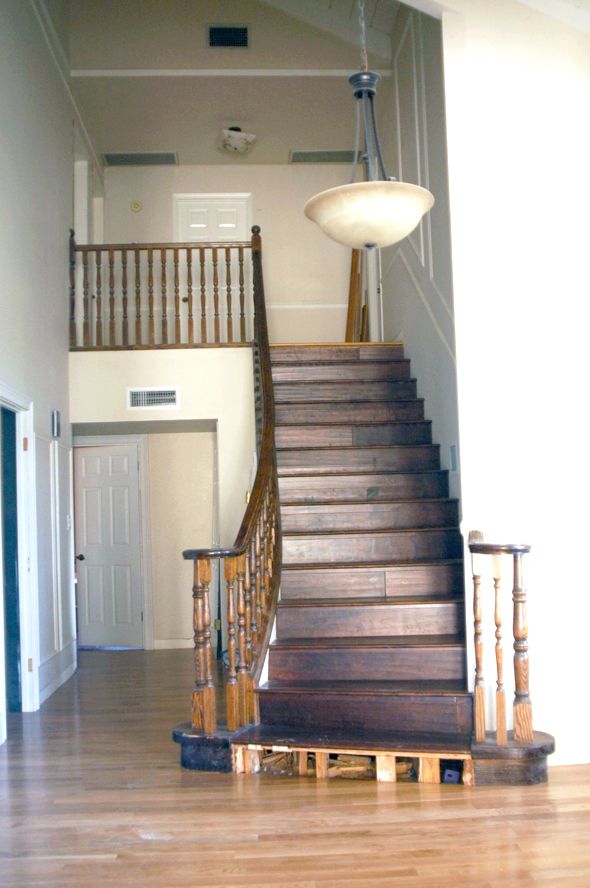
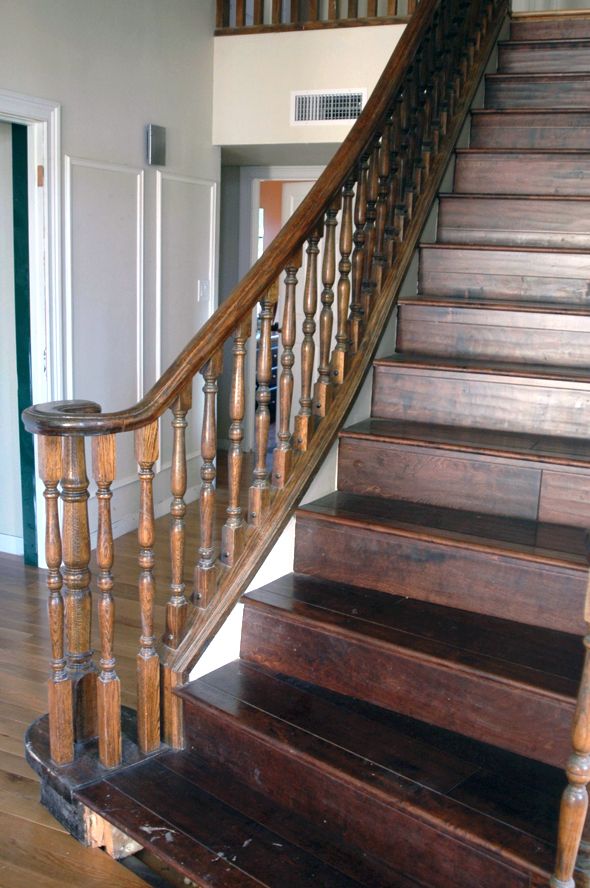
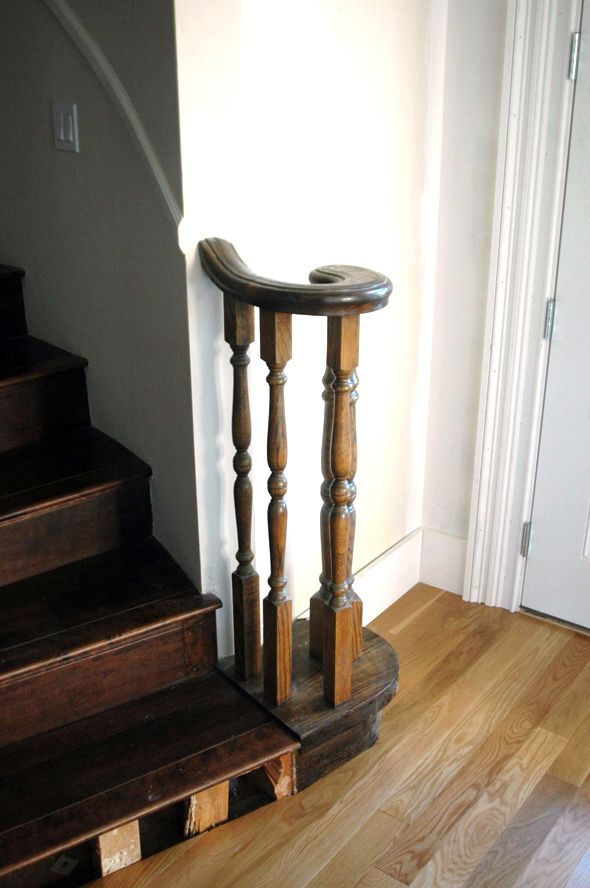
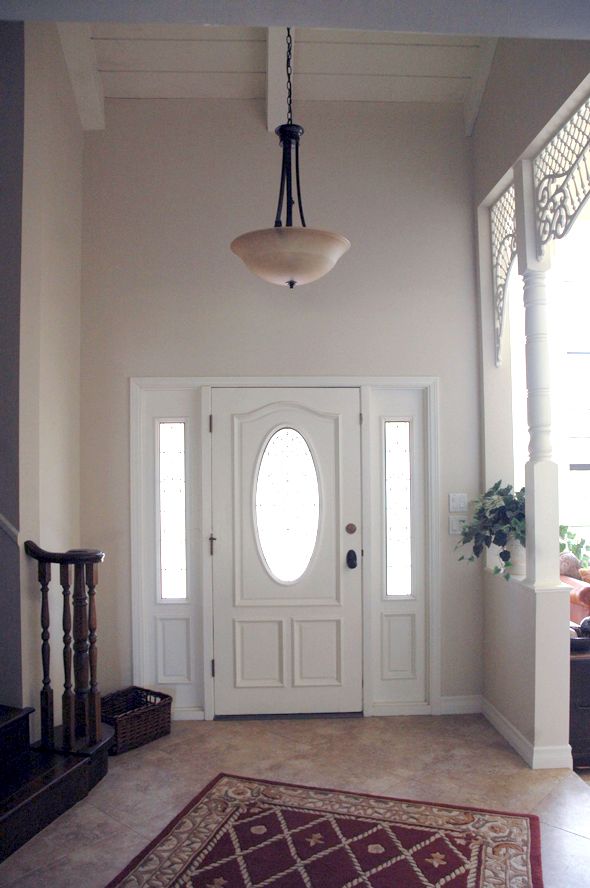
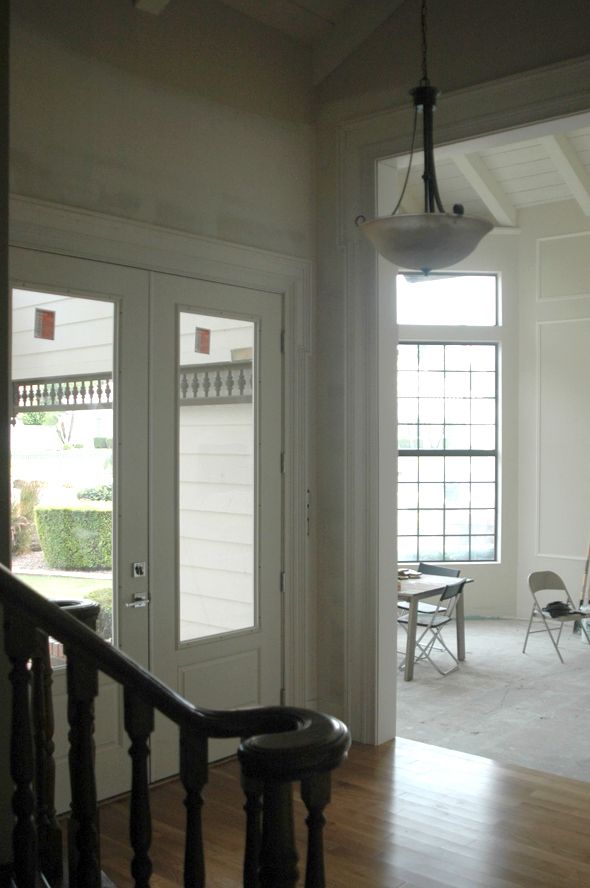
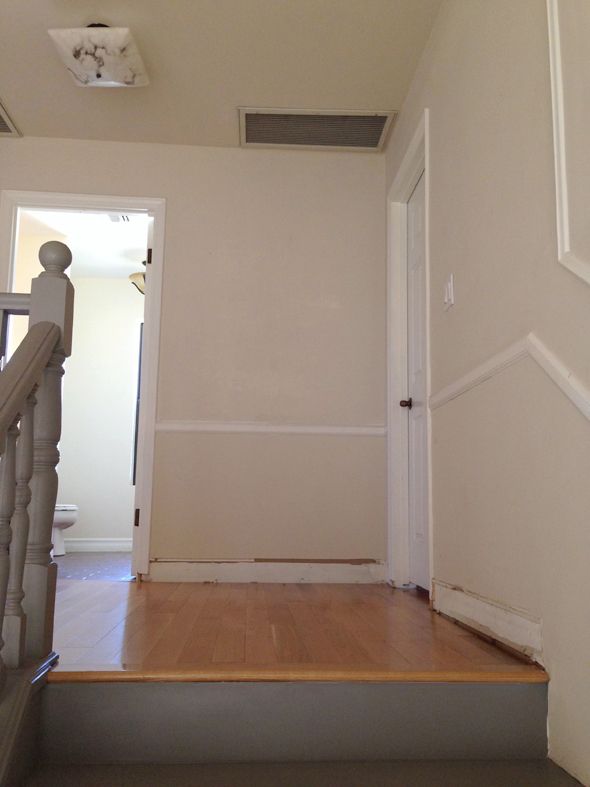
I thought I would like it here in the entry, but the curve of the stairs sticks out too much. There's still several feet of clearance, but I think I'll keep my eye out for something with a slimmer profile for here - maybe wall-mounted.

 photo zIMG_8679.jpg

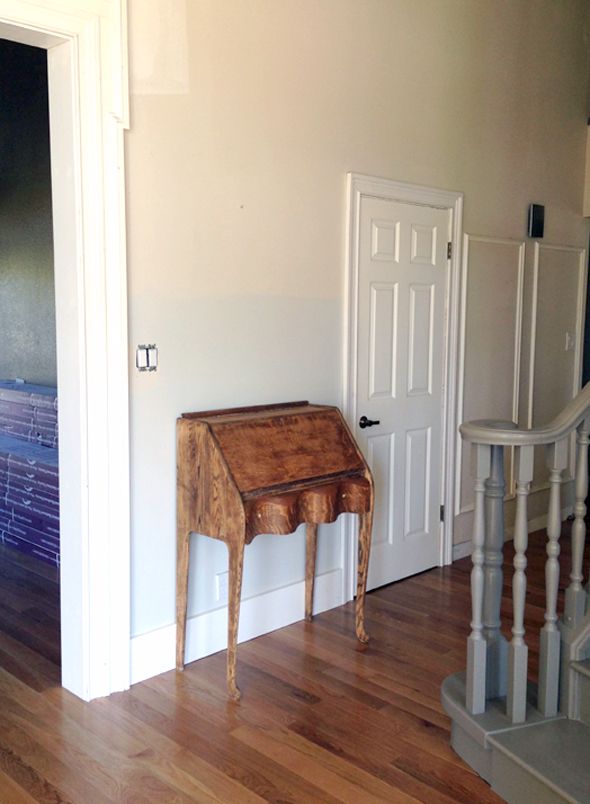
I've actually been thinking it would look really cool in the landing upstairs by the girls rooms, especially if it was painted.

 photo qIMG_8695.jpg

 photo IMG_8699.jpg

I imagine the girls leaving each other fun little notes inside and storing their treasures in the drawers. We've been collecting seashells for a few years now from our different travels (and my parents have been bringing some to the girls too - they went to Ireland and Scotland this month and they brought back some beauties for us) and this little secretary seems like a perfect place to keep the shells.

I know I'll be glad I bought it when I do get around to refinishing the secretary. My threshold lately has been "will I regret not buying this a year from now?" and if I can honestly say yes, I go for it (and then cram it into the garage! ha!). What is your rule?

How I Painted My Stairs

I've decided I definitely want to change the stairs (treads, banister, balusters - everything) down the road a bit. But for now, I knew it made sense to just paint what I've got. Most of you agreed that I could change the look enough with paint that it would be worth the time and effort.

 photo qDSC_0459.jpg

 photo aaDSC_0438.jpg

Well, there was definitely time and effort spent! And I'm pretty happy with the change the color makes in the space.

 photo aDSC_0458.jpg

I think it will be worth all the effort in the end, once the runner's installed. The hardest part by far was all the sanding. And thank goodness for Bondo!

 photo IMG_7381.jpg
Bondo is one of those products that might look intimidating, but is actually pretty easy to use. You mix a hardening cream with the epoxy base putty in small batches and then smear on the mixture quickly before it starts to set.

 photo IMG_7384.jpg

 photo IMG_7394.jpg

The stuff stinks bad, but it works miracles and fills any hole/crease/crevice/seam you present it with.

 photo IMG_7401.jpg

After the Bondo had dried for a few hours I sanded the filler down. This was seriously a full day's work. Every tread took about an hour. But by the time I was finished, the Bondo had perfectly sealed all the imperfections and all the hand-scraped detail on the old wood had been sanded away.

 photo IMG_7407.jpg

 photo IMG_7413.jpg

Michael helped me hang plastic sheeting on the walls and we wiped everything down twice.

 photo IMG_7415.jpg

 photo IMG_7424.jpg


 photo IMG_7427.jpg

I used my favorite Critter sprayer to paint the stairs with the first coat of tinted blue-gray primer.

 photo IMG_7492.jpg

And some of the imperfections started to reveal themselves.

 photo IMG_7498.jpg

As Linus would say - Ruh-ro.

 photo IMG_7501.jpg

So I caulked and did another coat of Bondo where it was needed and then sanded the whole thing again. (and sniffed and sneezed and coughed the whole time - stupid cold.)

 photo IMG_7507.jpg

 photo IMG_7511.jpg

I sprayed a second coat of primer on and then the first of two coats of Benjamin Moore's Chelsea Gray in the Advance line paint.

 photo IMG_7514.jpg

The color is light enough to brighten the space a bit, but dark enough to hide dirt perfectly I think. 

 photo IMG_7528.jpg

The treads look almost like solid planks now! I'm so happy with how they turned out. We just saved ourselves a couple thousand dollars by not replacing these oversized treads!

 photo qqDSC_0481.jpg

I have no ideas yet for what I'm going to use for a stair runner, but I'm really excited to pick that out next. I'll be trying something similar to this tutorial.

 photo aDSC_0488.jpg

Also, on a whim I pulled out one of my old gold leaf pens and painted one of the round screw covers. The pen was pretty dry so the color's not very saturated, but I kind of like the look. What do you think of the gold just on the screw covers?

 photo aDSC_0530.jpg

Before I buy the runner I have lots of touch ups to do and I think I'll paint the walls before installing the runner as well. But at least I'm happy with the direction we are headed in. It was well worth the labor, paint and about $12 in Bondo!

 photo aDSC_0458.jpg

The Staircase: Dread for Treads

We're getting close with the floors. We were all a little sore and tired, so we took a little break and focused on the fireplace this week, but I think this weekend we're going to start laying the chevron in the library (yay!). So, since our floors are just about done, my eyes keep floating over to the staircase, which hasn't been touched yet.

 photo aaDSC_0438.jpg

The plan was just going to do paint-grade wood in white on the risers and matching white oak planks on the treads. We will have to order oversized custom treads for the bottom three steps. They're extra deep on the right side because of the curve of the staircase.

 photo aaDSC_0463.jpg

The lead time was a little longer on these and they were much more expensive that I was hoping, so I haven't made any progress here. I feel sort of stumped and sick of spending money. And when I've felt like that in the past, I usually just end up painting the whole dang thing and calling it good. And truthfully, it might be a good interim option for us.

I could paint the whole shebang from rail to tread white or black or a combo of the two and then add a thick runner to the stairs to hide the planks on the treads, which bother me (I wish they were solid planks).

Or I could take apart the railing and replace just the baluster spindles with something a little cleaner-lined? It looks like all I'd have to do is pop off the little covers to access the screws. Seems like an easy enough job.

 photo qDSC_0481.jpg

 photo qDSC_0473.jpg

 photo qqDSC_0468.jpg

The curved rail is pretty simple and would be hard to replace, so I would plan to reuse it for sure.

 photo qDSC_0459.jpg

And I'm thinking it would be way easier to paint the whole thing disassembled, so that's another bonus. The prep would be a pain and all those curves and angles on the balusters are terrifying to think about covering at every angle.

 photo aDSC_0455.jpg

It's a hard choice, since these stairs are like the first thing you see when you walk in. It would be fun to have something special here. Then the other (lazy) part of me thinks, you know, whatever. Those balusters aren't so bad. A little paint would go far there. And maybe black would be really cool (although dusty looking? Hopefully my house will never be this dusty again. blerg.)

 photo ffDSC_0444.jpg

Well, now I think I've officially talked myself into painting everything first before looking into anything else. Why not? It could look cool and worst case scenario is I'm out a little paint and some time, and then I can just move forward with ordering the expensive treads and replacing the balusters.

What would you do?

Trim Designs

Remember how we pulled out the front door and bumped up the pass-through in the entry that goes into the living room? The new eight and a half feet tall entries felt great - so much more in proportion with the high beamed ceilings.

 photo 1DSC_0357-1.jpg

 photo IMG_6523.jpg

 photo IMG_6785.jpg

The challenge was to give the entries a little more horizontal presence, especially for the pass-through to the living room.


 photo 1DSC_0352-1.jpg

The new taller entrance was still getting a bit lost on that wall.

 photo IMG_6521.jpg

 photo vDSC_0448.jpg

So I went to the hardware store and I played around a bit in the trim aisle of the lumber section and found a couple of combinations that I liked. I wanted something about eight inches wide.

 photo IMG_6667.jpg

 photo IMG_6659.jpg

The piece of trim that I kept wanting to use over and over again was this casing moulding. I loved the profile and the chunky proportions.

 photo aIMG_6652.jpg

I ended up buying a handful of short sections of the pieces I liked best, so I could keep playing around at home.

 photo IMG_6787.jpg

Then I saw this photo on Houzz while I was looking for kitchen cabinets inspiration and I remembered my Architecture 101 teacher talking about eared architraves and how they help visually widen and open up a passage surround.

 photo ScreenShot2013-06-18atcopy.png

I wanted something a little slimmer than the kitchen inspiration photo, and I wanted to incorporate the casing trim I was liking.

 photo IMG_7192.jpg

Jason helped me come up with this layered series. My favorite casing is on the very inside, layered on top of a primed pine plank, which we just made wider at the eared part, and capped off with a pine plank turned sideways with a smaller piece of trim set inside the elbow.

 photo sDSC_0457.jpg

I love how the pass through and the front door look together now from this angle:

 photo IMG_7197.jpg

And what a pretty frame for the view into the new fireplace that will hopefully be finished this week!

 photo IMG_7199.jpg

We did a taller version of the eared architrave for the big pass-throughs that go into the library and the music room.

 photo zDSC_0460.jpg

They are far from done - there are hours of prep work ahead of me (spackling, sanding, filling, sanding, repeat) before we can paint, but I'm actually pretty excited to start that work. I think it will be one of those completely satisfying before and afters that make it worth the prematurely arthritic hands. :)

 photo ssDSC_0463.jpg

We are using the casing by itself on all the regular doors too, so I think the moulding all around the house will really look cohesive and really pretty. Trim is not exactly cheap, but wow, what a difference it has made in the feel of our entry space, even now before it's close to finished!

 photo IMG_7210.jpg